
How to Build AI Workflows Using N8N on Vultr Cloud GPU
n8n is an open-source workflow automation platform that enables you to build and automate workflows by connecting nodes to represent various services and actions. n8n combines visual building with custom code to create and integrate multi-step AI agents into existing applications. n8n offers flexible and developer-friendly automation features, including the following:
- Event-Driven Execution: n8n uses nodes to execute workflows based on specific events like incoming webhooks, enabling you to automate real-time application and system changes.
- Visual Workflow Builder: n8n offers a web-based workflow management interface that lets you build workflows by connecting nodes. Each node represents an action, trigger, or service integration.
- Extensive Integration Library: n8n supports over 350 built-in integration services, such as GitHub, Google Workspace, Slack, and Discord, to connect workflows with any service via API.
- Native JavaScript Support: n8n supports custom JavaScript code, enabling you to create advanced workflows from code.
In this guide, you will build AI-powered workflows using n8n on a Vultr Cloud GPU server.
Prerequisites
Before you begin, you need to:
- Deploy an Nvidia based Vultr Cloud GPU server with Ubuntu 24.04 to run n8n.
- Access the instance using SSH.
- Create a non-root sudo user and switch to the user.
- Install n8n on your Vultr Cloud GPU server and configure it with a domain name such as
n8n.example.com.
Access and Setup n8n
n8n requires a valid user account to access the main workflow dashboard. Follow the steps below to access n8n and customize the workflow management dashboard on your server.
Access the n8n setup page using a web browser like Chrome.
http://n8n.example.comEnter your active email address, first name, last name, and a strong password in the respective fields.
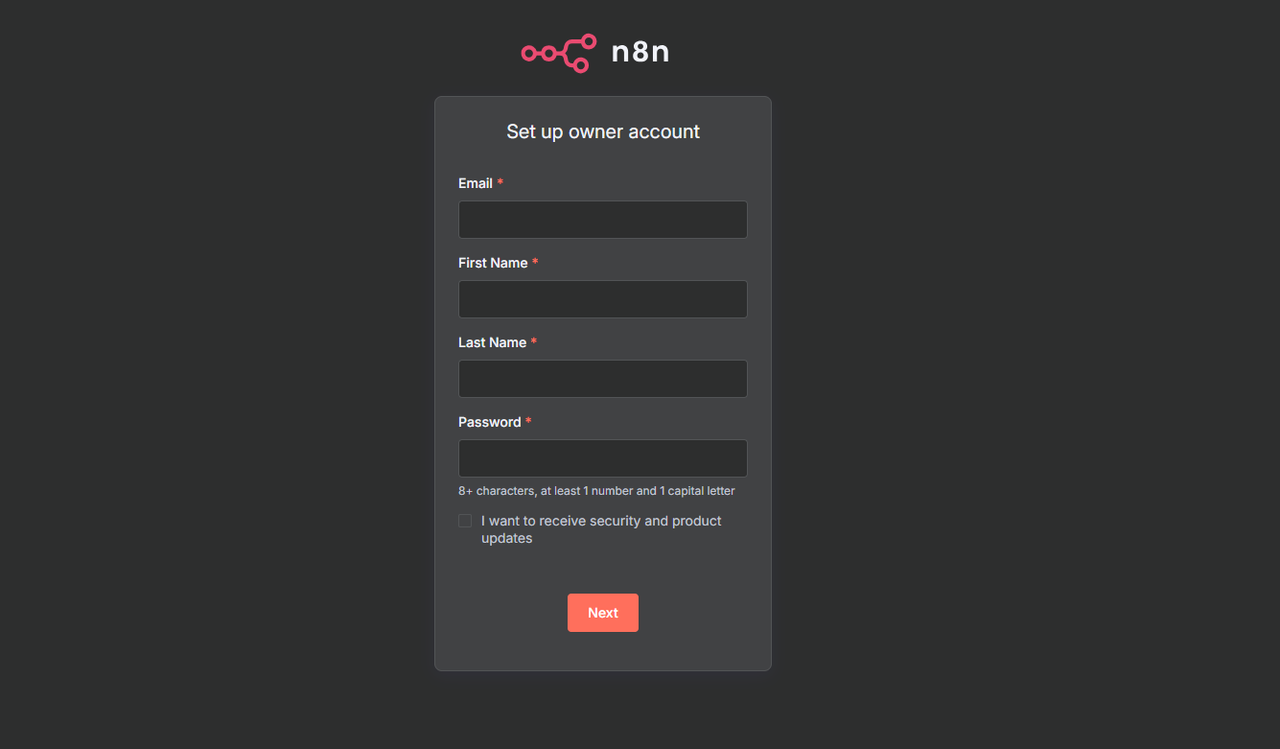
Click Next to save the owner account information.
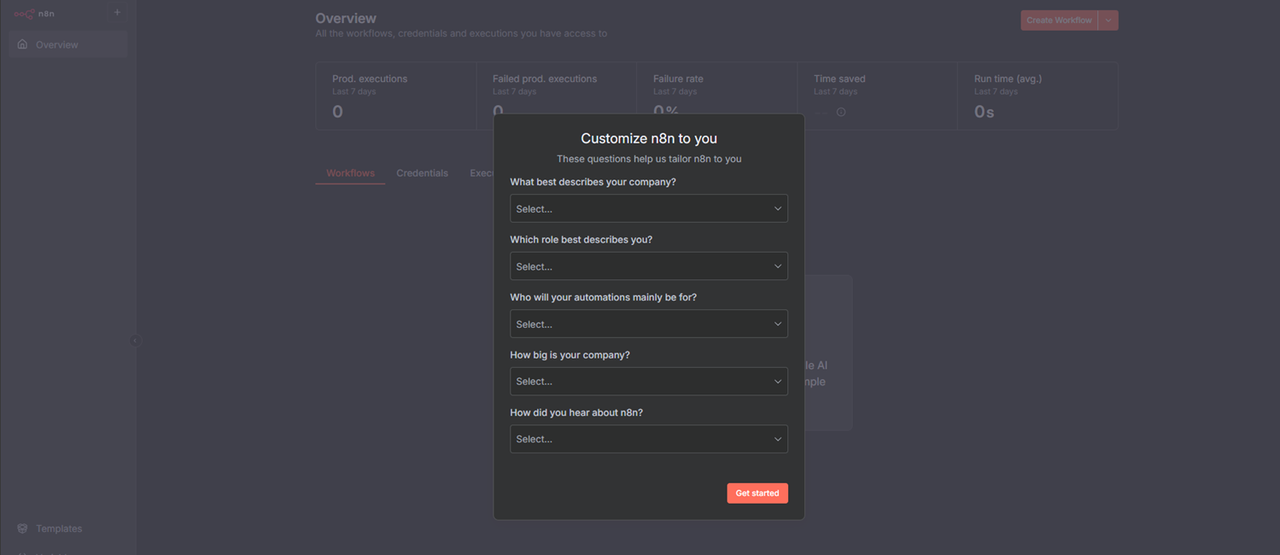
Enter your company information in n8n and click Get Started to save it.
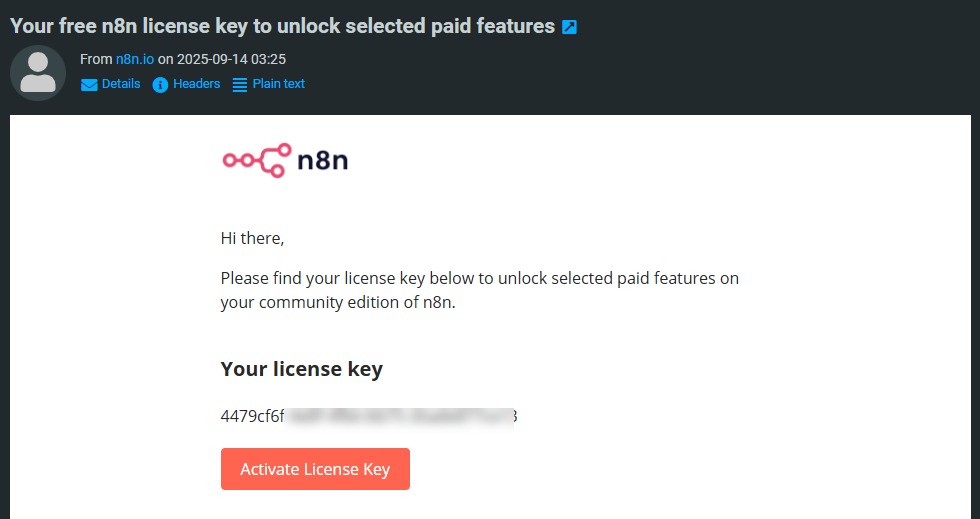
Enter your active email address to generate a free license key to use with n8n.
Access your mailbox and copy the license key.
Click your username in the bottom left corner, and select Settings from the list.
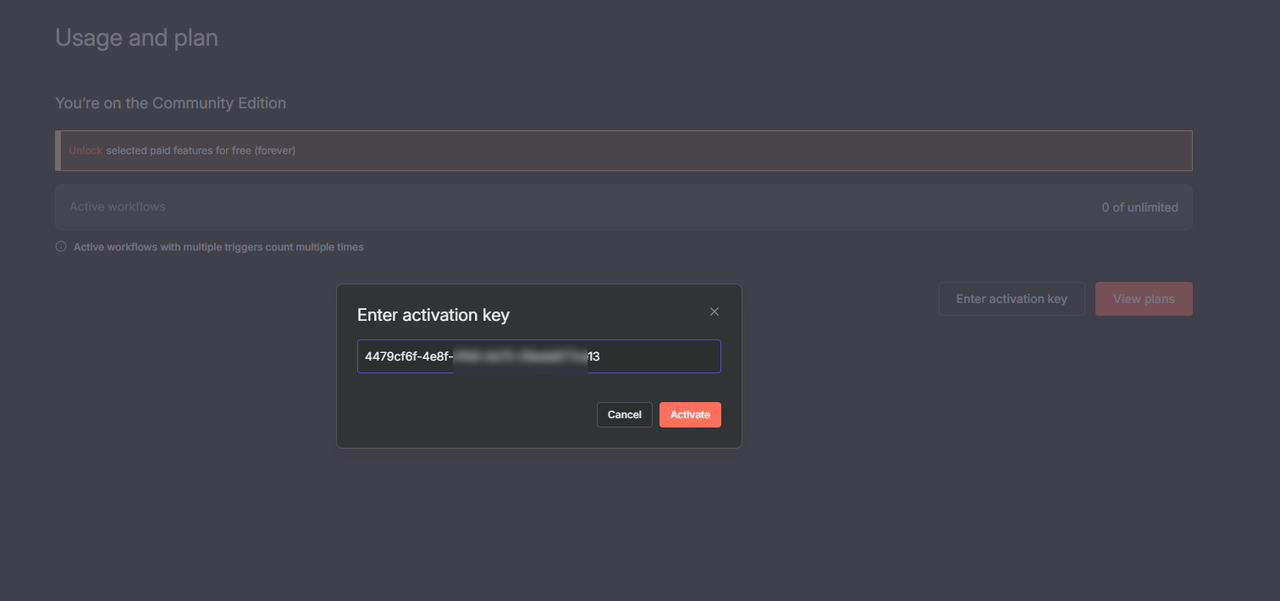
Click Enter activation key and paste the license key to unlock advanced n8n features.
Click Activate to apply the license key.
Create Basic Workflows Using n8n
Follow the steps below to create a basic HTTP workflow in n8n.
Navigate to Overview within the n8n Workflow management interface.
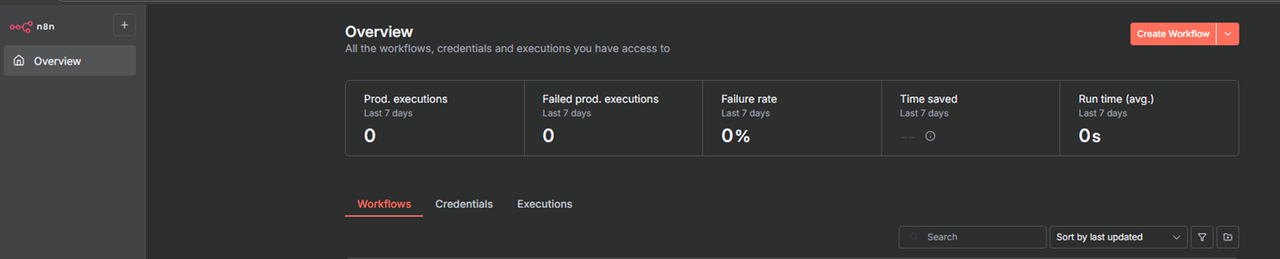
Click the Create Workflow button in the top-right corner of the page.
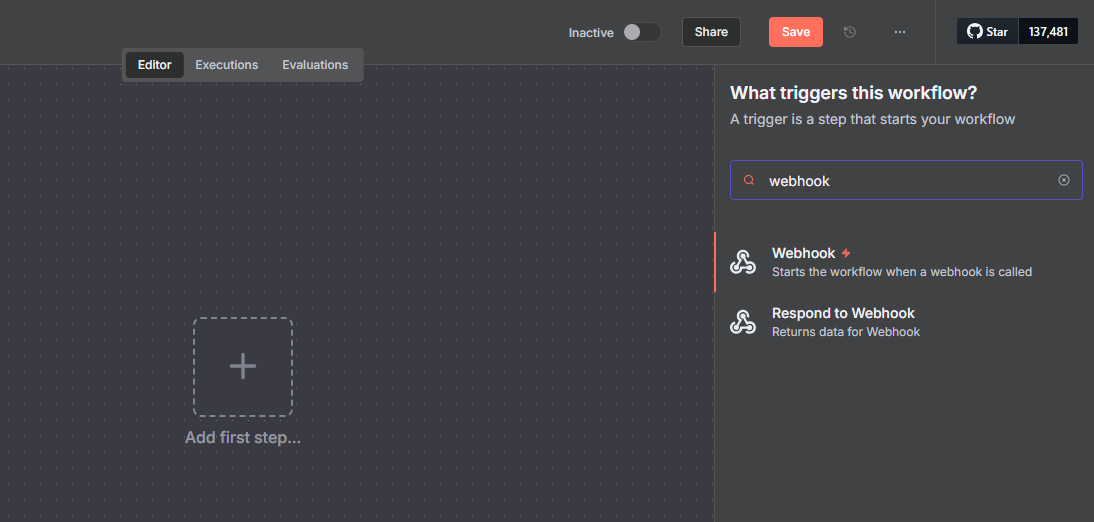
Click Add first step.
Enter
webhookin the search field and press Enter to browse the available triggers.Select Webhook from the list of options to open its configuration dialog.
Click the HTTP Method drop-down and select GET from the list of options.
Remove the default value in the Path field and set
/greetingsas the new path.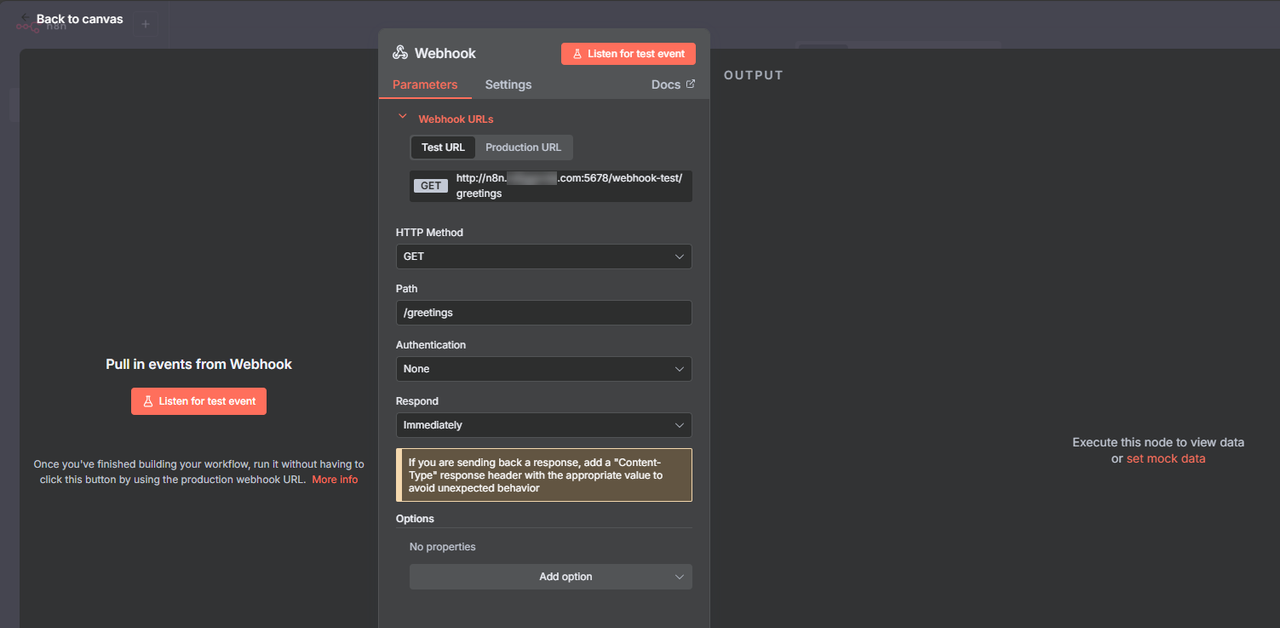
Click the Respond drop-down and select
Using 'Respond to Webhook' Nodefrom the list of options.Click Back to Canvas to save the node configuration.
Click + to add a new node to your canvas.
Search and select
Respond to Webhookfrom the list of options.
Click the Respond With drop-down and select JSON from the list of options.
Replace the default Response Body configuration with the following contents.
json{ "message": "Greetings from Vultr! The workflow is successfully executed", "status": "success", "timestamp": "{{ $now }}" }
Click Back to Canvas to save the response configuration.
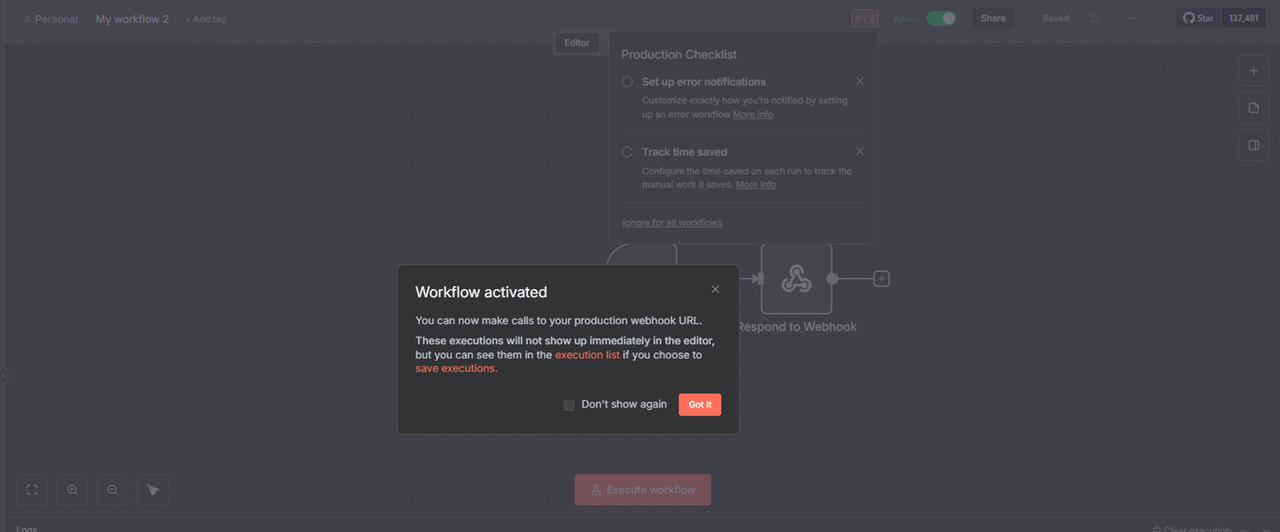
Toggle Inactive on the top navigation bar to activate the workflow.
Click Got it and verify that the workflow is active.
Click Execute Workflow to start the workflow.
Double-click the Webhook node to open its configuration page.
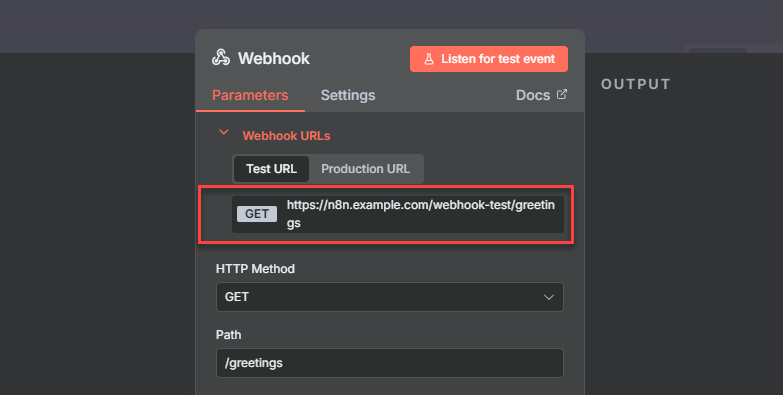
Copy the node URL from the Webhook URLs to execute with a curl request.
Click Back to canvas to access the workflow.
Open a new terminal on your workstation.
Send a new
GETrequest to the Webhook URL.console$ curl https://n8n.example.com/webhook-test/greetings
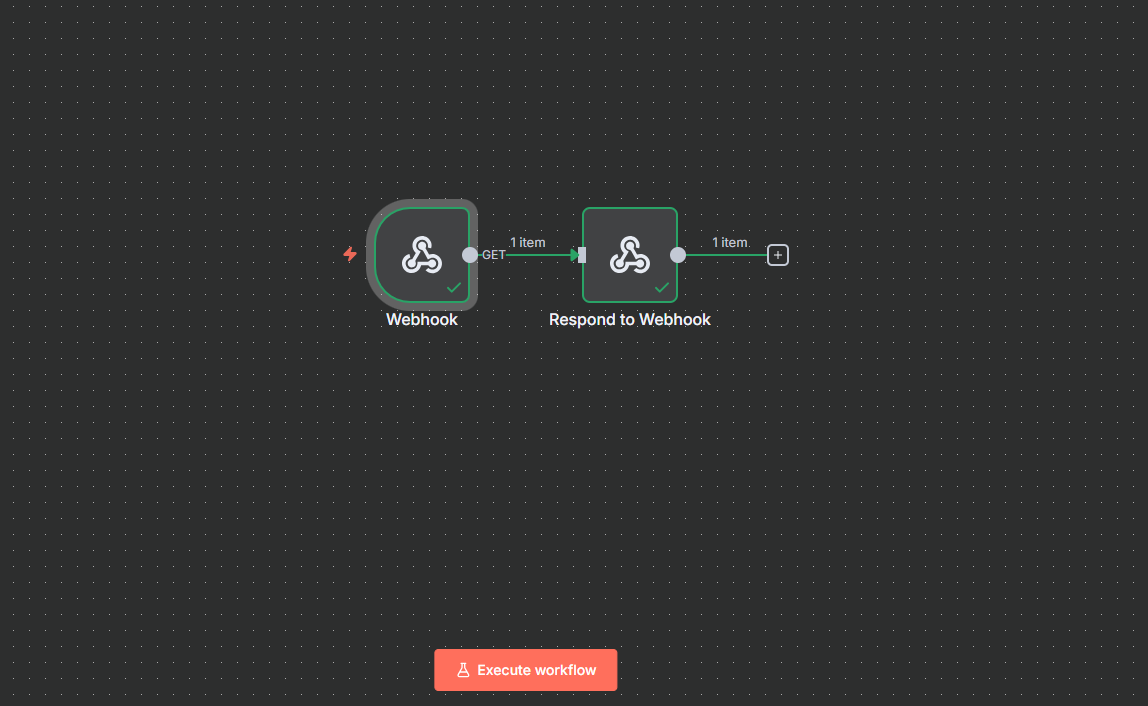
Verify that the request is accepted with a
Greetings from Vultrresponse in your output, similar to the one below.{"message":"Greetings from Vultr! The workflow is successfully executed","status":"success","timestamp":"2025-09-13T20:57:56.959-04:00"}Verify that your workflow executes within the n8n interface and monitor the node output within the Logs pane.
Click Save on the top navigation bar to keep all changes in your workflow.
Create AI Workflows Using n8n
AI agents are autonomous software systems or applications that use large language models (LLMs) to understand goals, plan, and execute tasks automatically, with minimal human intervention. In n8n, they require API credentials to connect to specific model providers such as OpenAI, Claude, Mistral, and store the executed tasks in memory for reference and use in your workflow. You can integrate AI agents with popular services to perform tasks like searching the web, sending reminders, sending Slack, Discord, Telegram, or WhatsApp messages, and managing calendar events.
Follow the steps below to install Ollama on your server, download and run self-hosted models, and create automated AI Agent Workflows to perform basic tasks in your workflow.
Install Ollama
Ollama is an open-source tool for running large language models (LLMs) locally, without relying on cloud-based models. It supports OpenAI-compatible endpoints, making it compatible with the AI workflows in n8n with support for tools and functions depending on the downloaded models. Follow the steps below to install Ollama using Docker and download models like gpt-oss to use with AI workflows in n8n.
Check the GPU usage information on your server to enable fast model execution with Ollama.
console$ nvidia-smiRun Ollama using Docker with GPU acceleration.
console$ sudo docker run -d --gpus=all -v ollama:/app/.ollama -p 11434:11434 --name ollama ollama/ollama
Verify the installed Ollama version.
console$ sudo docker exec -it ollama ollama --version
Visit the Ollama models repository and note the large language models (LLMs) to download on your server.
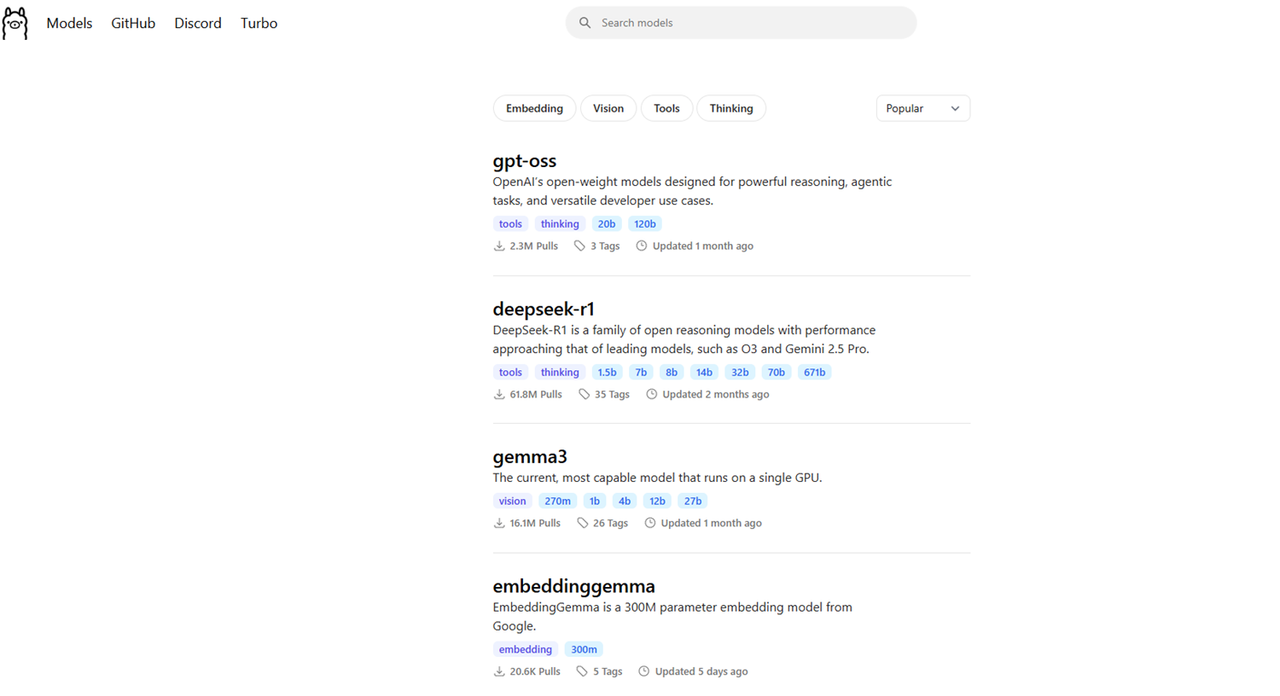
Download a model such as
gpt-oss:20busing Ollama to use with n8n.console$ sudo docker exec -it ollama ollama pull gpt-oss:20b
List all downloaded models.
console$ sudo docker exec -it ollama ollama list
Output:
NAME           ID              SIZE     MODIFIED
gpt-oss:20b    aa4295ac10c3    13 GB    2 minutes ago
Allow connections to the
11434Ollama port through the firewall to enable API connections using your domain or the server IP address.console$ sudo ufw allow 11434/tcp
Reload UFW to apply the firewall configuration changes.
console$ sudo ufw reload
Create AI Agents in n8n
Follow the steps below to create a new AI Agent that executes basic tasks in your workflow using Ollama.
Click Overview within the n8n workflow management interface.
Click Create New Workflow.
Click + and enter
chatin the search bar.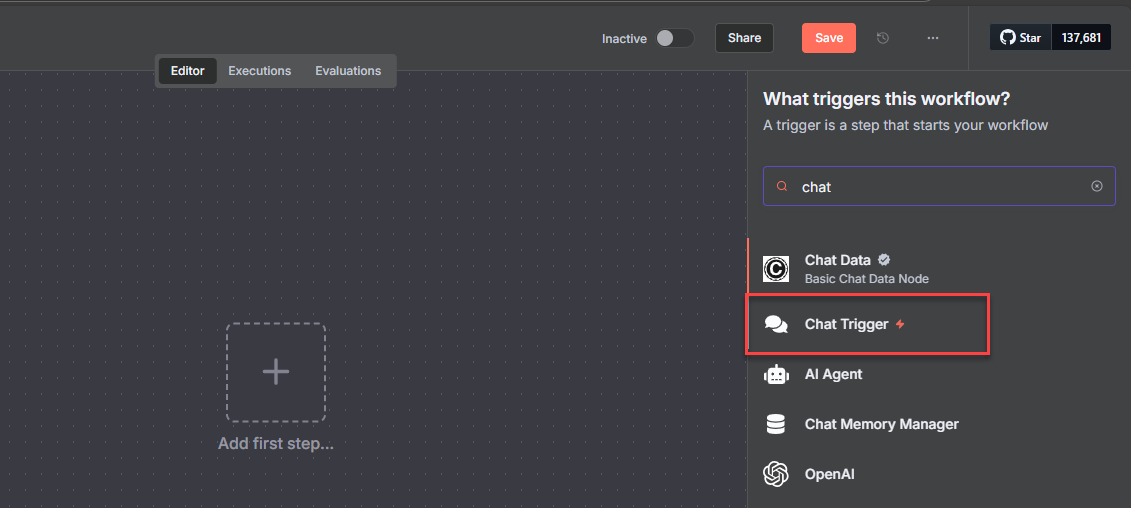
Select Chat Trigger from the list of triggers to open its configuration pane.
Click Back to canvas to use the trigger without any additional configurations.
Click + next to the node, search and select AI Agent from the list of trigger options.
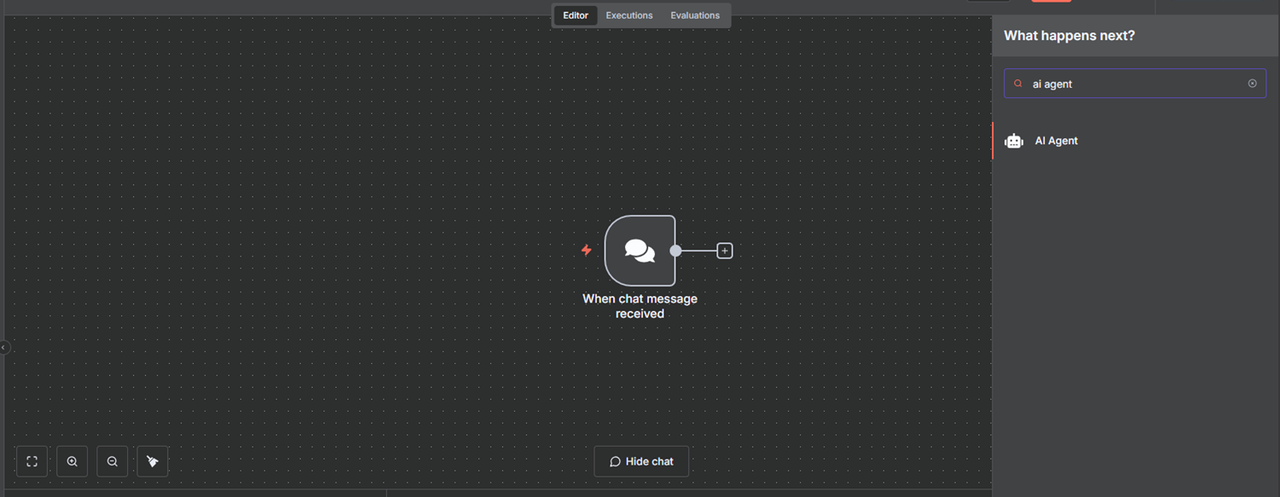
Verify that the Source for Prompt is set to Connect Chat Trigger Node, and click Back to canvas.
Click + on the Chat Model input.
Search for
ollamaand select Ollama Chat Model from the list of model options.
Click the Select Credential drop-down and select Create new credential.
Replace the Base URL with your server's IP address and Ollama port.
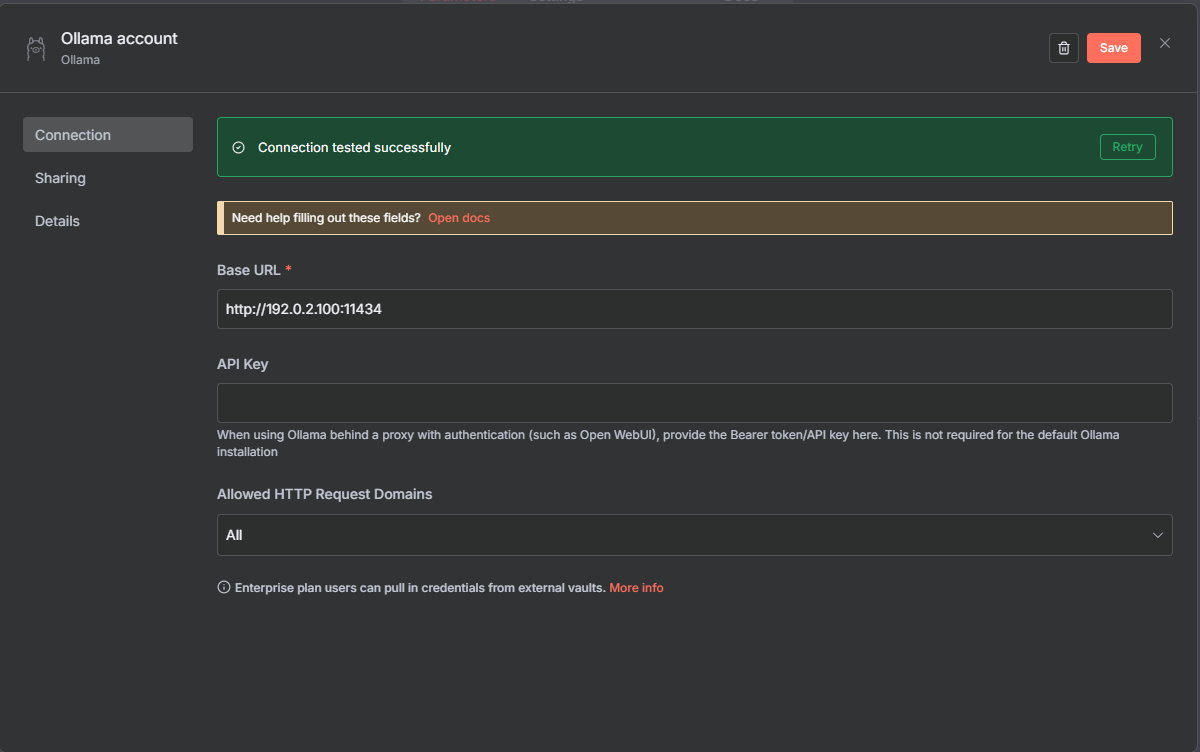
Click Save to test the Ollama connection and close the configuration dialog.
Click the Model drop-down and select the base model to use with the AI agent in your workflow.

Click Back to canvas to switch to your workflow.
Click the + on the memory input and select Simple Memory from the list of options to use the n8n memory.
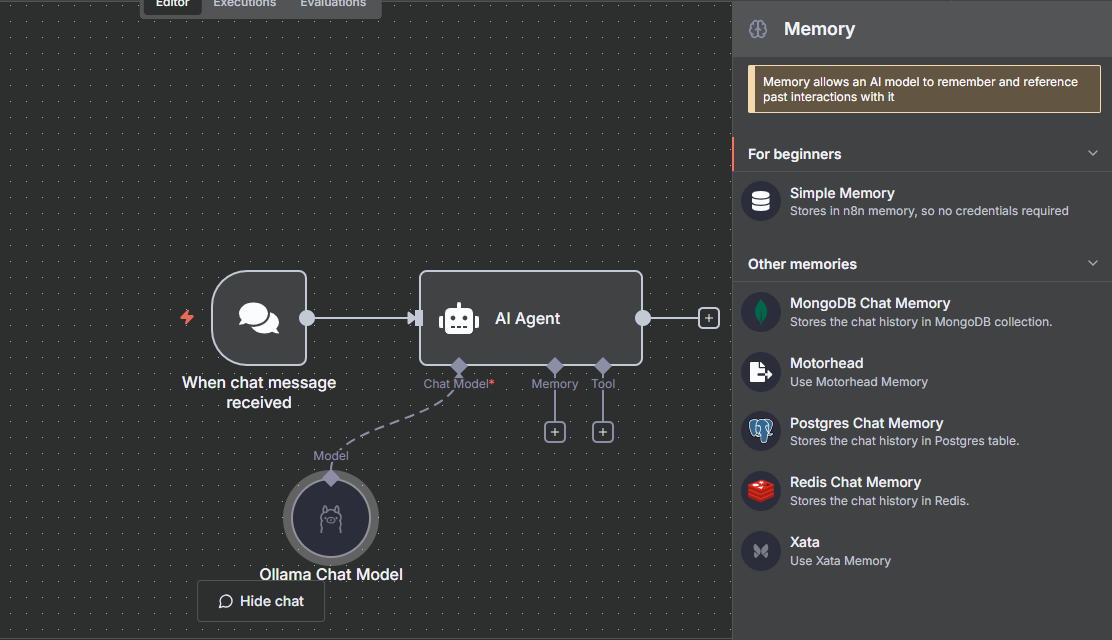
Click Back to canvas to use the memory with the default configuration.
Click + on the Tool input, search and select Calculator from the list of available tools.
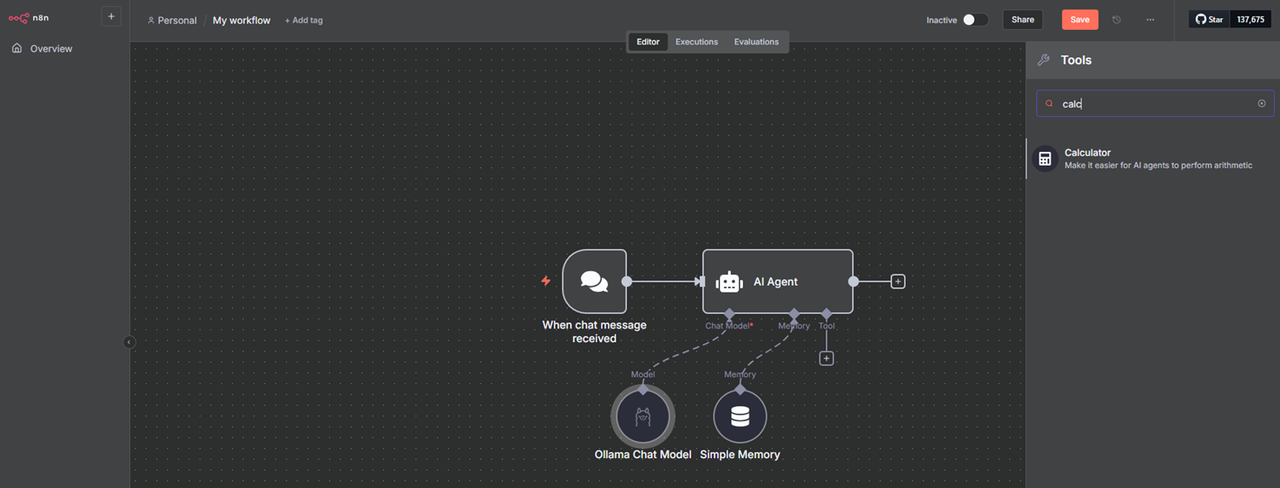
Click Back to canvas and click Save to keep the workflow changes.
Toggle Inactive on the top navigation bar to activate the workflow.
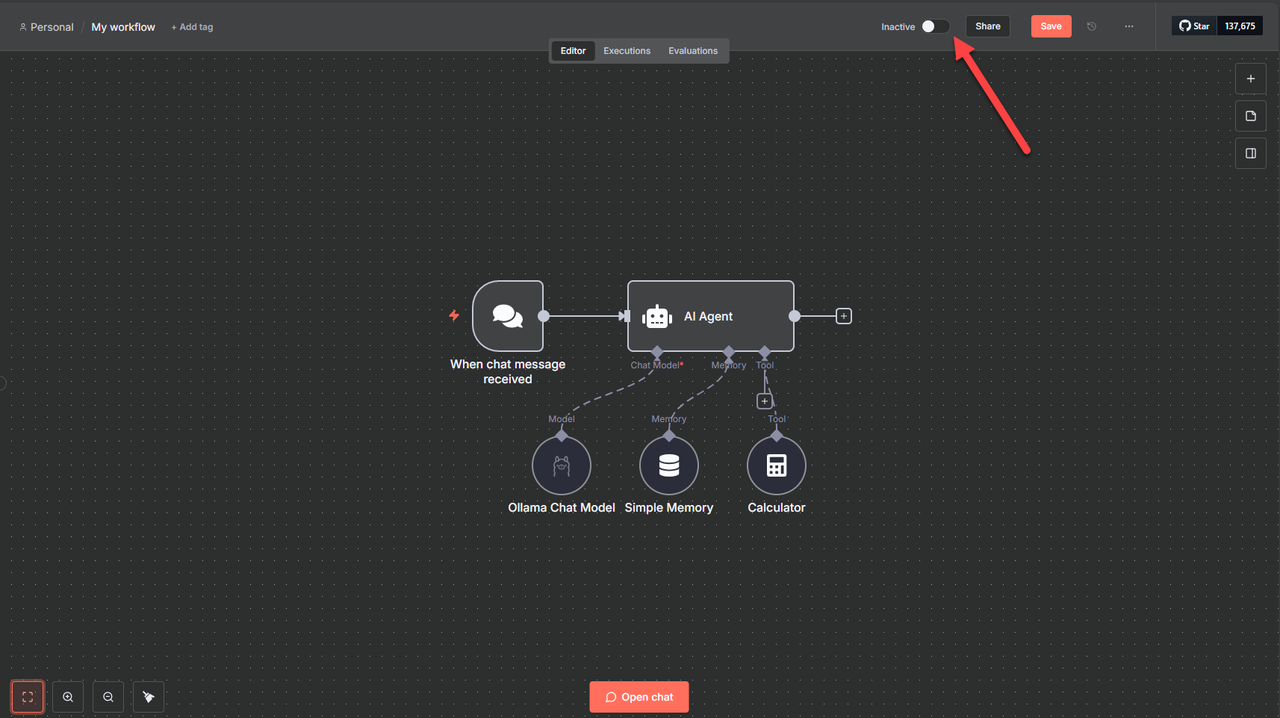
Click Open chat to open the bottom chat interface.
Enter a basic calculation prompt within the Chat pane. For example,
What is 3345 multiplied by 17, and divided by 5?.Press Enter to execute the workflow and monitor the AI agent execution.
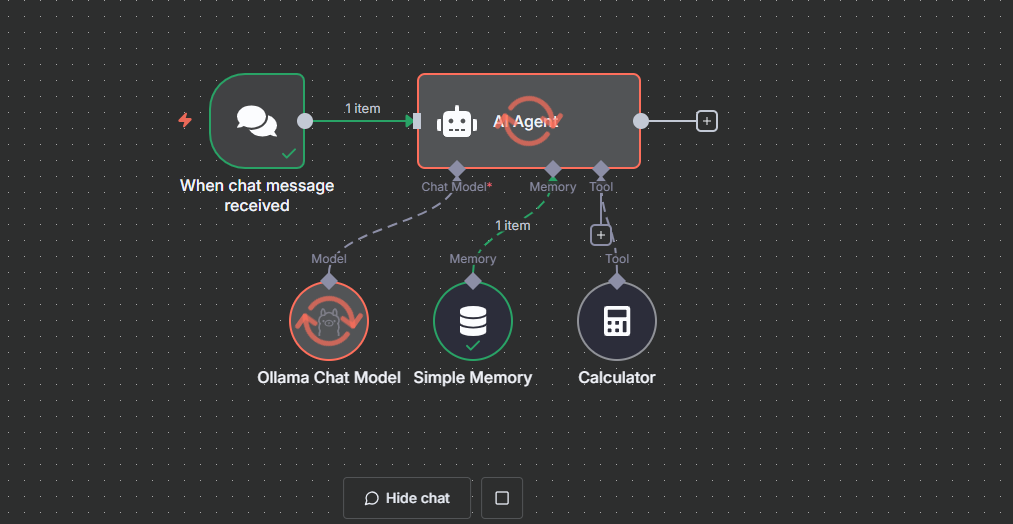
Verify that the AI agent stores the prompt in memory and uses Ollama to process the output in your workflow.
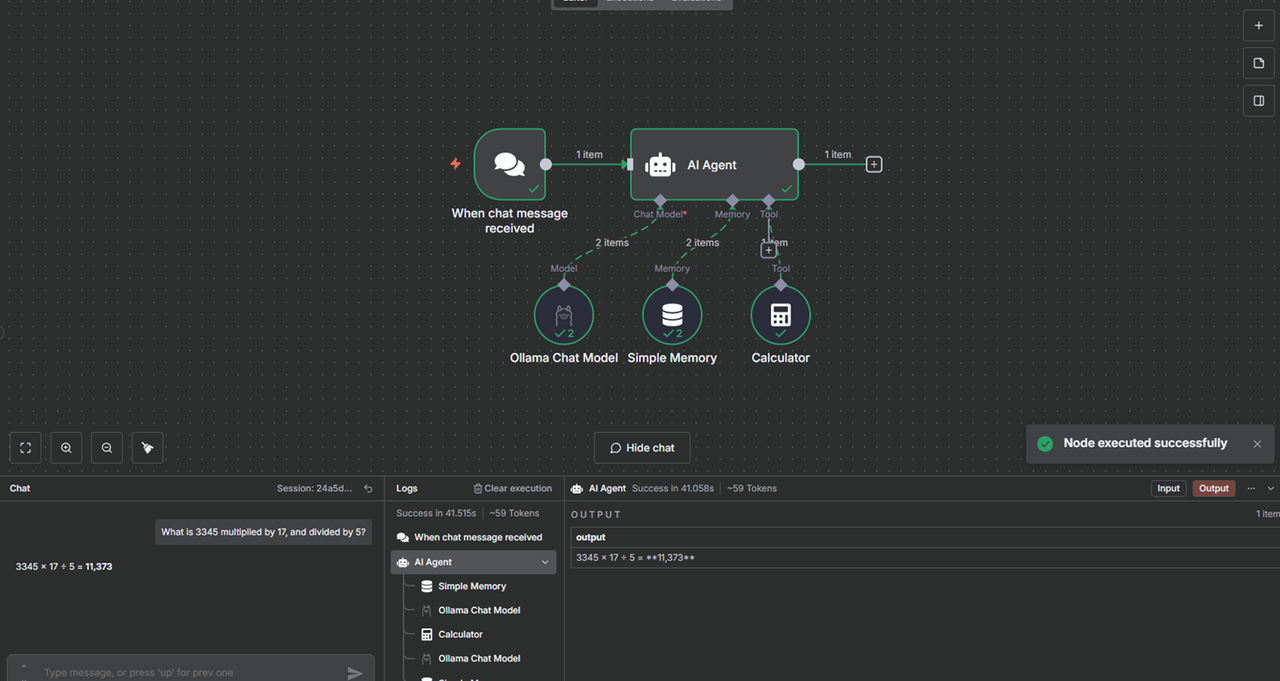
You have executed an AI workflow in n8n using Ollama and stored all executed prompts in memory with the AI agent node. You can add new actions to the AI agent to process results using additional services such as Google Drive, Google Sheets, or Telegram.
Conclusion
In this guide, you installed and configured n8n to build automated AI workflows using AI agents on a Vultr Cloud GPU instance. You can use n8n to build advanced AI agents and integrate existing services via API to perform multiple automated tasks in your workflow. For more information and workflow templates, visit the n8n documentation.