
How to Install PHP 8 on Ubuntu 24.04
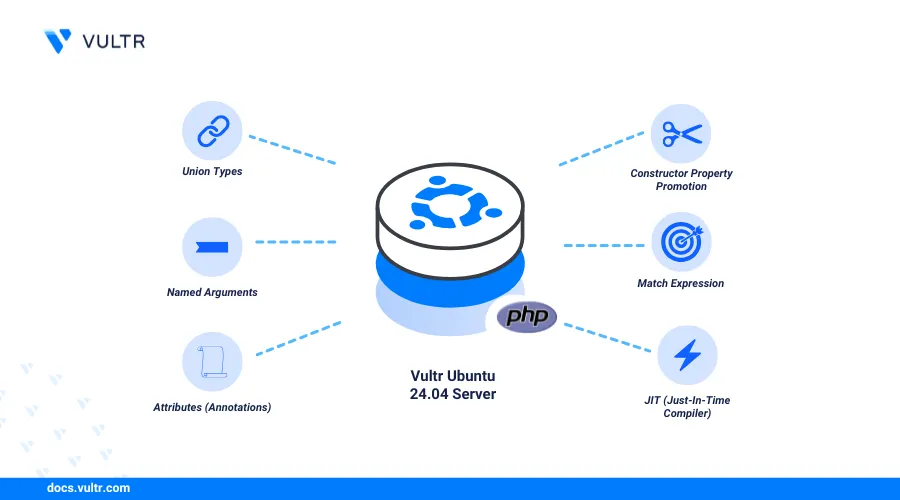
PHP (Hypertext Preprocessor) is a widely used, open-source scripting language for building dynamic and interactive web applications. To take advantage of its latest capabilities, install PHP 8 on Ubuntu 24.04, which includes PHP 8.4’s performance enhancements such as JIT compilation, improved type safety, and expanded syntax features.
This article shows you how to install PHP 8.4 on Ubuntu 24.04 using the ppa:ondrej/php repository. You'll configure PHP-FPM, verify the installation using two test methods (Apache and PHP's built-in server), and ensure common extensions are working properly.
Prerequisites
Before you begin:
- Have an Ubuntu 24.04 server.
- Access the server via SSH as a non-root user with
sudoprivileges. - Update the server.
Add the PHP PPA Repository
Ubuntu’s default package sources may not include older PHP 8.x versions. To install PHP 8.4, you’ll use the widely trusted ppa:ondrej/php Personal Package Archive (PPA), which offers maintained versions and related extensions.
Update the APT package index.
console$ sudo apt update
Add the
ppa:ondrej/phprepository to your APT sources.console$ sudo add-apt-repository ppa:ondrej/php
Press Enter when prompted to add the PPA to your APT sources.
Update the APT package index to apply the PPA repository information.
console$ sudo apt update
PHP 8.4 is currently available through the
ppa:ondrej/phprepository. You can verify the available version in your APT sources by running:console$ sudo apt policy php
Output.
php:
  Installed: (none)
  Candidate: 2:8.4+99+ubuntu24.04.1+deb.sury.org
  Version table:
     2:8.4+99+ubuntu24.04.1+deb.sury.org 500
        500 http://ppa.launchpad.net/ondrej/php/ubuntu noble/main amd64 Packages
     2:8.2+93ubuntu1 500
        500 http://archive.ubuntu.com/ubuntu noble/main amd64 Packages
This confirms that PHP 8.4 is available from the
ppa:ondrej/phprepository.For the latest official release details, refer to the PHP Releases page.
Install PHP 8 on Ubuntu 24.04
Now that you've added the PPA, install PHP 8.4 and the essential extensions required by most modern web applications.
Install PHP 8.4.
console$ sudo apt install php8.4 -y
Install commonly used PHP extensions.
console$ sudo apt install php8.4-common php8.4-cli php8.4-opcache php8.4-mysql php8.4-xml php8.4-curl php8.4-zip php8.4-mbstring php8.4-gd php8.4-intl php8.4-bcmath -y
These extensions are frequently used in content management systems, frameworks, and APIs:
php8.4-common: Core PHP filesphp8.4-cli: Command-line interfacephp8.4-opcache: Bytecode caching for performancephp8.4-mysql: MySQL/MariaDB database supportphp8.4-xml: XML parsingphp8.4-curl: cURL library supportphp8.4-zip: ZIP archive handlingphp8.4-mbstring: Multibyte string encoding (UTF-8, etc.)php8.4-gd: Image manipulationphp8.4-intl: Internationalization supportphp8.4-bcmath: Arbitrary precision math
Verify the PHP installation.
console$ php -v
Output.
PHP 8.4.6 (cli) (built: Apr 11 2025 02:19:40) (NTS)
Copyright (c) The PHP Group
Zend Engine v4.4.6, Copyright (c) Zend Technologies
with Zend OPcache v8.4.6, Copyright (c), by Zend Technologies
List installed PHP versions and optionally make PHP 8.4 the default.
console$ ls /etc/php
If only PHP 8.4 is installed, set it as the default system version:
console$ sudo update-alternatives --install /usr/bin/php php /usr/bin/php8.4 84
Then confirm:
console$ php -v
Verify active modules to ensure extensions are loaded:
console$ php -m
This lists all active PHP modules.
Install PHP 8 FPM
PHP-FPM (FastCGI Process Manager) runs PHP as a separate background service and handles dynamic requests more efficiently than traditional CGI. It improves performance, resource control, and is ideal for high-traffic applications. Follow the steps below to set up PHP-FPM for optimal performance and efficiency.
Install PHP 8.4 FPM.
console$ sudo apt install php8.4-fpm -y
Start the PHP-FPM service.
console$ sudo systemctl start php8.4-fpm
Enable PHP-FPM to start automatically on boot.
console$ sudo systemctl enable php8.4-fpm
Check the status of PHP-FPM service.
console$ sudo systemctl status php8.4-fpm
Output.
● php8.4-fpm.service - The PHP 8.4 FastCGI Process Manager
Loaded: loaded (/lib/systemd/system/php8.4-fpm.service; enabled; vendor preset: enabled)
Active: active (running) since Wed 2025-04-11 02:19:40 UTC; 1min 30s ago
Main PID: 12345 (php-fpm8.4)
Status: "Processes active: 0, idle: 1, Requests: 1, slow: 0, Traffic: 0req/sec"
Press Q to exit the status output.
Configure PHP-FPM Socket (For Apache Integration)
When using PHP-FPM with Apache, it's recommended to connect via a secure Unix socket instead of TCP for better performance and security. This section shows how to configure PHP-FPM to use a socket that Apache can access.
Open the PHP-FPM pool configuration file.
console$ sudo nano /etc/php/8.4/fpm/pool.d/www.conf
Update the following lines (if not already present).
inilisten = /run/php/php8.4-fpm.sock listen.owner = www-data listen.group = www-data listen.mode = 0660
These settings allow Apache (running as
www-data) to send PHP requests through the socket used by PHP-FPM.
PHP-FPM allows Apache to delegate PHP processing to a separate process manager, improving performance and resource handling under heavy traffic. The integration is seamless with modules like proxy_fcgi and configuration snippets enabled through a2enconf.
For advanced tuning options (e.g., process limits, slow logs), see the official PHP-FPM documentation.
PHP includes a built-in development server for lightweight testing. This method is ideal for validating that PHP is working correctly before setting up Apache or Nginx.
Create a test directory and PHP file:
console$ mkdir ~/phptest && cd ~/phptest
console$ echo "<?php echo 'Greetings from Vultr'; ?>" > index.php
Start the PHP development server:
console$ php8.4 -S 0.0.0.0:8000
Open
http://SERVER-IP:8000in your browser.You should see:
Greetings from Vultr
This method is useful for basic testing but not suitable for production environments.
Test and Use PHP 8
This section guides you through integrating Apache with PHP-FPM and verifying the setup with a sample PHP script. Using proxy_fcgi, Apache delegates PHP processing to PHP-FPM, improving performance and scalability.
If Apache is not already installed, install it:
$ sudo apt install apache2
Verify the Apache service is running.
console$ sudo systemctl status apache2
Output.
● apache2.service - The Apache HTTP Server
Loaded: loaded (/lib/systemd/system/apache2.service; enabled; vendor preset: enabled)
Active: active (running) since Sun 2025-04-13 02:19:40 UTC; 8h ago
...
Press Q to exit the status output.
Enable required Apache modules for PHP-FPM:
console$ sudo a2enmod proxy_fcgi setenvif
Enable the PHP-FPM configuration for Apache:
console$ sudo a2enconf php8.4-fpm
Restart Apache to apply changes:
console$ sudo systemctl restart apache2
Allow HTTP traffic through the firewall.
console$ sudo ufw allow 80
Reload the firewall configuration.
console$ sudo ufw reload
Create a test
info.phpfile in the Apache web root directory.console$ sudo nano /var/www/html/info.php
Add the following code to the file.
php<?php phpinfo(); ?>
Save and exit the editor.
Access your server's IP address in a web browser and load the
/info.phpURL path to view the PHP information page. ReplaceSERVER-IPwith your server's actual IP address.http://SERVER-IP/info.phpAfter verifying PHP info, delete info.php to avoid exposing server configuration.Warningconsole$ sudo rm /var/www/html/info.php
Conclusion
In this article, you installed PHP 8.4 on Ubuntu 24.04, added the required PPA repository, installed core PHP extensions, and configured PHP-FPM. You also verified the installation by creating a test script served through Apache. With PHP 8.4 now running on your system, you’re ready to start building and deploying modern web applications using the latest features and improvements. For more information, visit the official PHP documentation.