How to Install RabbitMQ on Debian 12
Introduction
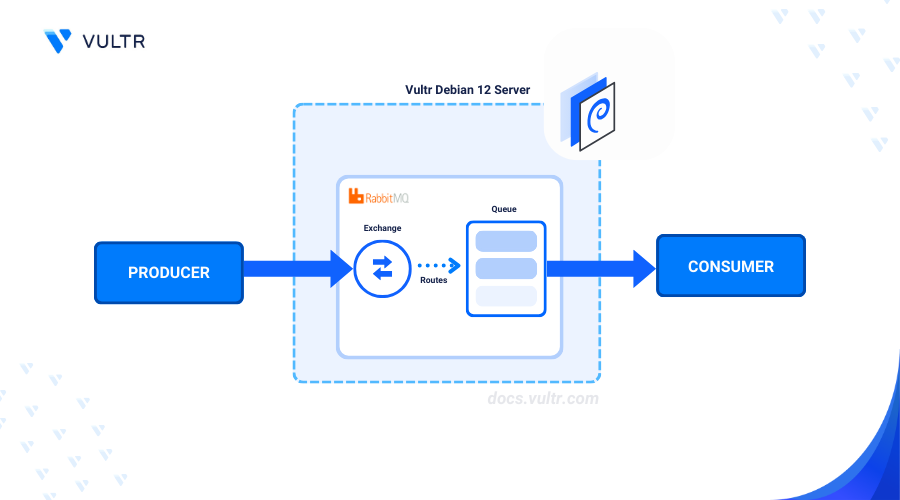
RabbitMQ is a popular, lightweight, open-source message broker that implements the Advanced Message Queuing Protocol (AMQP). It enables applications to exchange messages asynchronously, decouple them from each other and improve scalability.
This article explains how to install RabbitMQ on Debian 12.
Prerequisites
Before you begin:
- Deploy a Debian 12 instance on Vultr.
- Create a new domain A record pointing to the instance's IP address. For example,
rabbitmq.example.com. - Access the server using SSH as a non-root user with sudo privileges
Install RabbitMQ
Erlang is a RabbitMQ dependency package required on a server. asdf is a CLI tool that can manage language runtime versions on a per-project basis and enables the smooth installation of Erlang. Follow the steps below to enable all dependency packages and install RabbitMQ on your server.
Install all required asdf dependencies.
CONSOLEDownload asdf using the official project repository.
CONSOLEOpen the
.bashrcfile in your environment.CONSOLEAdd the following directives at the end of the file.
INISave and lose the file.
Reload the
.bashrcfile in your session.CONSOLEView the asdf version on your server.
CONSOLEOutput:
Install the
asdf-erlangplugin.CONSOLEInstall all necessary Erlang dependencies.
CONSOLECreate a new environment variable to skip Java dependency warnings during installation.
CONSOLEInstall the Erlang version
26.1.2CONSOLESet the global Erlang version to use on the server.
CONSOLEAccess the Erlang shell to verify your installation.
CONSOLEOutput:
Enter A and press Enter to exit the Erlang shell.
Install the RabbitMQ Package
Install RabbitMQ.
CONSOLEThe above command installs the latest version of RabbitMQ server package and fixes any broken dependencies on your server.
View the RabbitMQ service status and verify that it's running.
CONSOLEOutput:
Enable the RabbitMQ service to automatically start at system boot.
CONSOLEStart the RabbitMQ service.
CONSOLE
Configure RabbitMQ
Follow the steps below to configure RabbitMQ on your server.
List all RabbitMQ virtual hosts.
CONSOLECreate a new RabbitMQ virtual host to use in your applications. Replace
myhostwith your desired virtual host.CONSOLECreate a new RabbitMQ user and assign the user a strong password.
CONSOLEGrant the user administrative privileges to use RabbitMQ.
CONSOLEGrant the user full permissions to all RabbitMQ virtual hosts, exchanges, queues, bindings, and routing keys.
CONSOLE
Secure RabbitMQ
Follow the steps below to disable the guest user and secure the RabbitMQ web management console with trusted SSL certificates on your server.
Disable the RabbitMQ guest user profile.
CONSOLEOpen the main RabbitMQ configuration file to enable user authentication.
CONSOLEAdd the following directive at the end of the file.
INISave and close the file.
Restart RabbitMQ to apply changes.
CONSOLEInstall the Nginx web server to work as a reverse proxy with RabbitMQ.
CONSOLECreate a new Nginx virtual host configuration for RabbitMQ.
CONSOLEAdd the following configurations to the file. Replace
rabbitmq.example.comwith your actual domain.NGINXSave and close the file.
The above Nginx configuration listens for incoming network connections on the HTTP port
80to serve the RabbitMQ console from port15672and the/mqttpath for web socket connections.Disable the default virtual host configuration.
CONSOLECreate a new symbolic link to the
/sites-enableddirectory to enable the virtual host configuration.CONSOLETest the Nginx configuration for errors.
CONSOLEOutput:
Restart the Nginx service.
CONSOLEInstall the Certbot Let's Encrypt client plugin for Nginx.
CONSOLEAllow network connections on the HTTP port
80through the firewall to enable Let's Encrypt validations.CONSOLERestart UFW to apply changes.
CONSOLEGenerate a new SSL certificate to use with your Nginx virtual host and RabbitMQ domain
rabbitmq.example.com. Replacehello@example.comwith your actual email.CONSOLEYour output should be similar to the one below when successful.
Restart Nginx to apply the SSL configuration changes.
CONSOLEAllow HTTPS connections on port
443through the firewall.CONSOLERestart UFW to apply changes.
CONSOLE
Access the RabbitMQ Console
You can access the RabbitMQ console to monitor and manage your server functionalities. Follow the steps below to enable the RabbitMQ management plugin, and access the web administration console to perform tasks such as queue monitoring.
Enable the RabbitMQ management plugin.
CONSOLEOutput:
View all RabbitMQ plugins and verify that the management plugin is active.
CONSOLEOutput:
Based on the above output, the web administration management plugin is enabled based on the
[E]prompt.Access your RabbitMQ domain using a web browser such as Chrome to access the web administration console.
Enter your administrative RabbitMQ user and password details you created earlier to log in to the console.
Use the RabbitMQ management interface to view active nodes, users, virtual hosts, queues, exchanges, and perform management tasks on the server.
Conclusion
You have installed RabbitMQ on a Debian 12 server and secured access to the web administration console. RabbitMQ implements message-based architectures, microservices, and distributed systems you can use with existing applications on your server. For more information and configuration options, visit the RabbitMQ documentation.


0 Comments
Be the first to comment and share your perspective with the community.