
How to Install RabbitMQ on Ubuntu 24.04
Introduction
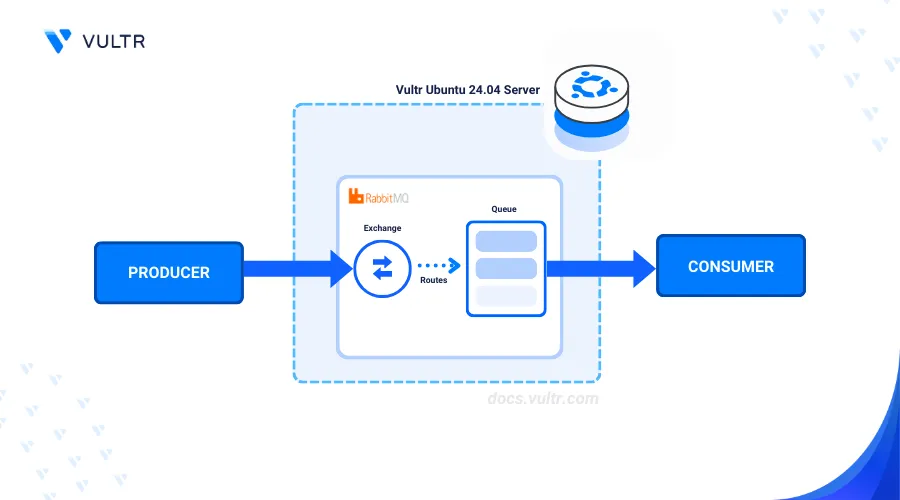
RabbitMQ is an open-source message and streaming broker that enables efficient communication between distributed systems. It's highly extensible with plugins and supports multiple messaging protocols that improve application reliability while enabling fast deployment and integration with other systems.
This article explains how to Install RabbitMQ on Ubuntu 24.04 and secure it on the server.
Prerequisites
Before you begin:
Deploy a Ubuntu 24.04 instance on Vultr.
Set up a domain A record pointing to the instance IP address. For example,
rabbitmq.example.com.Access the server using SSH as a non-root user with sudo privileges.
Install RabbitMQ
RabbitMQ is available in the default repositories on Ubuntu 24.04. Follow the steps below to install the Erlang dependency package and RabbitMQ on your server.
View the available RabbitMQ APT repository information.
console$ sudo apt-cache policy rabbitmq-server
Output:
rabbitmq-server:
  Installed: (none)
  Candidate: 3.12.1-1ubuntu1
  Version table:
     3.12.1-1ubuntu1 500
        500 http://archive.ubuntu.com/ubuntu noble/main amd64 Packages
        500 http://ubuntu.mirror.constant.com noble/main amd64 Packages
        500 http://us.archive.ubuntu.com/ubuntu noble/main amd64 Packages
Install the
erlangandgnupgdependency packages.console$ sudo apt install gnupg erlang -y
Install RabbitMQ.
console$ sudo apt install rabbitmq-server -y
Manage the RabbitMQ System Service
RabbitMQ uses the rabbitmq-server system service to run and manage the application processes on your server. Follow the steps below to manage the RabbitMQ system service.
Enable the RabbitMQ service to start at boot time.
console$ sudo systemctl enable rabbitmq-server
Start the RabbitMQ service.
console$ sudo systemctl start rabbitmq-server
View the RabbitMQ service status and verify that it's running.
console$ sudo systemctl status rabbitmq-server
Output:
● rabbitmq-server.service - RabbitMQ Messaging Server
Loaded: loaded (/usr/lib/systemd/system/rabbitmq-server.service; enabled; preset: enabled)
Active: active (running) since Fri 2024-07-05 15:42:24 UTC; 26s ago
Main PID: 4122 (beam.smp)
   Tasks: 24 (limit: 9438)
Memory: 98.8M (peak: 106.2M)
   CPU: 4.186s
Configure RabbitMQ
RabbitMQ uses a management plugin to enable access to the web management panel. Follow the steps below to enable the RabbitMQ plugin, create an administrative user account, and grant the user full permissions to the application processes.
Enable the RabbitMQ management plugin.
console$ sudo rabbitmq-plugins enable rabbitmq_management
Create a new administrative user account with a strong password. Replace
adminwith your actual user andStrongPasswordwith your desired user password.console$ sudo rabbitmqctl add_user admin StrongPassword
Grant the user administrative privileges.
console$ sudo rabbitmqctl set_user_tags admin administrator
Grant the user full permissions to all RabbitMQ resources on the server.
console$ sudo rabbitmqctl set_permissions -p / admin ".*" ".*" ".*"
Within the above command:
.*: Grants configuration privileges to the user..*: Grants write privileges to the user on any resource..*: Grants read privileges to the user read.
Secure RabbitMQ
RabbitMQ listens for incoming connection requests on the default TCP port 15672 on your server. Set up a reverse proxy such as Nginx to secure the RabbitMQ port and process connection requests using a custom port such as the HTTP port 80. In addition, secure RabbitMQ connection using valid SSL certificates to enable HTTPS connections on the server as described in the following sections.
Set Up Nginx as a Reverse Proxy to Expose RabbitMQ
Install Nginx.
console$ sudo apt install nginx -y
Enable Nginx to start at boot time.
console$ sudo systemctl enable nginx
Start the Nginx service.
console$ sudo systemctl start nginx
Disable the default Nginx configuration file.
console$ sudo rm /etc/nginx/sites-enabled/default
Create a new Nginx virtual host configuration such as
rabbitmq.confusing a text editor such asnano.console$ sudo nano /etc/nginx/sites-available/rabbitmq.conf
Add the following contents to the file. Replace
rabbitmq.example.comwith your actual domain.nginxserver { listen 80; server_name rabbitmq.example.com; location / { proxy_pass http://127.0.0.1:15672; proxy_set_header Host $host; proxy_set_header X-Real-IP $remote_addr; proxy_set_header X-Forwarded-For $proxy_add_x_forwarded_for; proxy_set_header Upgrade $http_upgrade; proxy_set_header Connection "upgrade"; proxy_redirect off; proxy_http_version 1.1; proxy_max_temp_file_size 0; proxy_cache_bypass $http_upgrade; } }
Save and close the file.
The above Nginx configuration creates a new virtual host profile that listens for incoming connections on the HTTP port
80using your domainrabbitmq.example.comand forwards all connection requests to the RabbitMQ localhost port15672.Enable the virtual host configuration.
console$ sudo ln -s /etc/nginx/sites-available/rabbitmq.conf /etc/nginx/sites-enabled/
Test the Nginx configuration for errors.
console$ sudo nginx -t
Restart the Nginx service to apply the configuration changes.
console$ sudo systemctl restart nginx
Allow incoming connections to the HTTP port
80through the default UFW firewall configuration.console$ sudo ufw allow 80
Reload UFW to apply your configuration changes.
console$ sudo ufw reload
Secure the RabbitMQ Console with Trusted SSL Certificates
Install the Certbot Let's Encrypt Client tool.
console$ sudo snap install certbot --classic
Generate a new SSL certificate using your domain available in the Nginx virtual host configuration. Replace
rabbitmq.example.comandadmin@example.comwith your actual details.console$ certbot --nginx -d rabbitmq.example.com -m admin@example.com --agree-tos
Restart the Nginx service to apply your SSL configuration changes.
console$ systemctl restart nginx
Allow incoming connections to the HTTPS port
443through the default UFW firewall configuration.console$ sudo ufw allow 443
Reload UFW to apply your configuration changes.
console$ sudo ufw reload
Restart the RabbitMQ service.
console$ systemctl restart rabbitmq-server
Access the RabbitMQ Console
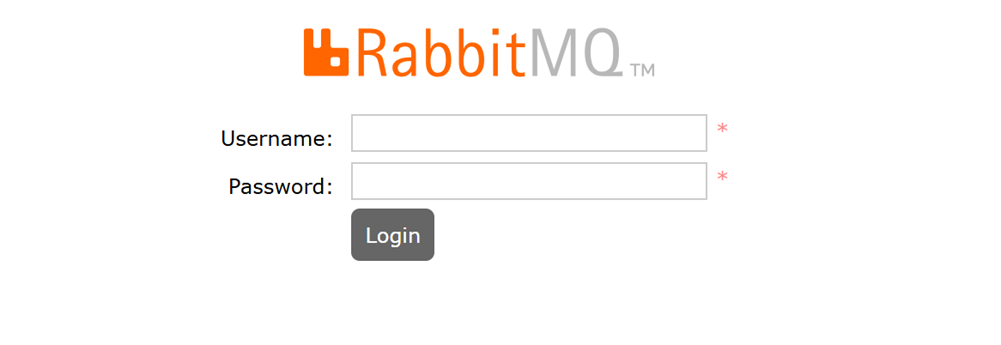
Access your domain using a web browser such as Chrome to access the RabbitMQ web administration console.
https://your-domain.comLog in to the RabbitMQ Console using the admin user credentials you created earlier when prompted.
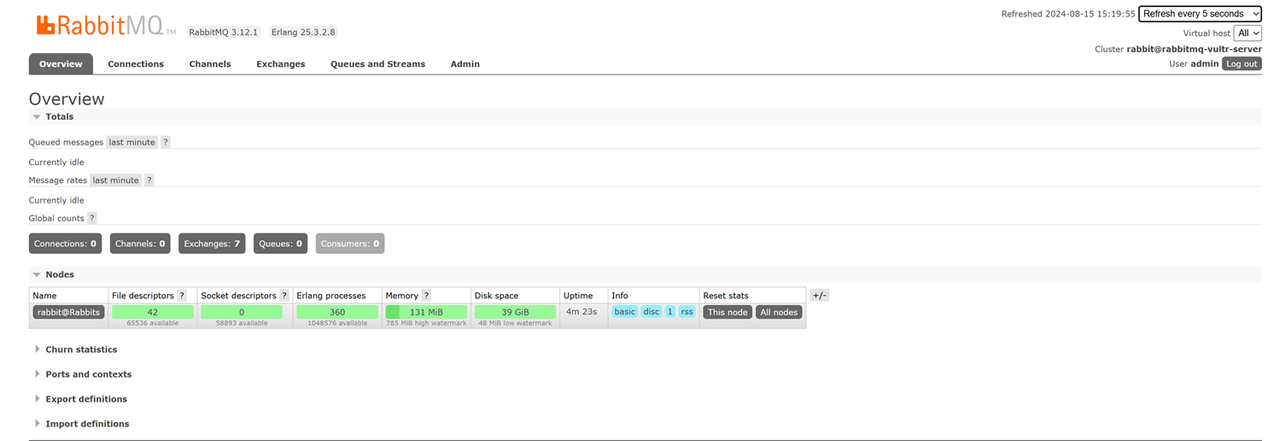
Click Nodes within the RabbitMQ console to view your active node statistics.
Conclusion
You installed RabbitMQ on a Ubuntu 24.04 server and secured the application to enable message streaming between applications. For more information, visit the RabbitMQ documentation.