How to Install RabbitMQ on FreeBSD 13.0
Introduction
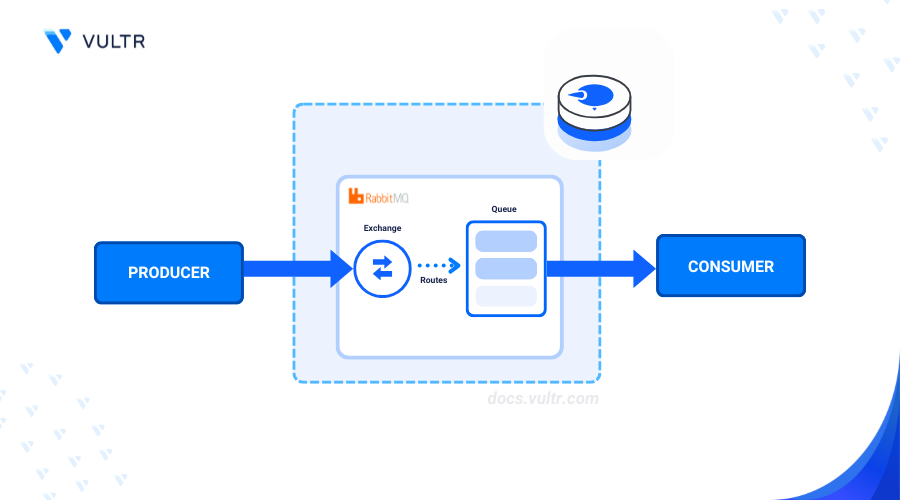
RabbitMQ is a robust, open-source message broker that allows efficient communication between distributed applications. RabbitMQ acts as an intermediary application between message producers and consumers. This message queuing architecture uses the Advanced Message Queuing Protocol, making it ideal for handling messaging in large-scale distributed systems. To get started, you can Install RabbitMQ on FreeBSD 13 for managing message queues effectively in your environment.
This article explains how to install RabbitMQ on FreeBSD 13.
Prerequisites
Before you begin:
- Deploy a FreeBSD 13.0 instance on Vultr.
- Set Up a domain A record pointing to the instance's public IP address. For example,
rabbitmq.example.com. - Access the instance using SSH.
- Create a non-root user with sudo privileges and switch to the user.
Install RabbitMQ on FreeBSD 13
RabbitMQ is available in the default package repositories on FreeBSD. The RabbitMQ package includes all dependencies, such as Erlang. Follow the steps below to install RabbitMQ using the default pkg package manager.
Update the server's package information index.
CONSOLEInstall RabbitMQ.
CONSOLEEnable RabbitMQ to automatically start at boot.
CONSOLEOutput:
Start the RabbitMQ service.
CONSOLEView the RabbitMQ service status and verify it's running.
CONSOLEOutput:
Configure RabbitMQ on FreeBSD 13
RabbitMQ uses the rabbitmq_management and rabbitmqadmin plugins to enable CLI access and a web administration dashboard on the default TCP port 15672. Follow the steps below to enable the RabbitMQ management plugins, create an administrative user account, and grant the user full permissions to the application processes.
Enable the RabbitMQ management plugin.
CONSOLECopy the
/var/db/rabbitmq/.erlang.cookiefile to/root/.erlang.cookie.CONSOLEEnable the
400permissions mode to grant the owner read privileges on the file.CONSOLERestart the RabbitMQ service.
CONSOLECreate a new RabbitMQ user and set a strong user password. Replace
example_userwith your desired username andexample_passwordwith a strong password:CONSOLEAssign the user a specific role such as
administrator.CONSOLEGrant the user full privileges to the RabbitMQ processes.
CONSOLEIn the above command:
.*: Grants the user configuration privileges..*: Grants the user write privileges to any resource..*: Grants the user read privileges to any resource.
Download the
rabbitmqadminplugin binary to enable CLI access to the RabbitMQ.CONSOLEEnable execute permissions on the file.
CONSOLEMove the
rabbitmqadminfile to/usr/local/bin/.CONSOLEVerify the installed
rabbitmqadminplugin version.CONSOLEOutput:
If you're looking for a different setup, you can also check out how to install RabbitMQ in Ubuntu to enhance your application’s message handling capabilities.
Secure RabbitMQ
RabbitMQ creates a guest user with full administrative privileges by default. Disable the guest user and enable secure access to the RabbitMQ console with valid SSL certificates to enable encrypted HTTPS connections on the server. Follow the steps below to disable the default guest user, set up Nginx as a reverse proxy, and generate trusted Let's Encrypt SSL certificates.
Disable the RabbitMQ guest user.
CONSOLEInstall Nginx.
CONSOLECreate a new
/usr/local/etc/nginx/conf.d/virtual host configuration directory.CONSOLECreate a new RabbitMQ virtual host configuration using a text editor such as
vim.CONSOLEAdd the following contents to the file. Replace
rabbitmq.example.comwith your actual domain.NGINXSave and close the file.
The above Nginx configuration creates a new reverse proxy connection to the RabbitMQ port
15672and serves the web console using therabbitmq.example.comdomain on the HTTP port80.Open the main
nginx.confconfiguration file.CONSOLEAdd the following directive within the
httpblock at the end of the file before the closing}mark.NGINXSave and close the file.
The above configuration enables Nginx to read virtual configuration files in the
/usr/local/etc/nginx/conf.d/directory.Test Nginx for configuration errors.
CONSOLEOutput:
Enable Nginx to automatically start at boot.
CONSOLEStart the Nginx service.
CONSOLEOutput:
Search the default package repositories to view the available Certbot package version.
CONSOLEOutput:
Install the Certbort Let's Encrypt client tool and plugin for Nginx.
CONSOLEGenerate a new SSL certificate for your RabbitMQ virtual host domain. Replace
rabbitmq.example.comwith your domain andhello@example.comwith your active email address.CONSOLEOutput:
Verify that Certbot autorenews the SSL certificate upon expiry.
CONSOLEOutput:
Restart Nginx to apply the changes.
CONSOLE
Access the RabbitMQ Console
Follow the steps below to access RabbitMQ, create a new queue, publish and retrieve messages.
Create a new RabbitMQ queue, such as
testqueueusing your administrative user. Replaceexample_userandexample_passwordwith the actual user and password you set earlier.CONSOLEOutput:
Publish a new message to the queue. For example,
Greetings from Vultr.CONSOLERetrieve all messages in the queue.
CONSOLEOutput:
Access your RabbitMQ domain using a web browser like Chrome to log in to the web administration console.
Log in using your RabbitMQ username and password to access the web console.
Find and expand the Nodes group to view your RabbitMQ node information.
Navigate to the Queues and Streams tab to manage the RabbitMQ queues on your server.
Conclusion
You have installed RabbitMQ on your FreeBSD 13 server, created a new administrative user, and enabled access to the web administration console. After you Install RabbitMQ on FreeBSD 13, RabbitMQ securely handles message exchanges between microservices and applications on your server. For more information and advanced configuration options, visit the RabbitMQ Documentation.


0 Comments
Be the first to comment and share your perspective with the community.