
How to Install Wg-Easy - An Opensource Web UI for WireGuard VPN
Introduction
Wg-Easy also known as WireGuard-easy is an open-source web-based graphical interface for WireGuard VPN to manage configurations, clients, and VPN connections. Wg-Easy includes all required WireGuard tools used to create multiple VPN interaces and client configurations on a server.
This article explains how to install Wg-Easy on Ubuntu 24.04 to create and manage WireGuard VPN connections.
Prerequisites
Before you begin:
- Deploy an Ubuntu 24.04 instance on Vultr and enable the Limited User Login feature
- Set up a new domain A record pointing to the instance's IP address. For example,
wg-easy.example.com. - Access the instance using SSH.
- Install Docker and Docker Compose.
Install Wg-Easy
Wg-Easy runs as a Docker container to manage WireGuard VPN interfaces, users, and connections on a server. Follow the steps below to verify that Docker is installed, add your current user to the Docker group, and install Wg-Easy.
View the Docker service status and verify that it's running.
console$ sudo service docker status
Output:
● docker.service - Docker Application Container Engine
 Loaded: loaded (/lib/systemd/system/docker.service; enabled; vendor preset: enabled)
 Active: active (running) since Wed 2024-12-04 13:09:32 UTC; 15min ago
TriggeredBy: ● docker.socket
   Docs: https://docs.docker.com
Main PID: 2074 (dockerd)
  Tasks: 7
 Memory: 19.4M
    CPU: 191ms
 CGroup: /system.slice/docker.service
         └─2074 /usr/bin/dockerd -H fd:// --containerd=/run/containerd/containerd.sock
If you receive a
docker service not founderror, run the following command to install Docker and Docker compose.console$ sudo apt install docker.io docker-compose
If the Docker service is inactive, run the following command to start Docker.
console$ sudo service docker start
Print your current user.
console$ whoamiYour output should be similar to the one below:
linuxuserAdd your active user to the Docker group. Replace
linuxuserwith your actual user.console$ sudo usermod -aG docker linuxuser
Enter a new shell to apply the user group changes.
console$ exec su - $USER
Create a new administrator password using the
htpasswdutility with a bcrypt hash value to use with Wg-Easy.console$ htpasswd -nbB admin strongpassword
Copy the generated hashed password in your output similar to the one below.
admin:$2y$05$ROESp.kfeIwWHyRkVOXXEu/xKCXq03hTRxr4Y8ppxj6jtaiEuJ7Su
Option 1: Install Wg-Easy using Docker CLI
Docker CLI installs Wg-Easy in a single command with minimal environment configuration options. Follow the steps below to install Wg-Easy using Docker CLI on your server.
Pull the Wg-Easy image.
console$ docker pull ghcr.io/wg-easy/wg-easy
Install Wg-Easy using Docker CLI. Replace
wg-easy.example.comwith your actual domain and add your hashed password as thePASSWORD_HASHvalue.console$ docker run --detach \ --name wg-easy \ --env LANG=en \ --env WG_HOST=wg-easy.example.com \ --env PASSWORD_HASH='$2y$05$ROESp.kfeIwWHyRkVOXXEu/xKCXq03hTRxr4Y8ppxj6jtaiEuJ7Su' \ --env PORT=51821 \ --env WG_PORT=51820 \ --volume ~/.wg-easy:/etc/wireguard \ --publish 51820:51820/udp \ --publish 51821:51821/tcp \ --cap-add NET_ADMIN \ --cap-add SYS_MODULE \ --sysctl 'net.ipv4.conf.all.src_valid_mark=1' \ --sysctl 'net.ipv4.ip_forward=1' \ --restart unless-stopped \ ghcr.io/wg-easy/wg-easy
Save and close the file.
The above Docker CLI command creates a new
wg-easycontainer to manage WireGuard connections on the server. Within the Docker CLI command:--name wg-easy: Sets the Docker container name.--env LANG=en: Enables English as the default language in the Wg-Easy web management interface.--env WG_HOST=wg-easy.example.com: Enables Wg-Easy to listen for network connections using the specified domain or server IP address.--env PASSWORD_HASH: Sets the administrator password used to access the Wg-Easy interface.--env PORT=51821: Sets the Wg-Easy port used to access the web management interface.--env WG_PORT=51820: Sets the default WireGuard connections port.--volume ~/.wg-easy:/etc/wireguard: Forwards WireGuard configurations in thewg-easydirectory in your user home directory to the container's/etc/wireguarddirectory.--sysctl 'net.ipv4.ip_forward=1: Enables network forwarding to allow WireGuard clients to access the Internet and other external networks through the server.
View all active Docker containers and verify that the
wg-easycontainer is running.console$ docker ps
Output:
CONTAINER ID   IMAGE                     COMMAND                  CREATED         STATUS                            PORTS                                                                                          NAMES
6224cb5009fe   ghcr.io/wg-easy/wg-easy   "docker-entrypoint.s…"   7 seconds ago   Up 6 seconds (health: starting)   0.0.0.0:51820->51820/udp, :::51820->51820/udp, 0.0.0.0:51821->51821/tcp, :::51821->51821/tcp   wg-easy
Option 2: Install Wg-Easy using Docker Compose
Docker Compose allows you to customize and install Wg-Easy with advanced configurations including the forwarding of specific files such as WireGuard configurations from the server to the wg-easy container. Follow the steps below to install Wg-Easy using Docker Compose.
Switch to your user's home directory.
console$ cd
Create a new
wg-easy.ymlconfiguration file using a text editor such asnano.console$ nano wg-easy.yml
Add the following configurations to the file. Replace the hash password with your actual password.
yamlvolumes: etc_wireguard: services: wg-easy: environment: - LANG=en - WG_HOST=wg-easy.example.com - PASSWORD_HASH=$2y$05$ROESp.kfeIwWHyRkVOXXEu/xKCXq03hTRxr4Y8ppxj6jtaiEuJ7Su - PORT=51821 - WG_PORT=51820 - WG_CONFIG_PORT=92820 image: ghcr.io/wg-easy/wg-easy container_name: wg-easy volumes: - etc_wireguard:/etc/wireguard ports: - "51820:51820/udp" - "51821:51821/tcp" restart: unless-stopped cap_add: - NET_ADMIN - SYS_MODULE sysctls: - net.ipv4.ip_forward=1 - net.ipv4.conf.all.src_valid_mark=1
Save the file.
The above Docker Compose configuration installs Wg-Easy with specific environment options and forwards configuration files from the
/etc/wireguarddirectory on the server to the/etc/wireguardin the Wg-Easy container.Apply the Docker Compose configuration to install and run Wg-Easy in detached mode.
console$ docker-compose -f wg-easy.yml up -d
Output:
Creating wg-easy ... doneView all active Docker containers and verify that the Wg-Easy container is running.
console$ docker ps
Output:
CONTAINER ID   IMAGE                     COMMAND                  CREATED          STATUS                             PORTS                                                                                          NAMES
1b9da56f5109   ghcr.io/wg-easy/wg-easy   "docker-entrypoint.s…"   21 seconds ago   Up 20 seconds (health: starting)   0.0.0.0:51820->51820/udp, :::51820->51820/udp, 0.0.0.0:51821->51821/tcp, :::51821->51821/tcp   wg-easy
Install Nginx Proxy Manager to Secure the Wg-Easy Web Management Interface
Nginx Proxy Manager is a reverse proxy application that forwards external connections to internal applications or services in a Docker environment. Follow the steps below to install Nginx Proxy Manager and secure the Wg-Easy web management interface using your wg-easy.example.com domain and generate trusted SSL certificates on the server.
Create a new
nginx-proxy.ymlconfiguration file.console$ nano nginx-proxy.yml
Add the following configurations to the
nginx-proxy.ymlfile.yamlversion: '3.8' services: app: image: 'jc21/nginx-proxy-manager:latest' container_name: nginx-proxy-man restart: unless-stopped ports: - '80:80' - '443:443' - '81:81' volumes: - ./data:/data - ./letsencrypt:/etc/letsencrypt
Save and close the file.
The above Docker Compose configuration installs Nginx Proxy Manager to manage network connections using HTTP and HTTPS ports. Within the configuration:
image: 'jc21/nginx-proxy-manager:latest': Sets the Nginx Proxy Manager Docker image version to install.container_name: nginx-proxy-man: Sets the Nginx Proxy Manager container name for identification and management purposes.- '80:80': Forwards the container port80to the server port80to enable HTTP network connections.- '443:443': Forwards the container port443to the server port443to enable HTTPS network connections.- '81:81': Forwards the container port81to the server port81to enable access to the Nginx Proxy Manager web management interface../data:/data: Mounts thedatadirectory from the server to the container.- ./letsencrypt:/etc/letsencrypt: Mounts Let's Encrypt SSL certificates from the active project directory to the container.
Apply the Docker Compose configuration to install Nginx Proxy Manager.
console$ docker-compose -f nginx-proxy.yml up -d
Output:
Creating nginx-proxy-man ... doneView all active Docker containers and verify that Nginx Proxy Manager is running.
console$ docker ps
Output:
CONTAINER ID   IMAGE                             COMMAND                  CREATED          STATUS                   PORTS                                                                                          NAMES
45b5f402e197   jc21/nginx-proxy-manager:latest   "/init"                  50 seconds ago   Up 48 seconds            0.0.0.0:80-81->80-81/tcp, :::80-81->80-81/tcp, 0.0.0.0:443->443/tcp, :::443->443/tcp           nginx-proxy-man
1b9da56f5109   ghcr.io/wg-easy/wg-easy           "docker-entrypoint.s…"   3 minutes ago    Up 3 minutes (healthy)   0.0.0.0:51820->51820/udp, :::51820->51820/udp, 0.0.0.0:51821->51821/tcp, :::51821->51821/tcp   wg-easy
Create a new Docker network to connect the Nginx Proxy Manager container to Wg-Easy.
console$ docker network create wg-easy
List all Docker networks and verify that the
wg-easynetwork is available.console$ docker network ls
Output:
NETWORK ID     NAME           DRIVER    SCOPE
f0f272b127cc   bridge         bridge    local
e5fc3caac88f   host           host      local
be3fd932daf7   none           null      local
d531ed105cde   root_default   bridge    local
1782969ddb95   wg-easy        bridge    local
Attach the Nginx Proxy Manager container to the
wg-easynetwork.console$ docker network connect wg-easy nginx-proxy-man
Attach the Wg-Easy container to the
wg-easynetwork.console$ docker network connect wg-easy wg-easy
Configure Nginx Proxy Manager as a Reverse Proxy Manage Connections to Wg-Easy
Nginx Proxy Manager generates SSL certificates using Let's Encrypt and forwards network connections to internal ports in a Docker network. Follow the steps below to access the Nginx Proxy Manager interface, forward connections to the Wg-Easy container, and generate trusted SSL certificates using your wg-easy.example.com domain.
Allow network connections to the HTTP port
80, HTTPS port443, and Nginx Proxy Manager port81through the default firewall.console$ sudo ufw allow 80,443,81/tcp
Reload UFW to apply the firewall configuration changes.
console$ sudo ufw reload
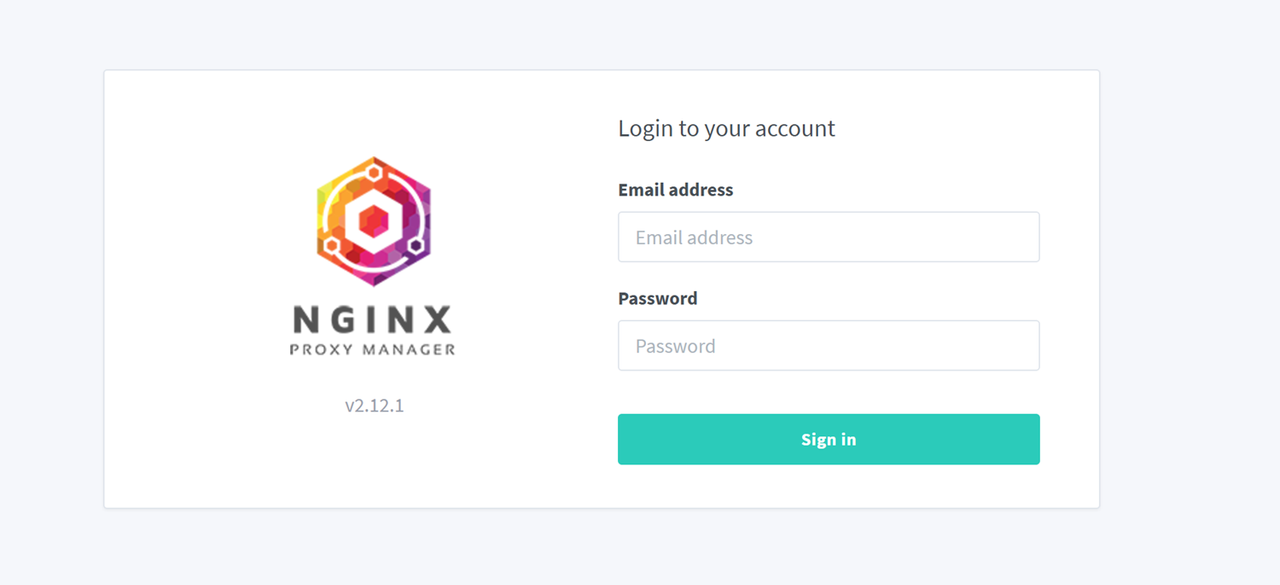
Access the Nginx Proxy Manager port
81using your server's IP address in a web browser such as Chrome.http://SERVER-IP:81Enter the following administrator credentials to log in to Nginx Proxy Manager.
- Username:
admin@example.com - Password:
changeme
Replace the default administrator credentials when prompted to secure Nginx Proxy Manager.
- Username:
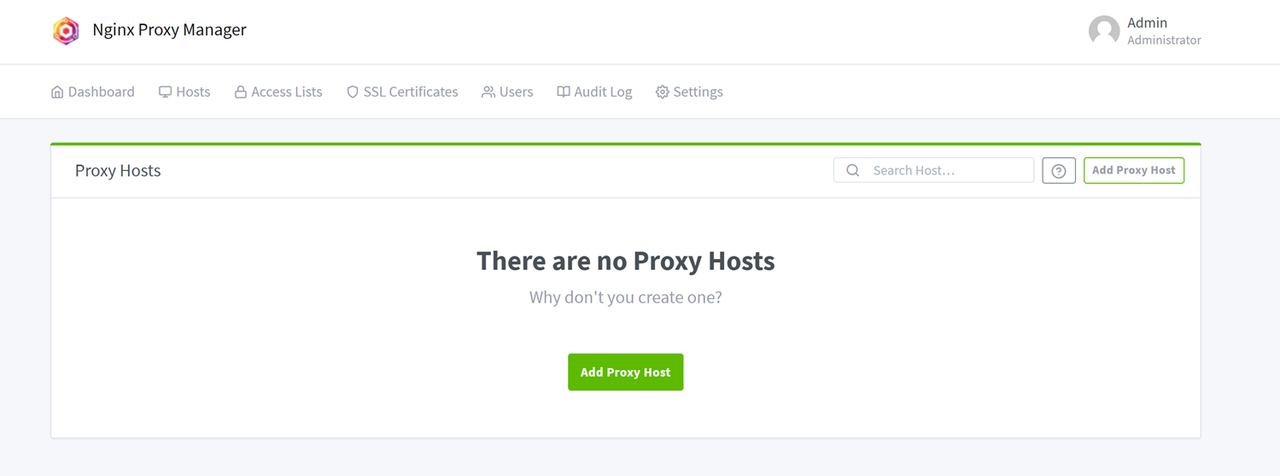
Click Hosts on the main navigation menu and select Proxy Hosts from the list of options.
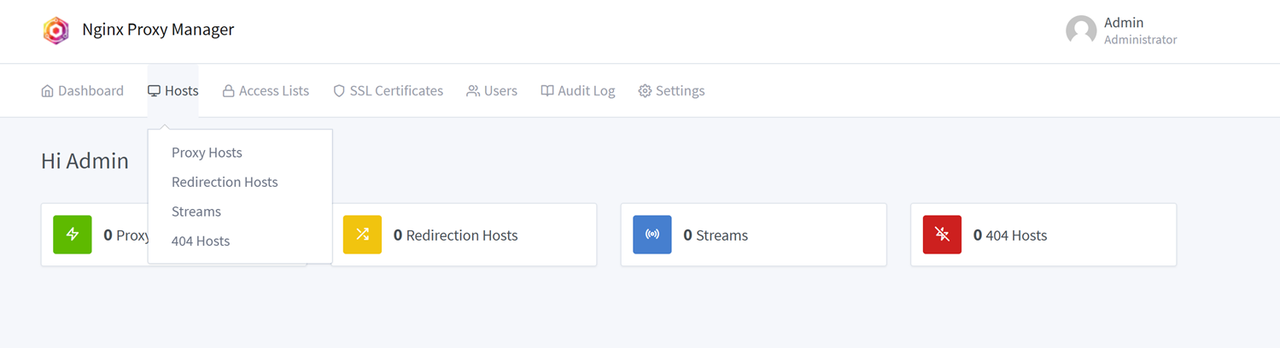
Click Add Proxy Host to create a new reverse proxy connection.
Enter your domain name and keep
httpas the connection scheme.Enter the Wg-Easy container name in the Forward Hostname/IP field and its web management port
51821in the Forward Port field.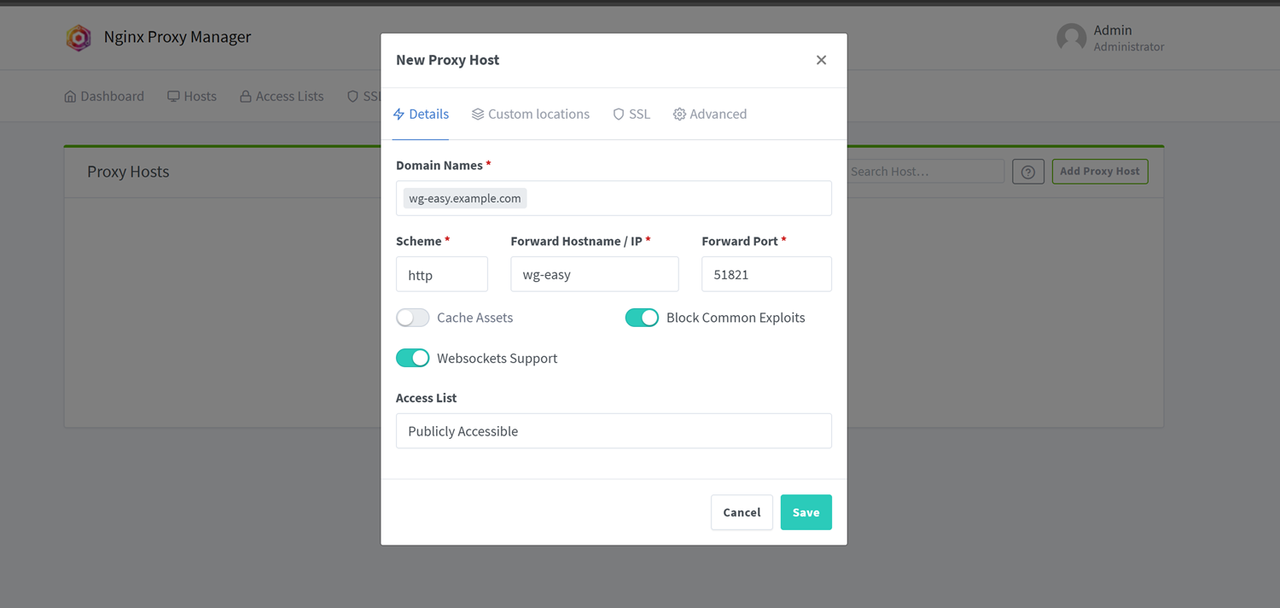
Turn on the Block Common Exploits and Websockets Support options to secure the reverse proxy connection.
Keep
Publicily Accessibleas the Access List value and navigate to the SSL tab to manage the domain's SSL certificate.Click the SSL Certificate drop-down and select Request for a new SSL Certificate with Let’s Encrypt from the list of options.
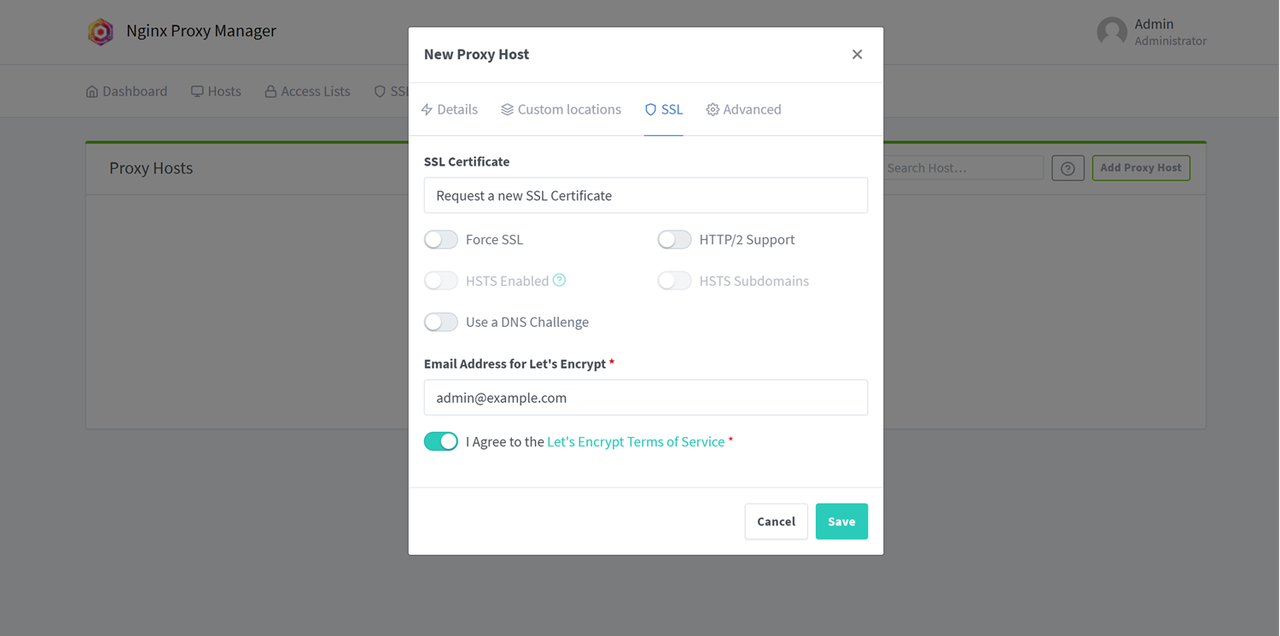
Enter your active email in the Email Address field and click to agree to the Let's Encrypt terms of use.
Click Save to apply the reverse proxy configuration and generate a new SSL certificate.
Click your domain in the Proxy Hosts list and verify that you can access the Wg-Easy login page.
Access Wg-Easy
Follow the steps below to access Wg-Easy and create a new WireGuard client to connect to the server.
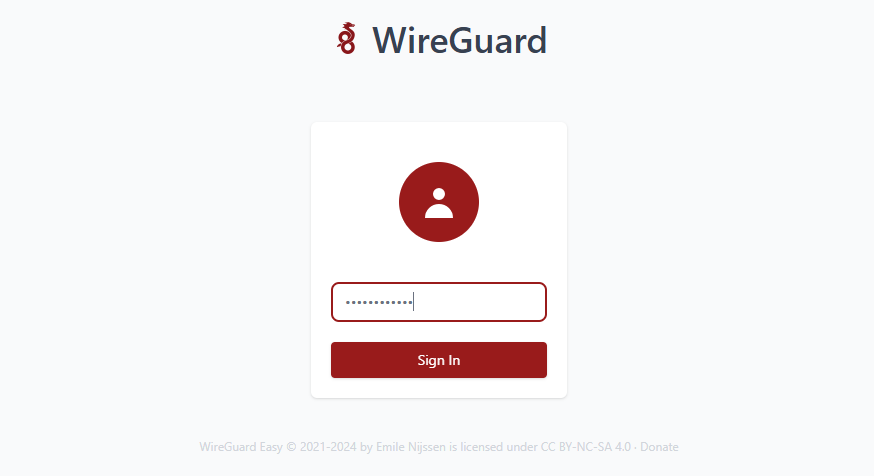
Access Wg-Easy using your
wg-easy.example.comdomain.https://server-ip-addressEnter the administrator password you hashed during installation to log in to the Wg-Easy interface.
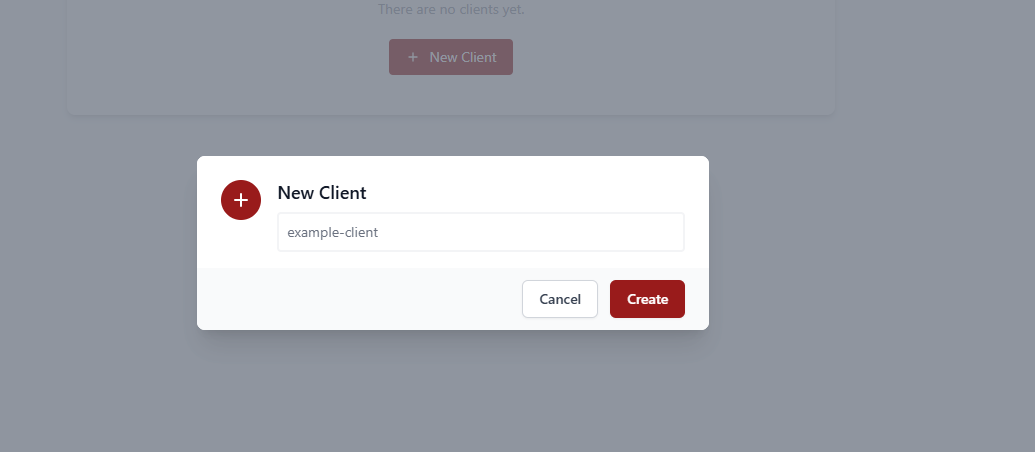
Click New Client to create a new WireGuard client.

Enter a new client name and click Create.
Verify that the new client is created and click Download Configuration to download the client's WireGuard configuration file.

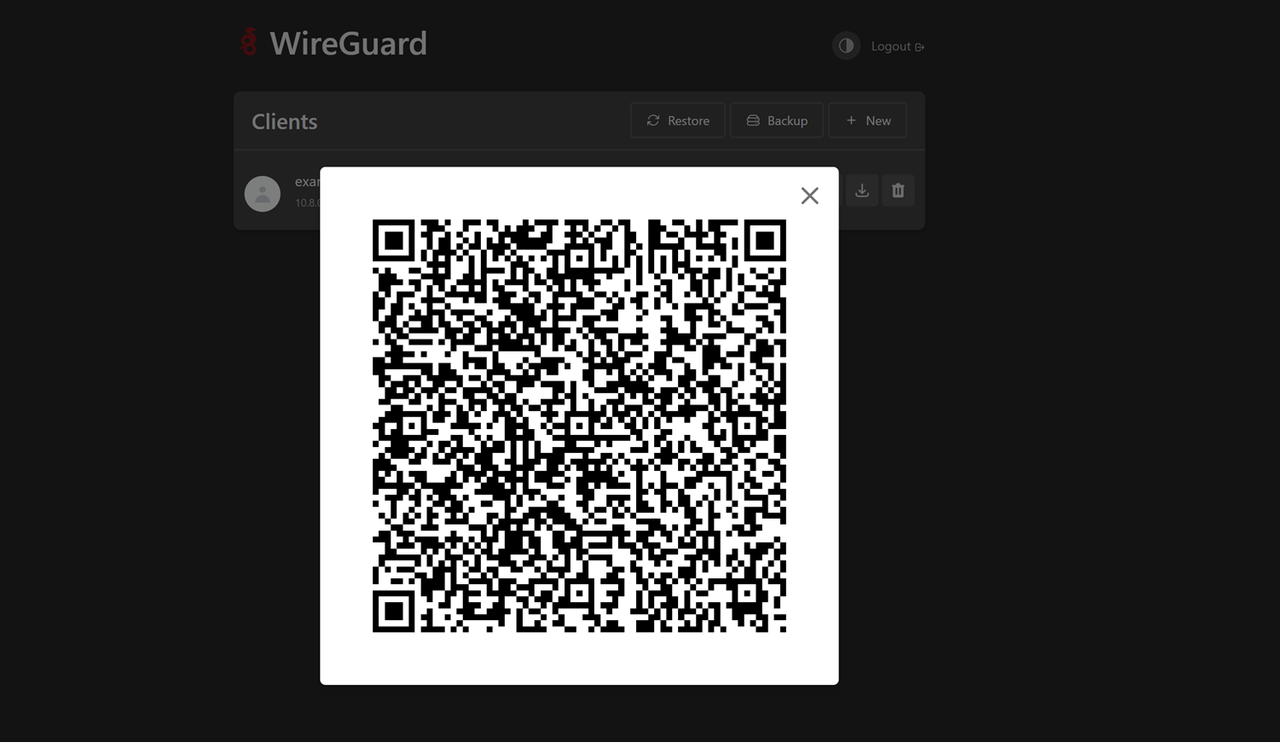
Click the QR Code option to reveal a QR Code to scan and connect mobile device clients to the WireGuard server.
Connect a WireGuard Client to Wg-Easy
Follow the steps below to connect a WireGuard desktop client to the Wg-Easy server and verify that the user can access the Internet through the server.
Create a new WireGuard client and download the client configuration from the Wg-Easy interface to connect the client.

Download the WireGuard client package for your device. For example, WireGuard for macOS.
Open WireGuard from your applications menu.
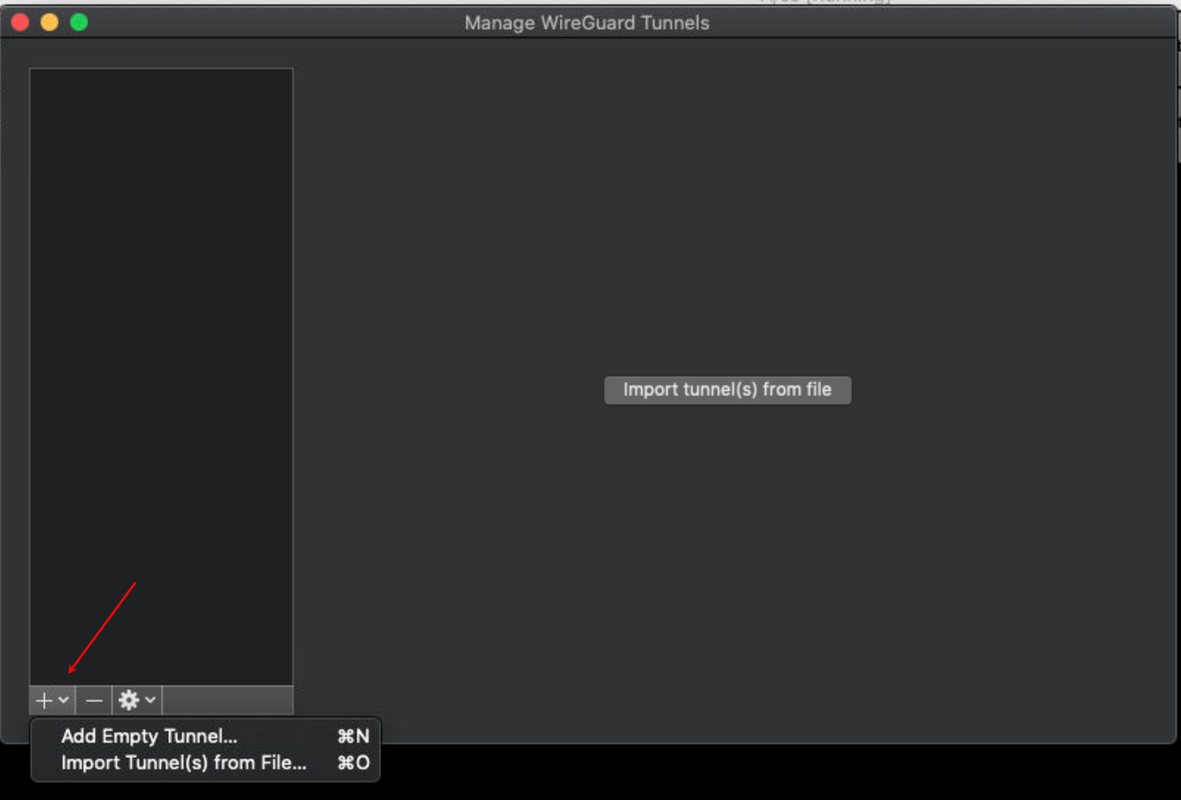
Click Manage Tunnels to open the WireGuard configuration interface.
Click the Add Tunnel drop-down, and select Import Tunnel(s) from File to browse and open your WireGuard client configuration.
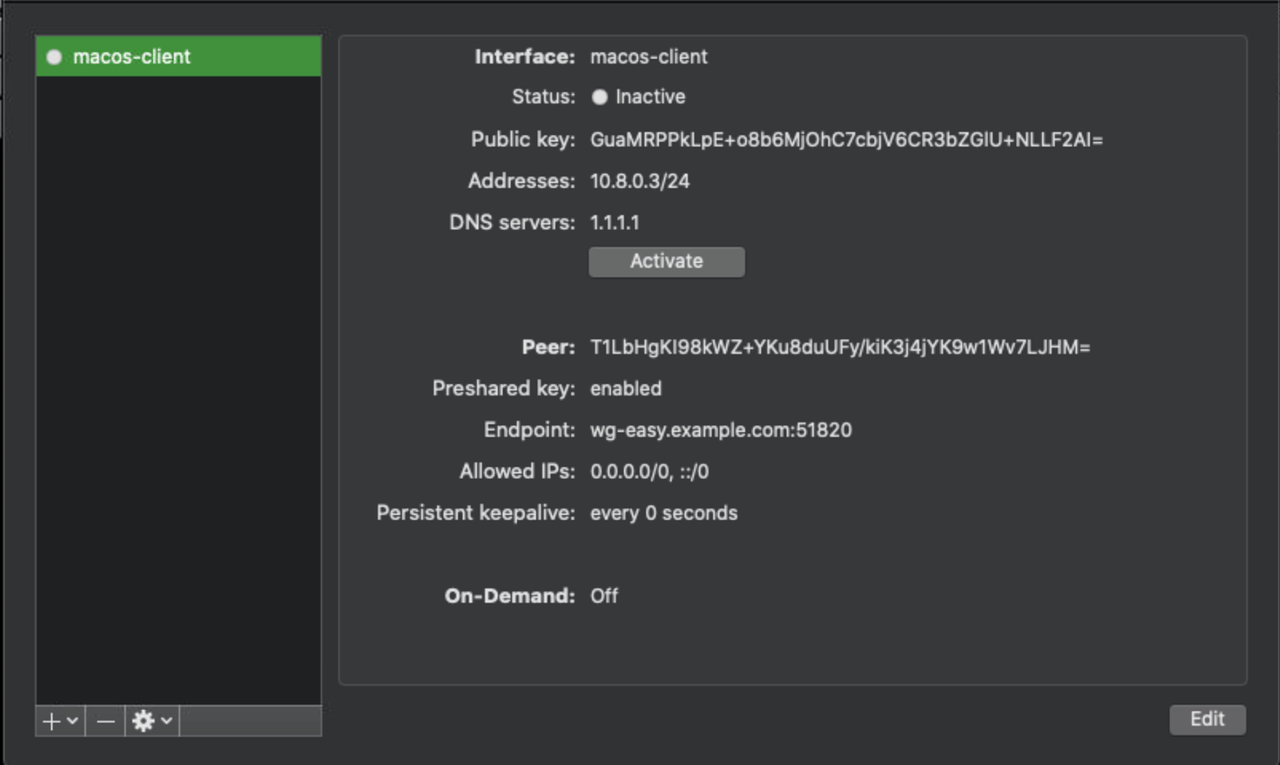
Verify that a new WireGuard tunnel is available and click Activate to connect to the Wg-Easy server.
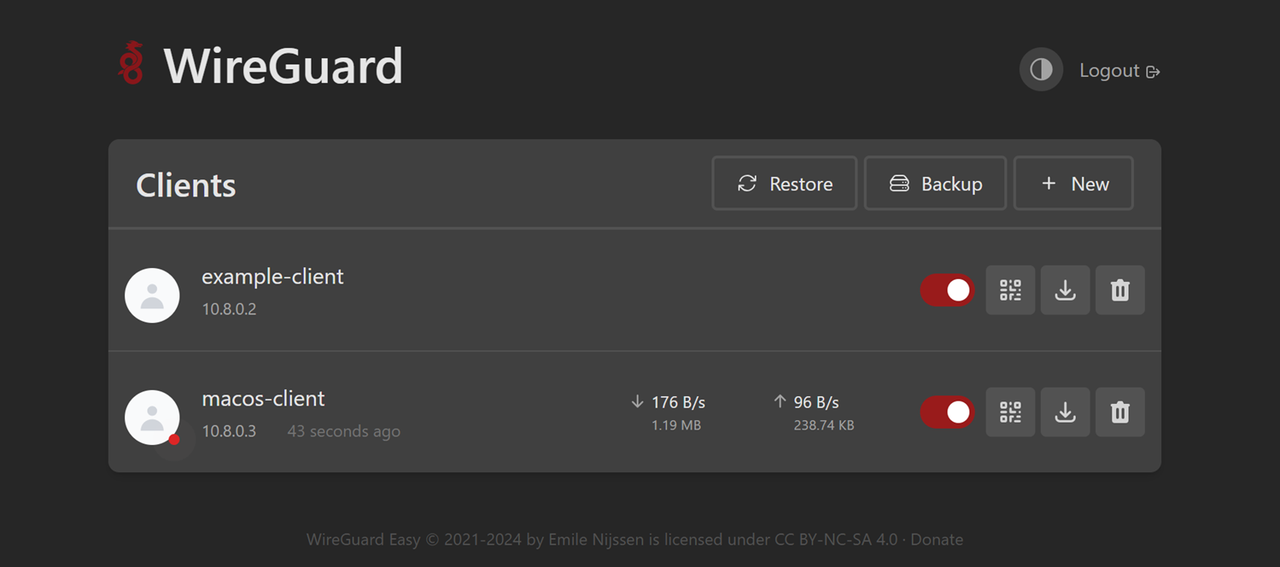
Verify that the connection is active and open the Wg-Easy management interface to view the network statistics.
https://wg-easy.example.comMonitor and manage the WireGuard client's network usage information.
Conclusion
You have installed Wg-Easy and managed WireGuard clients on Ubuntu 24.04 using Docker. You can create multiple WireGuard clients, assign multiple network addresses, enable and disable connections using the Wg-Easy management interface. In addition, you can integrate Wg-Easy with existing WireGuard configurations to manage multiple connections and hosts on your server. For more information and configuration options, please visit the Wg-Easy project repository.