
How to Deploy an Application with Vultr Coolify Marketplace App
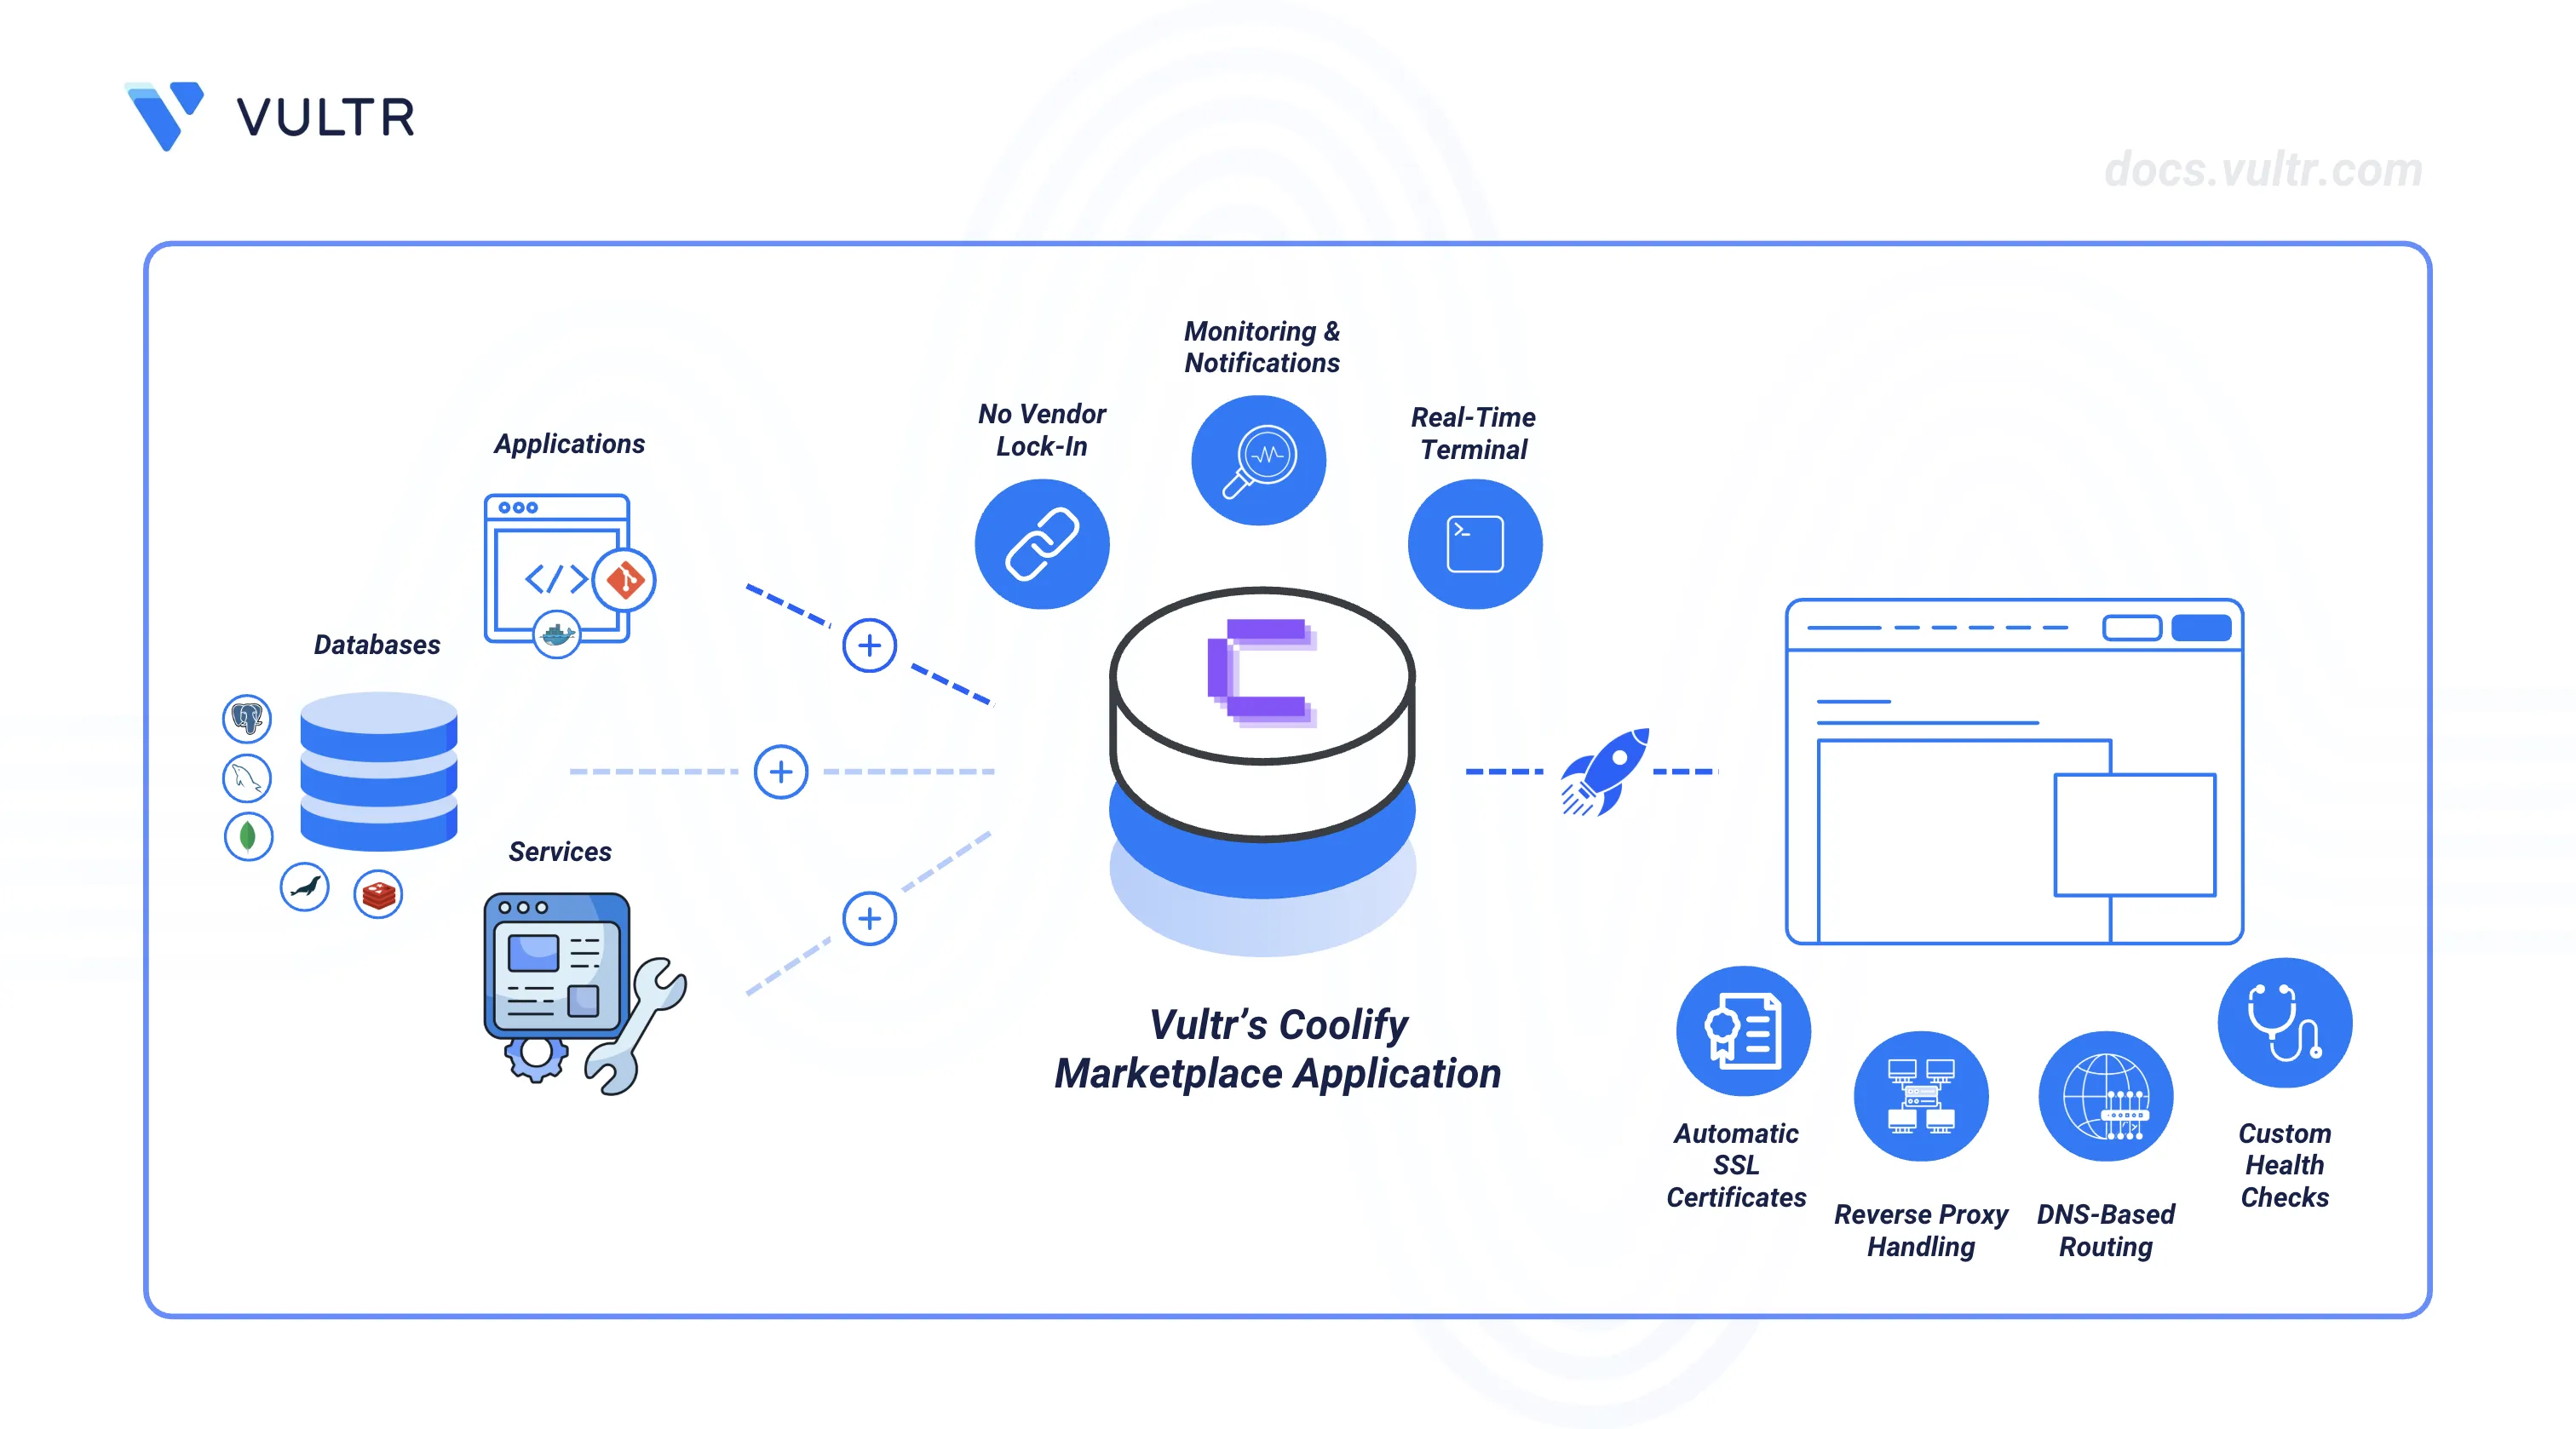
Coolify is an open-source platform for deploying and managing applications. It runs on Docker and makes it easier to host web apps, databases, and services without having to set up everything by hand. With Coolify, you can connect your Git repository, manage environment variables, run builds, and monitor your apps from a simple dashboard. With built-in support for reverse proxies, SSL, and automatic updates, Coolify helps you self-host projects without the complexity of manual server management.
When deployed via the Vultr Marketplace Application, you get a ready-to-use Coolify instance on a dedicated server in just a few minutes. This guide walks you through setting up the Coolify Marketplace Application on Vultr, deploying a project from a Git repository, configuring environment variables, enabling health checks, and setting up a custom domain with SSL.
Deploy the Vultr Marketplace Application for Coolify
Deploying Coolify on Vultr is quick and seamless. You can provision a new Vultr Compute instance via the Vultr Console, select the server type, region, and plan that best fits your requirements, and switch to Marketplace Apps to choose Coolify as the image. By configuring essential settings such as SSH access and hostname, you can have a fully functional Coolify instance ready in minutes. Once the instance is live, you can access the Coolify Dashboard using the login information provided in the instance's App Instructions. For a complete, step-by-step deployment walkthrough, see How to Use Vultr's Coolify Marketplace Application guide.
- Vultr API or Terraform: Set
image_idtocoolifyto use the Coolify Marketplace Application. - Vultr CLI: Use
--image "coolify"withvultr-cli instance createcommand.
Access the Coolify Dashboard
After the instance finishes provisioning, you need to complete the initial setup to access the Coolify control panel and deploy your project.
Navigate to your instance's Management Page in the Vultr Console. Scroll down to App Instructions to find the Coolify endpoint URL (e.g.,
http://<server-ip>:8000). Open the URL in your browser to reach the Coolify interface.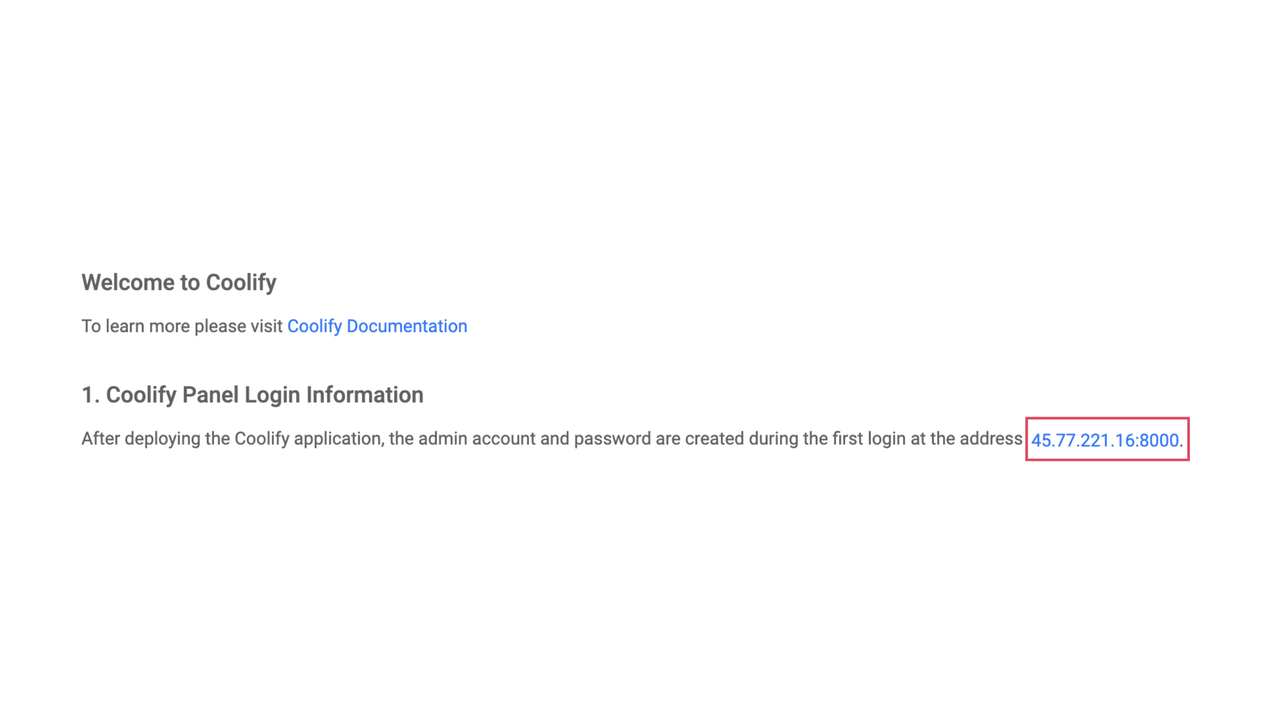
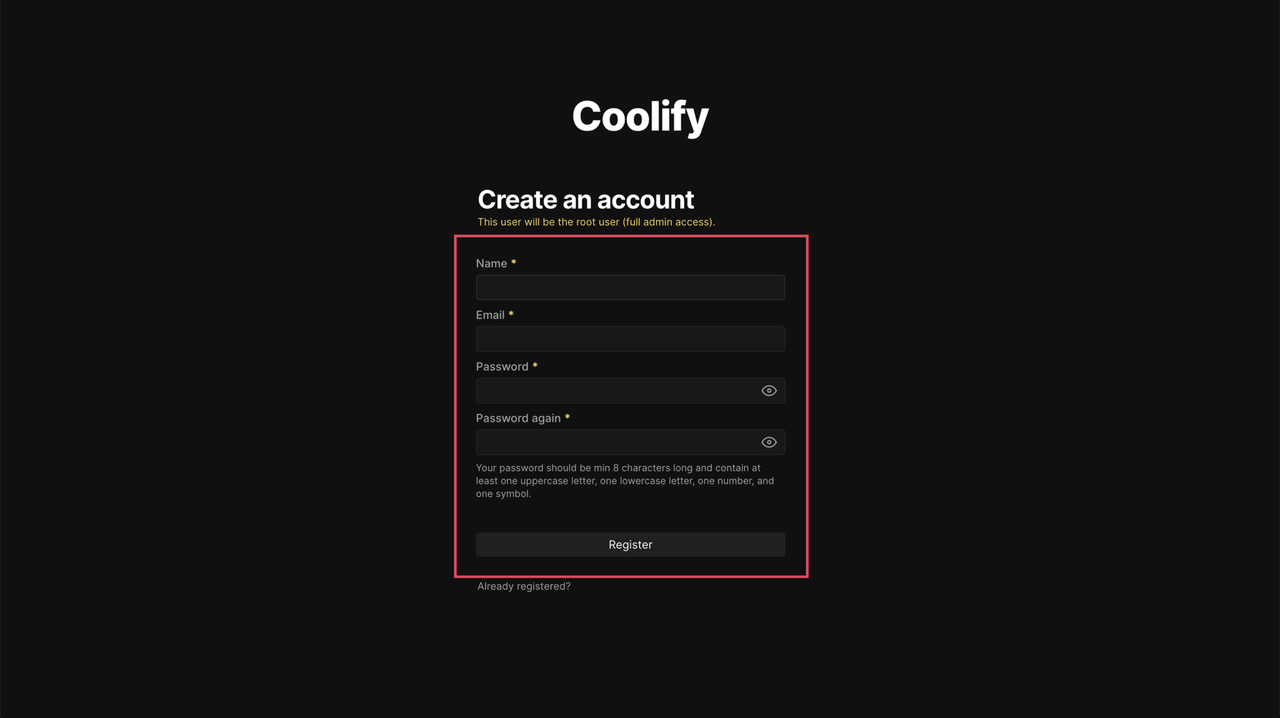
On first access, Coolify requires an admin account. This account has full control over the instance, including deployments, team management, and server configuration. On the registration page, provide your display Name, a valid Email address, and a strong Password that meets Coolify's requirements. Click Register to create the account.
After registration, choose one of the following initial setup options:
If you are familiar with Coolify or prefer to explore independently, click Skip Onboarding to go directly to the main dashboard.
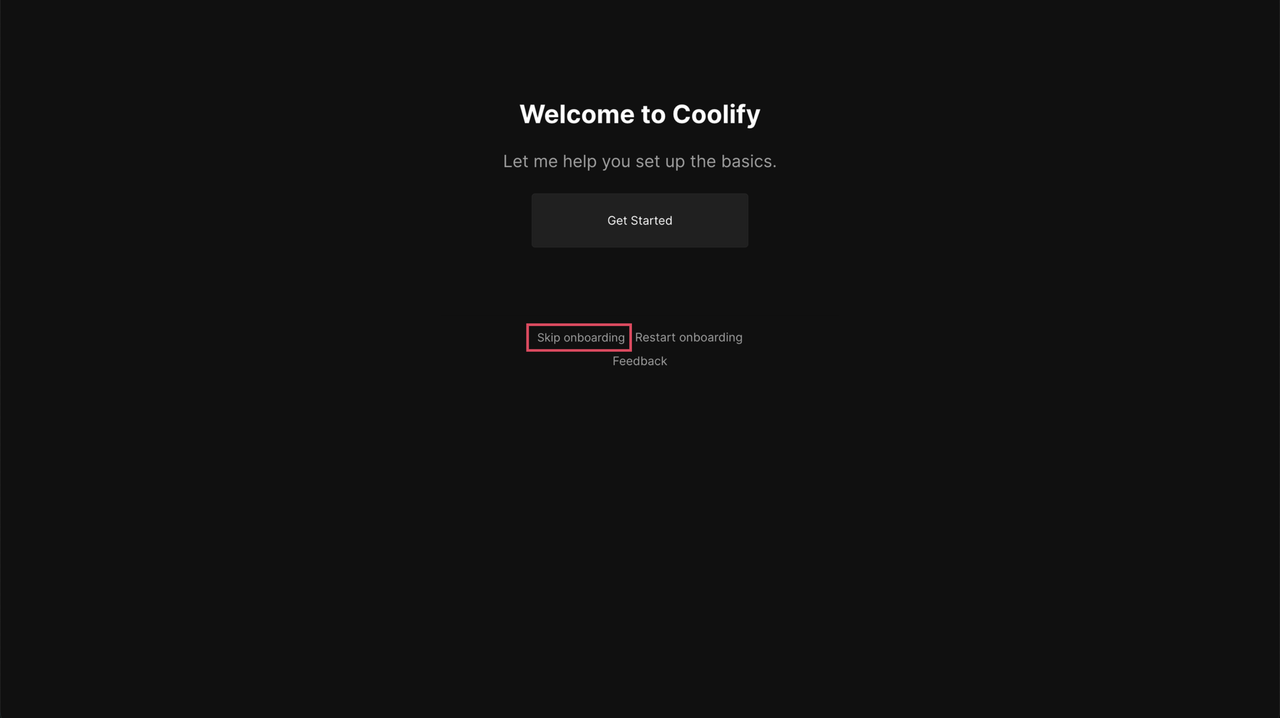
Otherwise, click Get Started to walk through the first-time configuration wizard. This flow introduces core concepts and sets up your initial project structure.

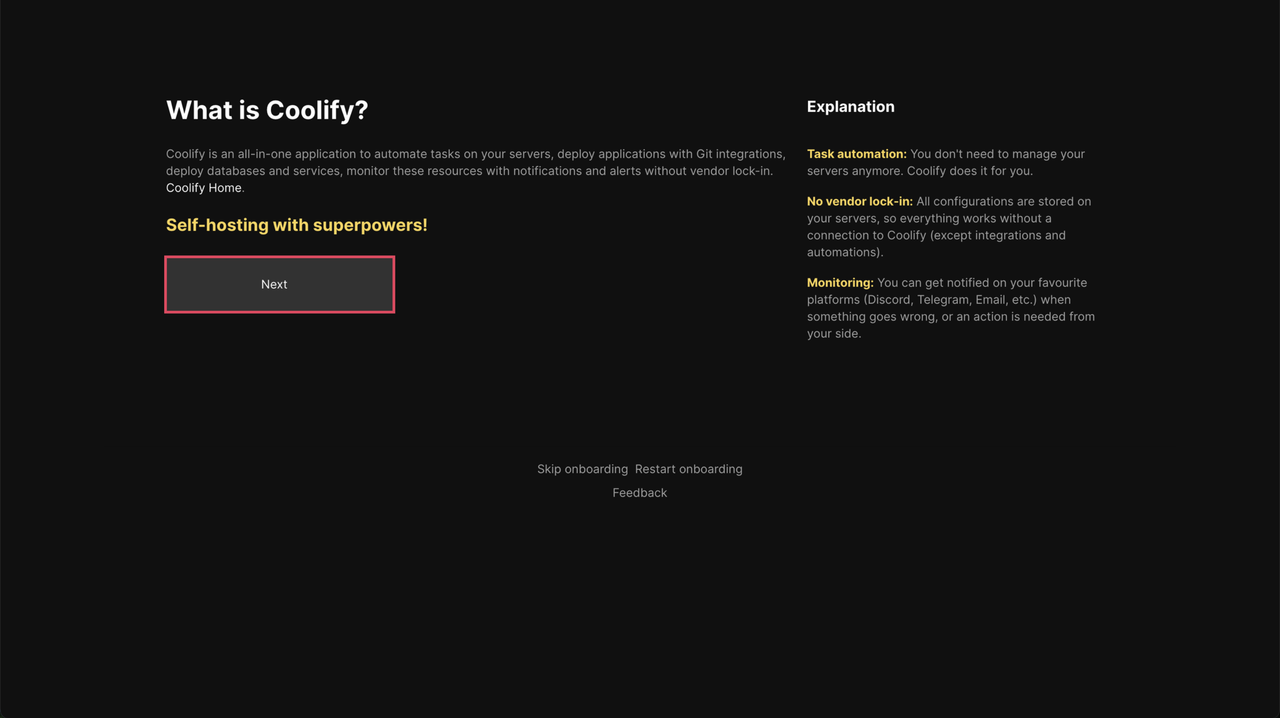
Coolify displays an introduction page that highlights key features and explains how the platform streamlines application deployment. Click Next to continue.
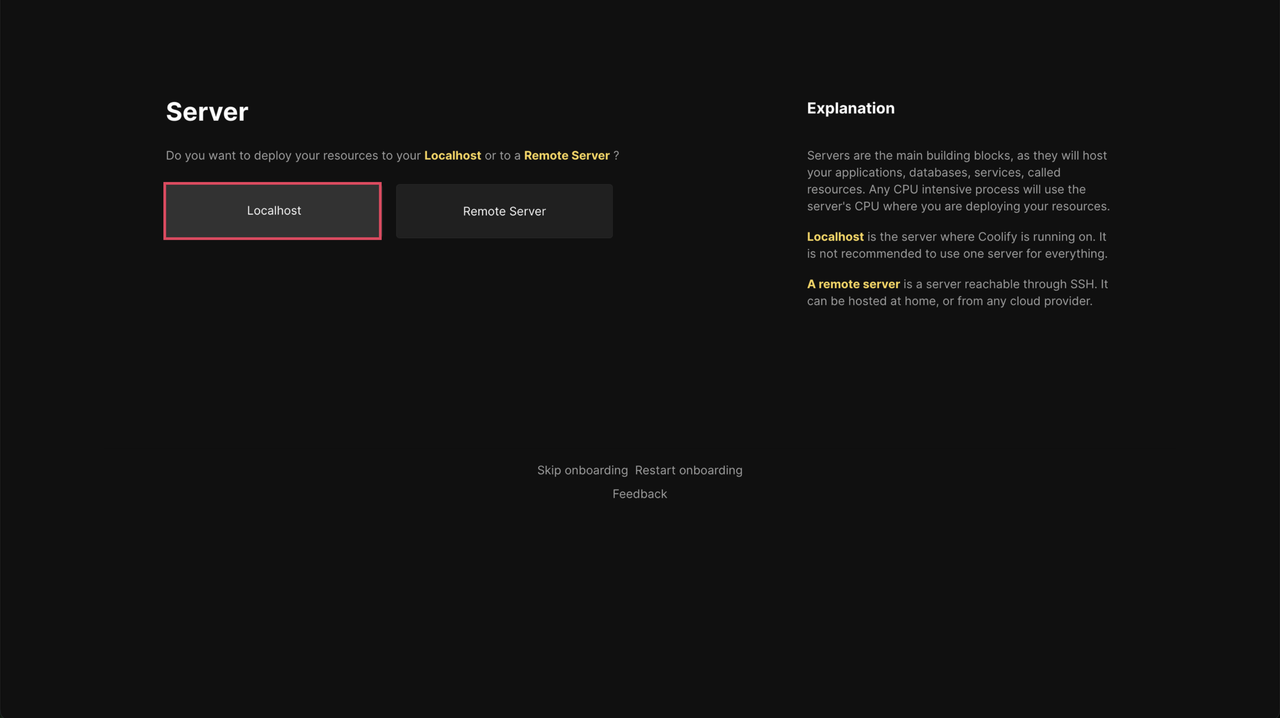
Choose Localhost as your deployment target. This maps to the Vultr instance where your Coolify Marketplace Application is running. Localhost represents the Docker daemon on the current host and is the default server for all deployments.
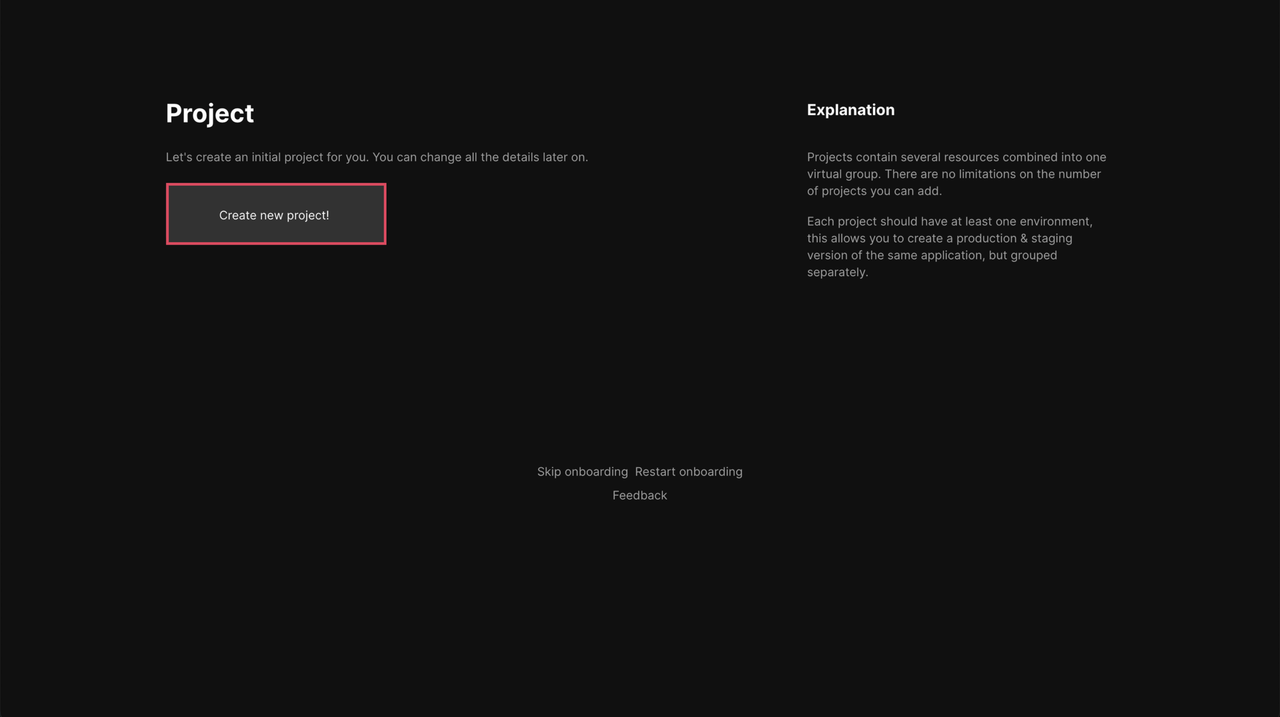
Projects in Coolify organize related applications, databases, and services under a single namespace. Click Create new project! to initialize your first project container.
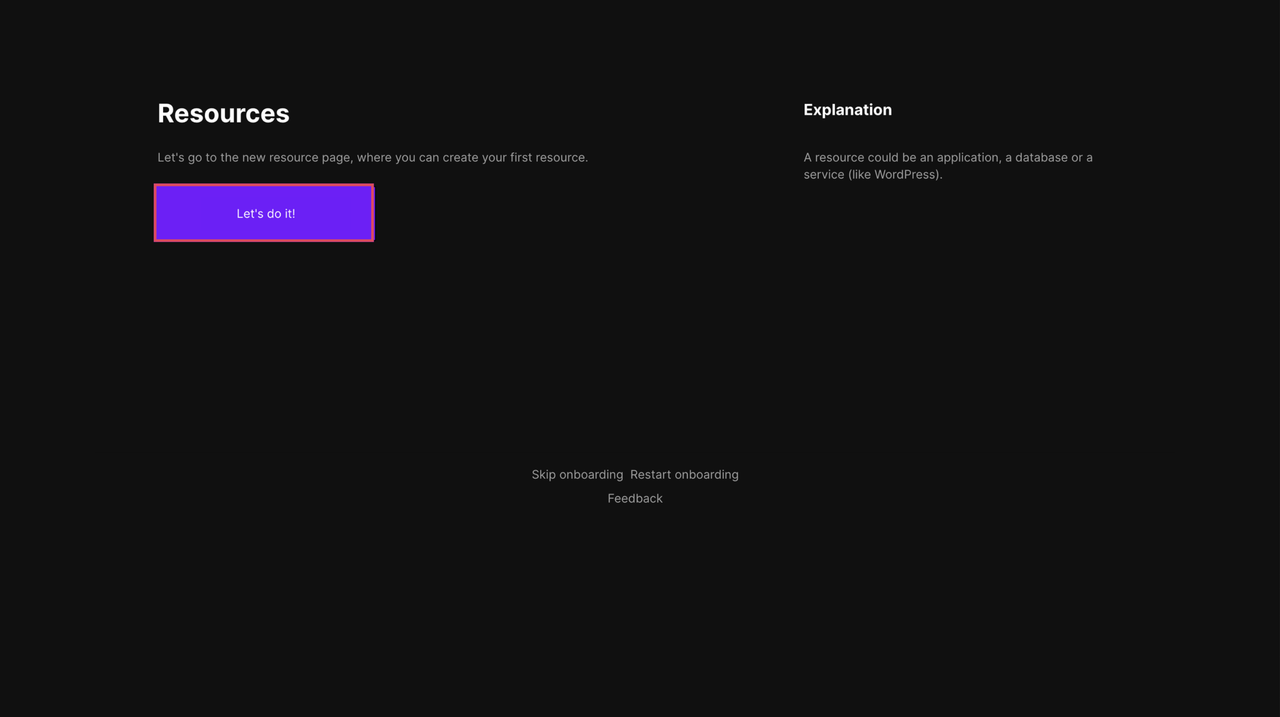
To create your first resource, whether an application (containerized service), a database (PostgreSQL, MySQL, Redis, etc.), or a pre-packaged service such as WordPress, click Let's do it!. You are then taken to the Resource selection page in the dashboard.
Create a Project and Configure the Application
In Coolify, projects act as organizational containers for your applications, databases, and services. Each project can contain multiple environments (production, staging, development), and each environment can host multiple resources. This section walks through creating a project, connecting a Git repository, and configuring the application.
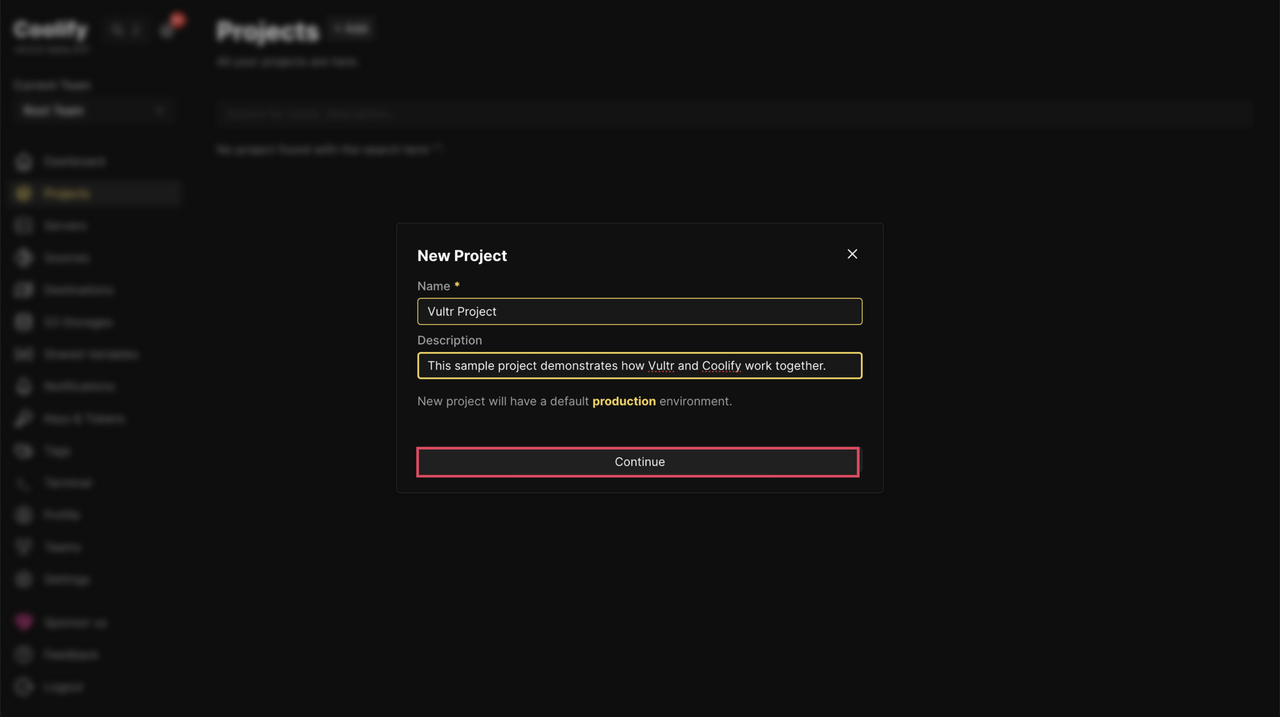
From the Coolify Dashboard, navigate to Projects and click +Add. (Skip to Step 5 if you completed the onboarding wizard.)

In the modal that appears, enter a Name and Description for your project. Coolify creates a default production environment automatically. Click Continue to proceed.
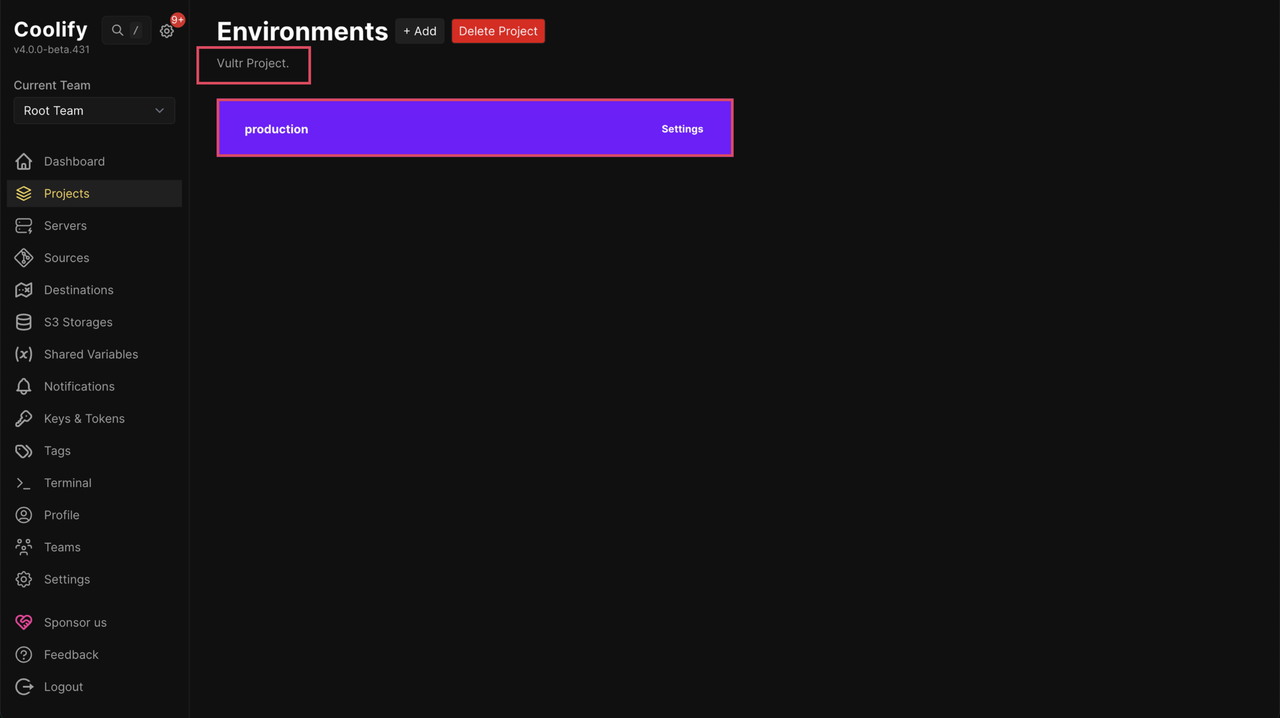
After creating the project, the Environments page opens, displaying the project. To proceed, click the default production environment.
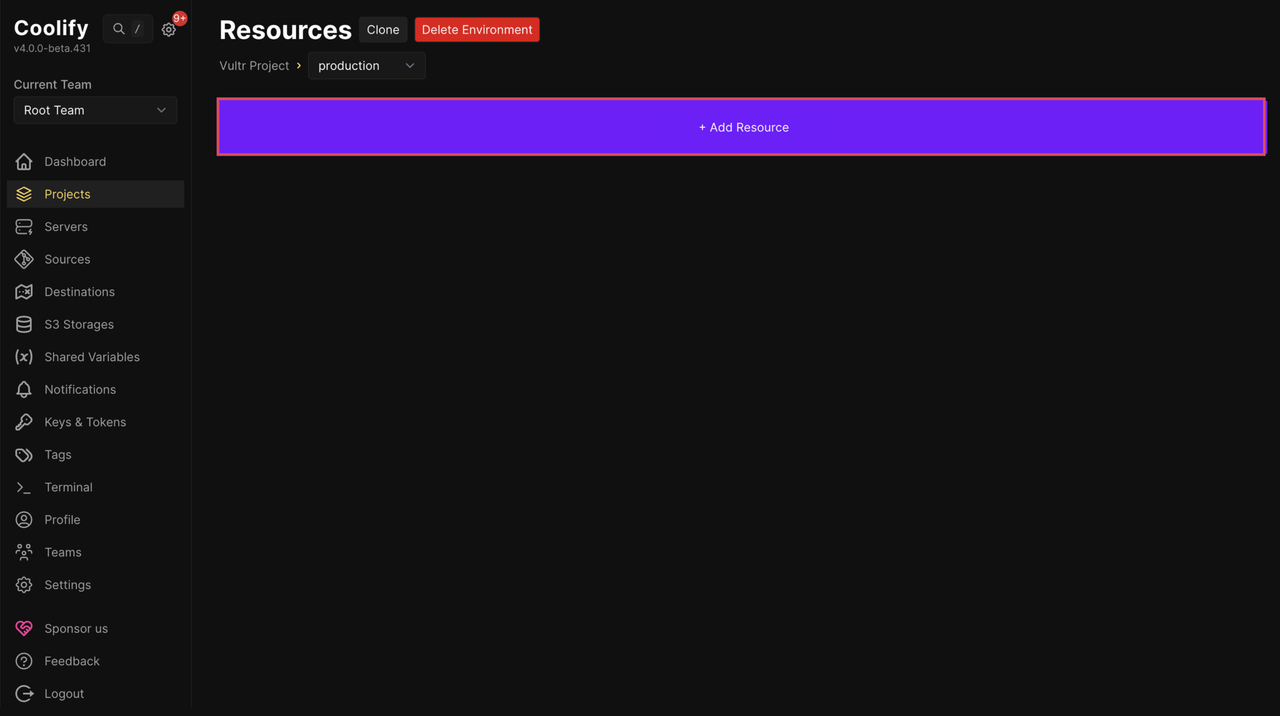
On the Resources page, click Add Resource to define a new deployable asset.
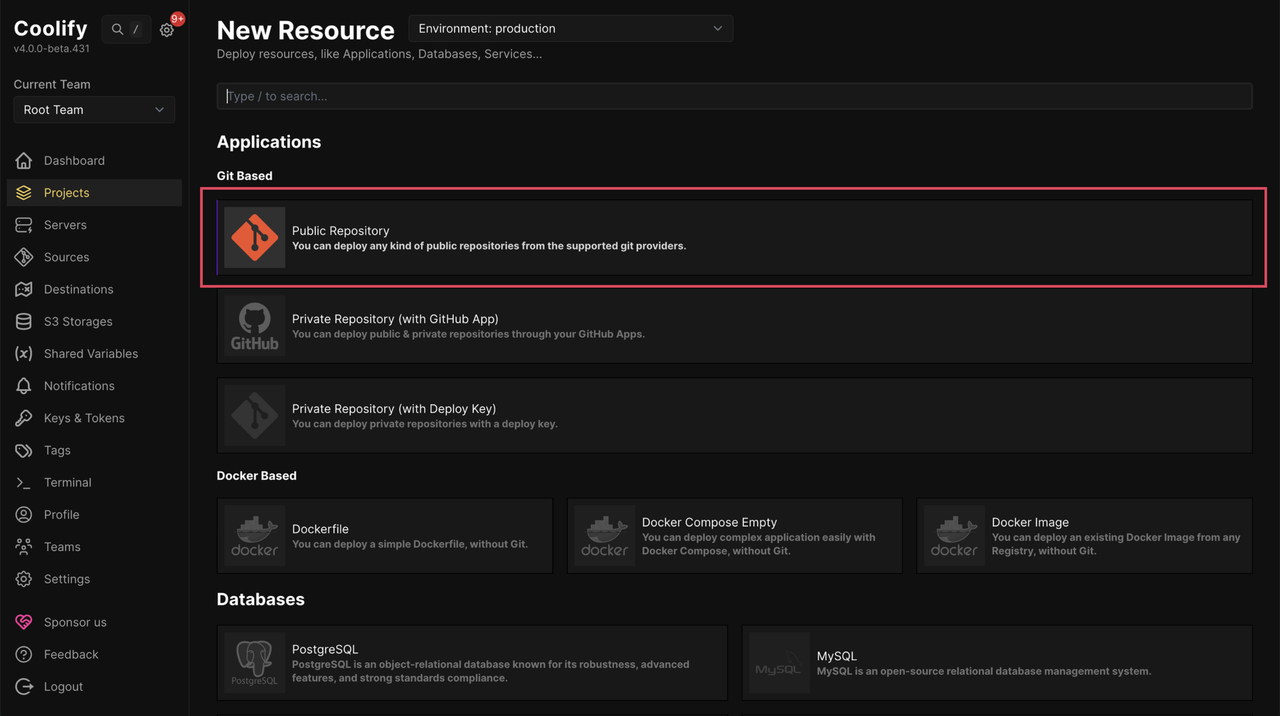
Choose Public Repository under Applications > Git Based to deploy from any publicly accessible Git repository without authentication configuration. If your resource is a database or another service, choose the appropriate resource type instead.
Enter the Git repository URL (for example,
https://github.com/username/demo-app.git) and click Check Repository. Coolify validates the URL and inspects the repository structure.
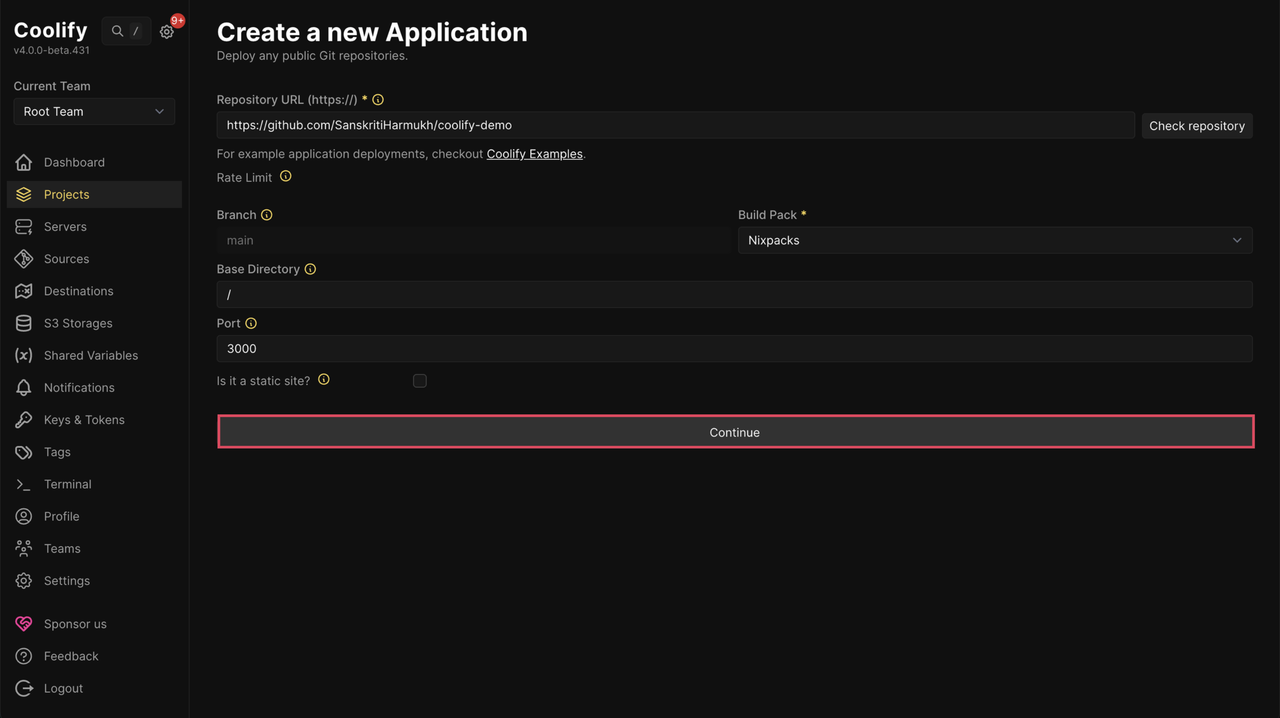
Once the repository is recognized, configure the following deployment parameters:
Branch: Coolify defaults to
main. Change this later on the Configuration page if your application uses a different primary branch.Build Pack: Select the appropriate build system for the application:
- Nixpacks: Automatically detects the language and builds applications in Node.js, Python, Go, Rust, and others.
- Static: For pre-built static sites using HTML, CSS, and JavaScript.
- Dockerfile: Builds the application using a custom
Dockerfilein the repository. - Docker Compose: Deploys multi-container applications defined in a
docker-compose.ymlfile.
Base Directory: Defaults to
/(repository root). Change this if your application code resides in a subdirectory (for example,/apps/frontend).Port: Specify the port your application listens on (for example,
3000for Node.js,8080for Go). Coolify uses this for health checks and routing.Is it a static site?: Enable this option if your application consists only of static assets with no server-side runtime.

Click Continue to proceed to the configuration interface.
Coolify redirects you to the Configuration page, where you can fine-tune build behavior, networking, and runtime settings.
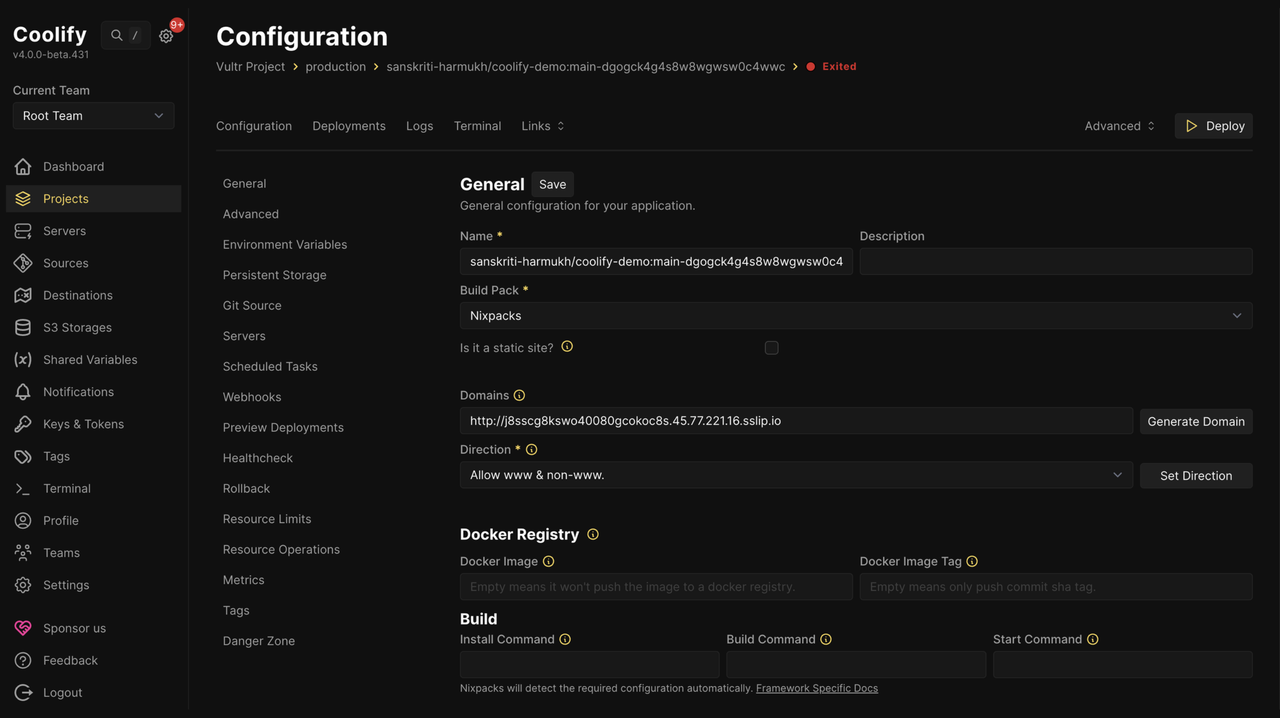
If you have not configured a custom domain, Coolify automatically generates a temporary domain in the format
<random-id>.<server-ip>.sslip.io. This domain uses HTTP without SSL certificate protection. Attempting to use HTTPS withsslip.iodomains causes SSL certificate validation failures due to Let's Encrypt rate limiting on public wildcard domains, so it is recommended to configure a custom domain with HTTPS for production use.
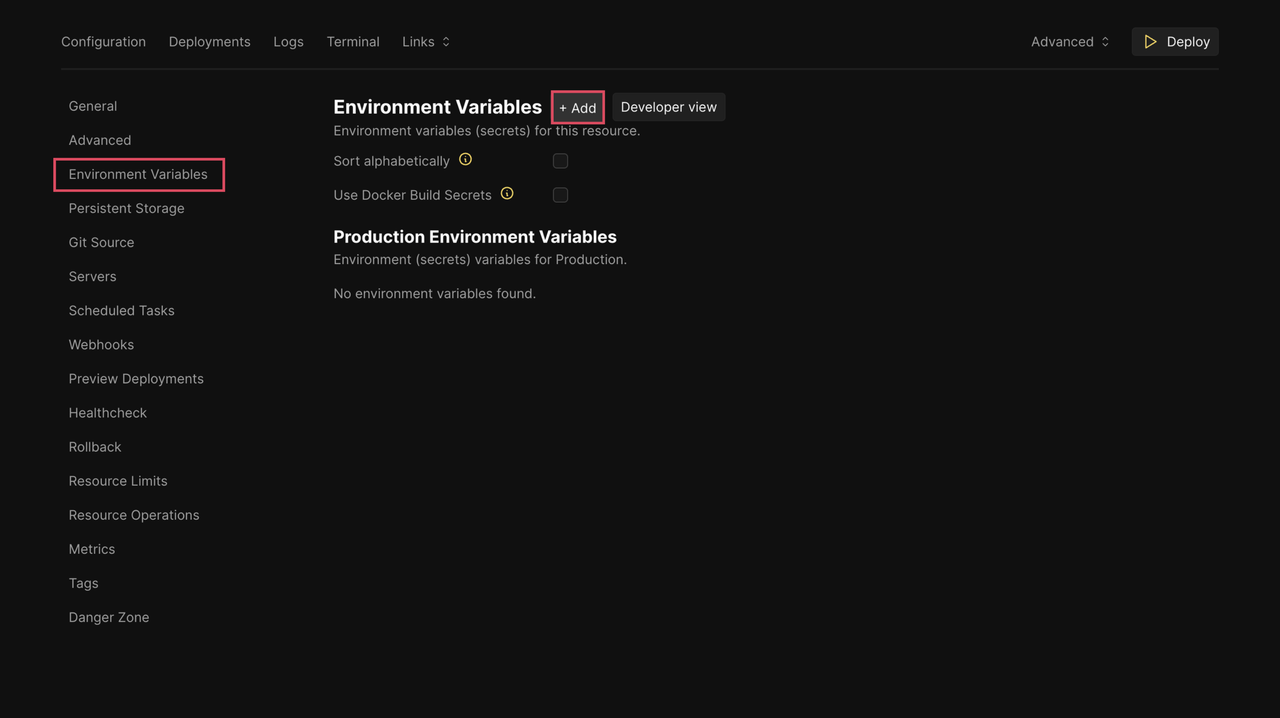
Navigate to Environment Variables in the left sidebar to define runtime and build-time configuration.
Click +Add to create a new variable.
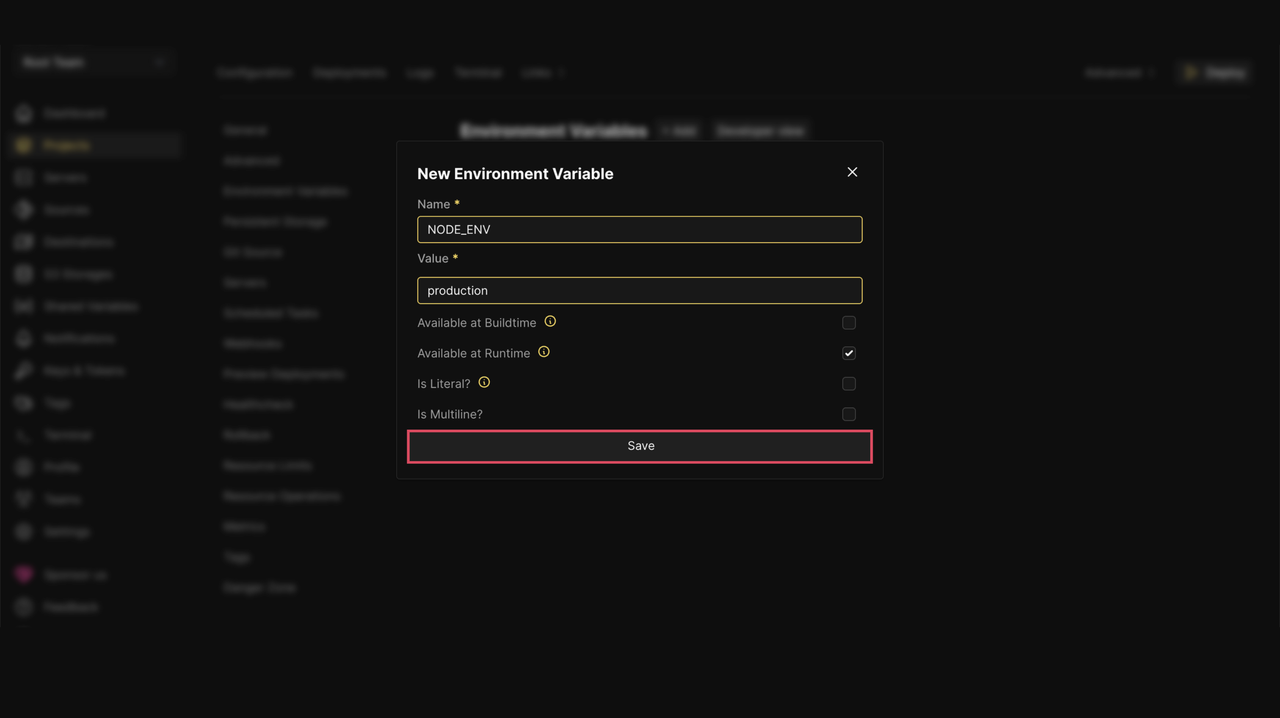
In the modal, provide a Name and the corresponding Value. Configure the availability options, such as:
- Available at Buildtime: Variable is available during the build process.
- Available at Runtime: Variable is injected into the running container.
- Is Literal: Prevents variable interpolation. When enabled,
$VARIABLEis treated as the literal string$VARIABLE, not as a reference to another variable. - Is Multiline: Permits newline characters in the value (useful for SSH keys, certificates, or JSON configurations).

Click Save to persist the variable.
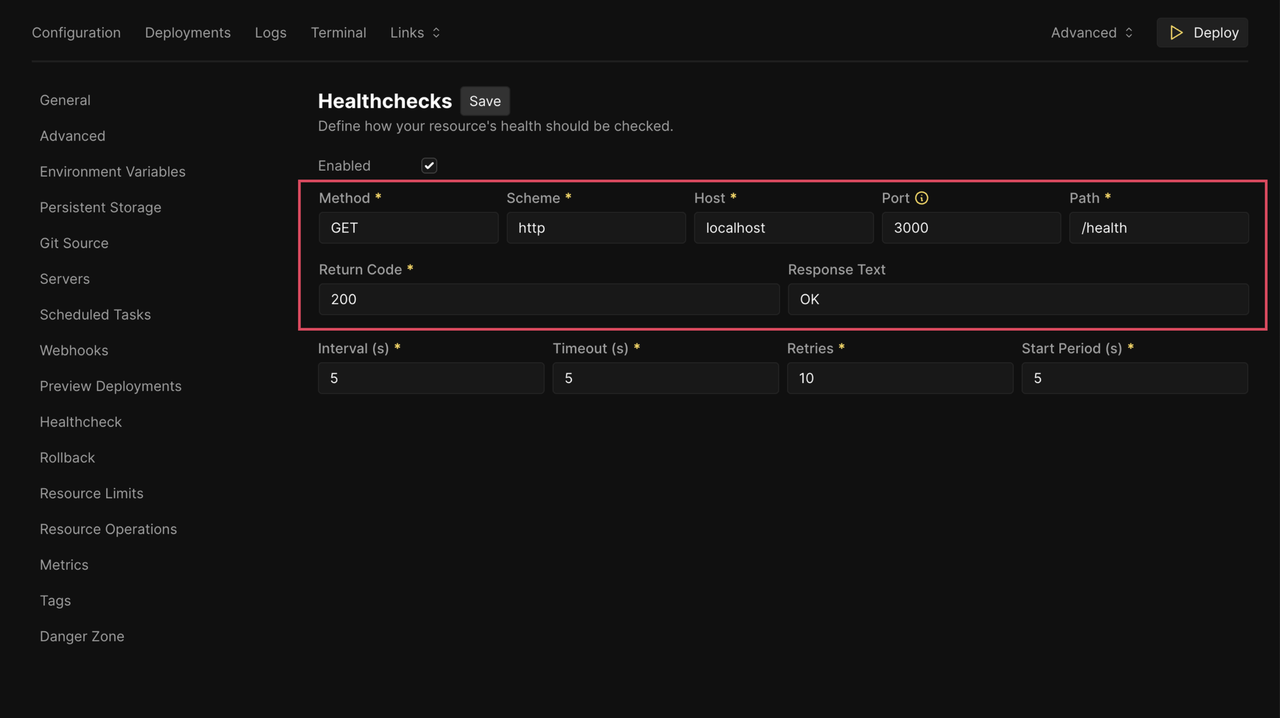
Navigate to the Healthcheck section in the left sidebar to configure application monitoring. Even if your application exposes its own health endpoint, Coolify can perform independent health checks to automatically restart containers that fail or become unresponsive.
Toggle Enabled to activate health monitoring.

Configure the following parameters:
- Method: The HTTP method used for the check (default:
GET). - Scheme: Protocol for the check (default:
http). - Host: Hostname or IP of the application (default:
localhost). - Port: The application's listening port (must match the port specified during setup).
- Path: The health check endpoint (for example,
/health,/api/health, or/ping). - Response Text (optional): Expected response body (for example, OK, healthy). If specified, Coolify validates that the endpoint returns this exact string.
- Method: The HTTP method used for the check (default:
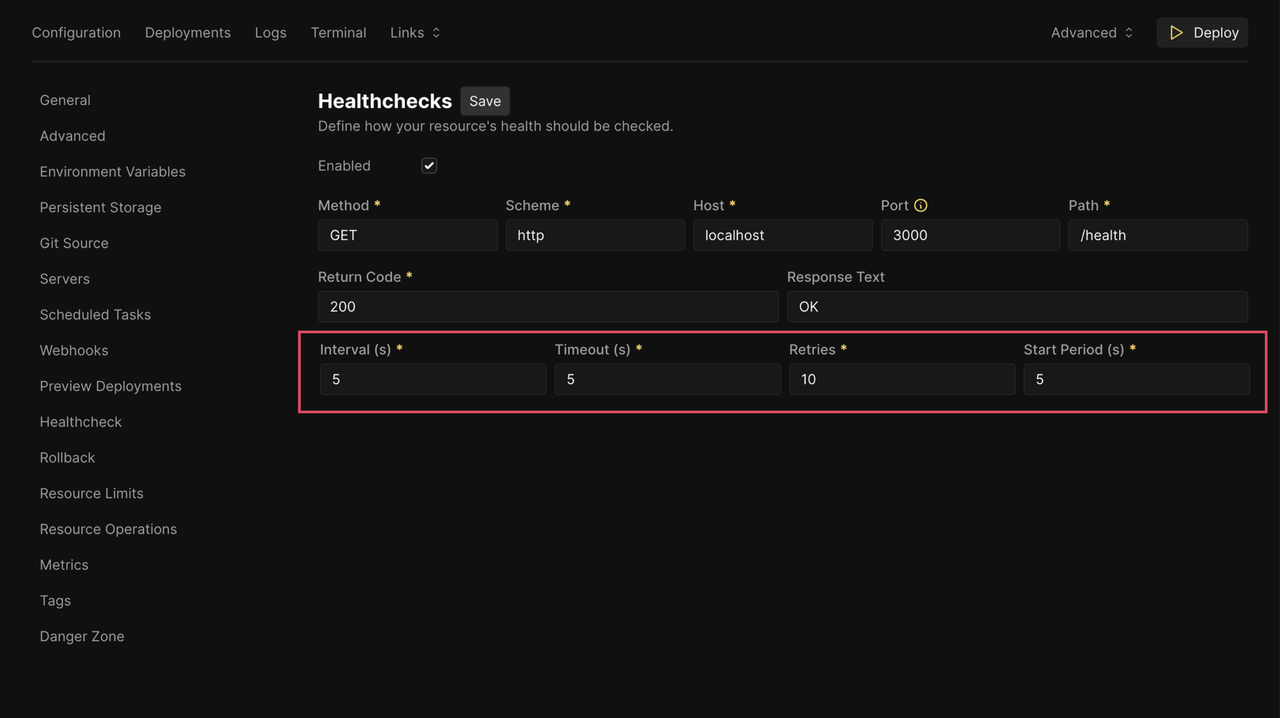
Leave other settings at their defaults (Interval, Timeout, Retries, Start Period) unless you need custom thresholds.
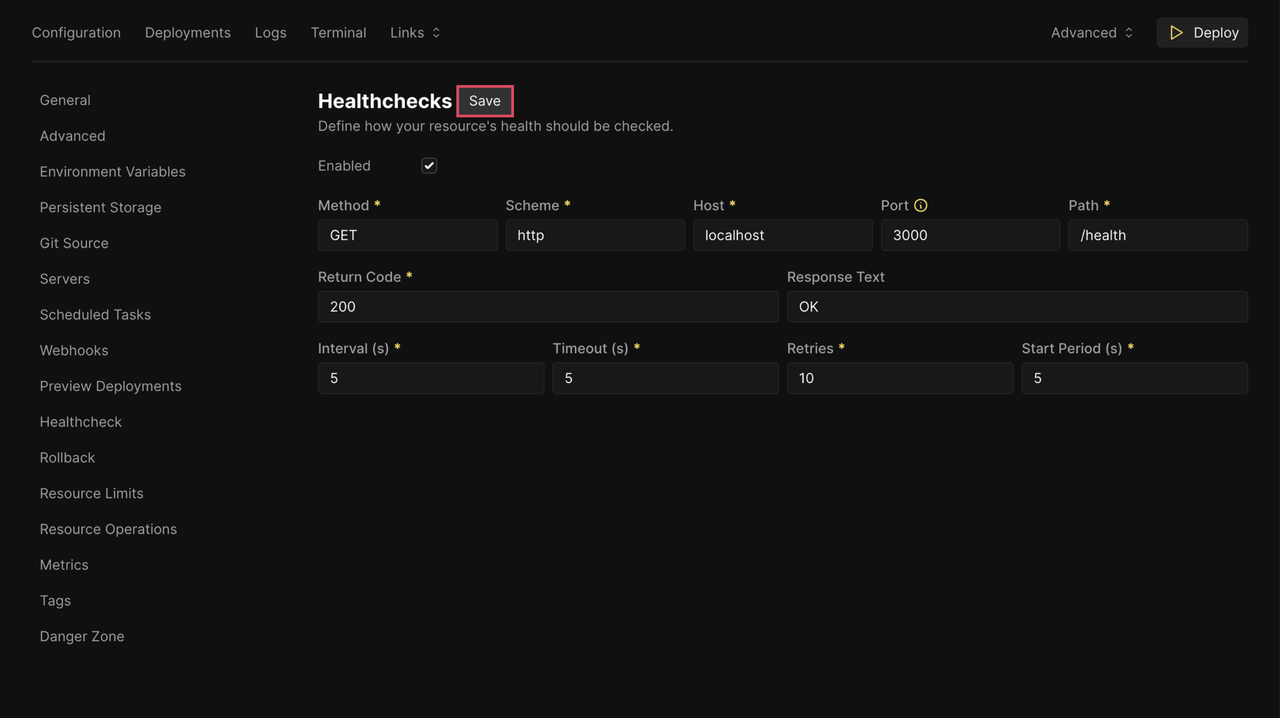
Click Save next to Healthchecks to apply the configuration.
Deploy Your Application
After configuring the application, deploy it to make it live and accessible through the Coolify-generated domain.
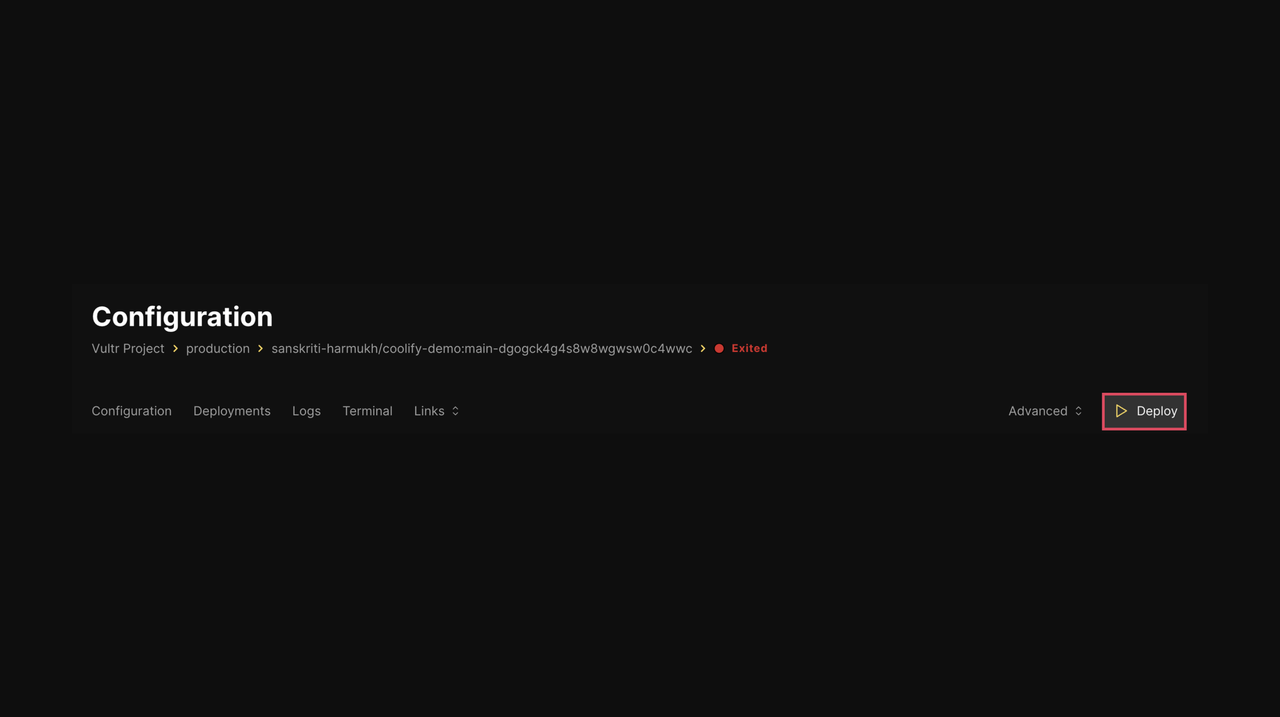
Click Deploy to trigger the deployment process with the configured settings.
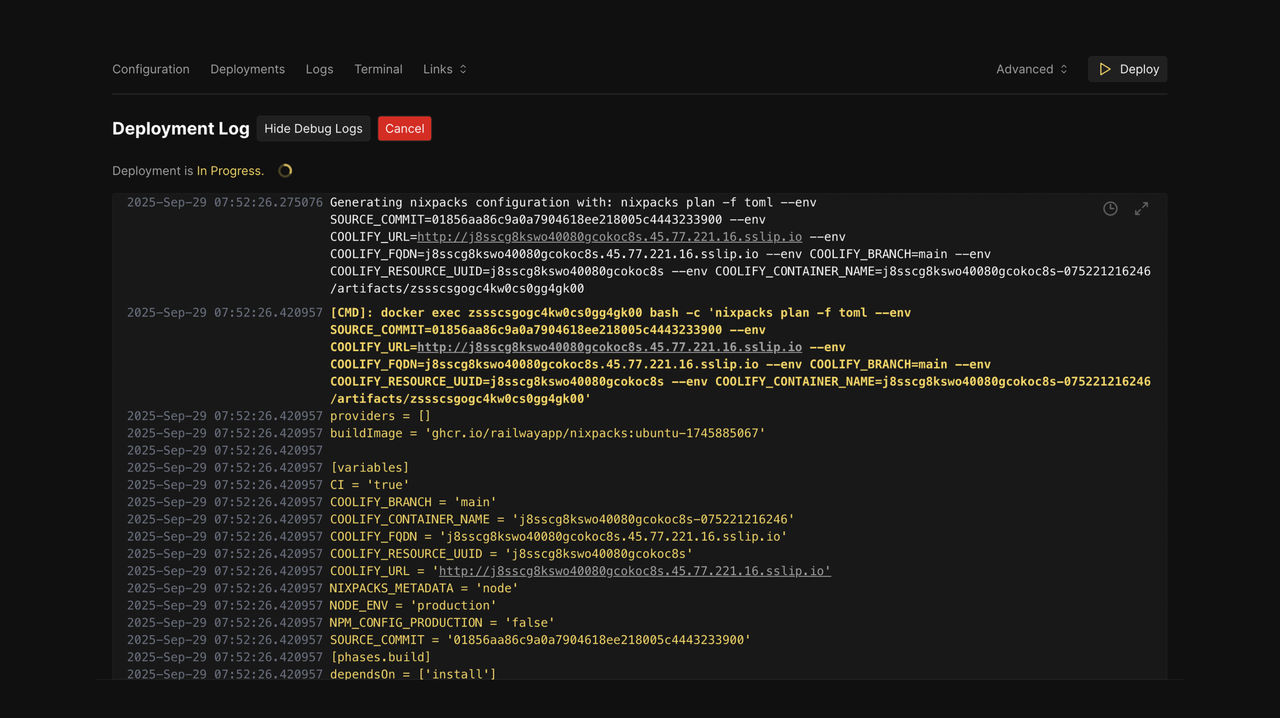
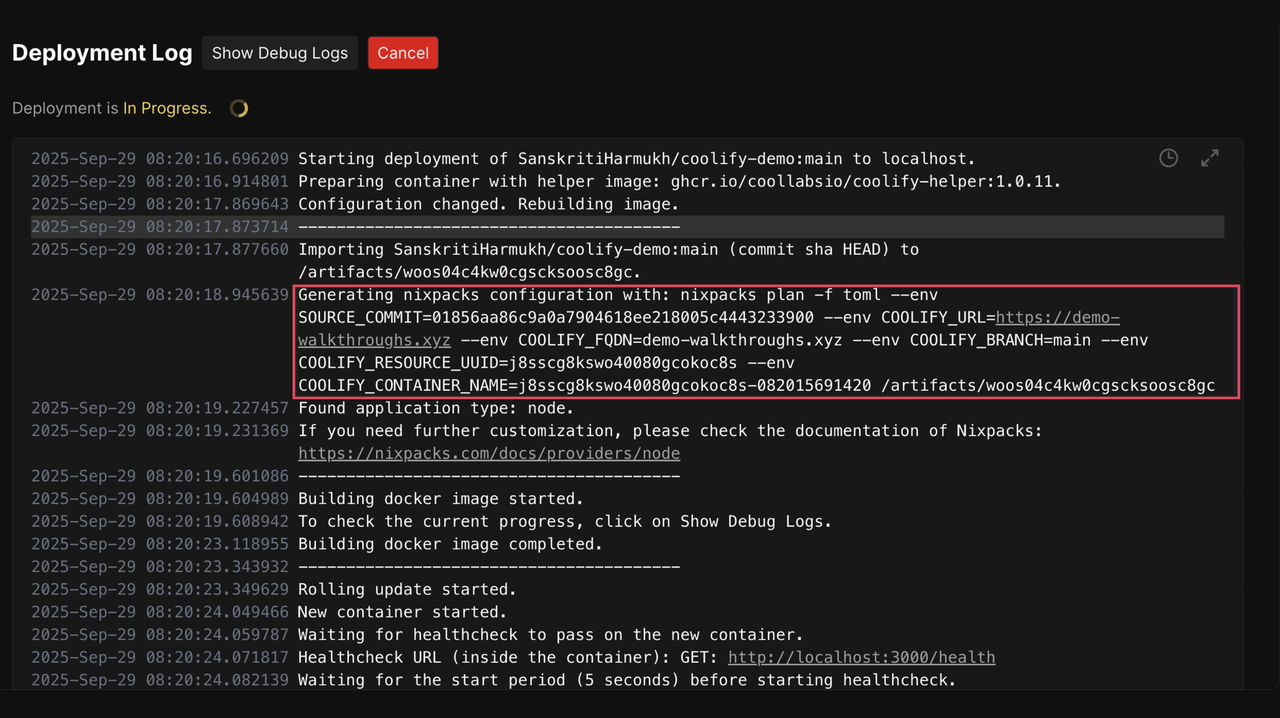
Click Show Debug Logs in the Deployment tab to inspect the build and deployment output in real time. The debug logs display detailed information for each deployment phase, including Git repository cloning, dependency resolution and installation, build command execution, Docker image creation and tagging, container initialization and startup, and Health check validation.
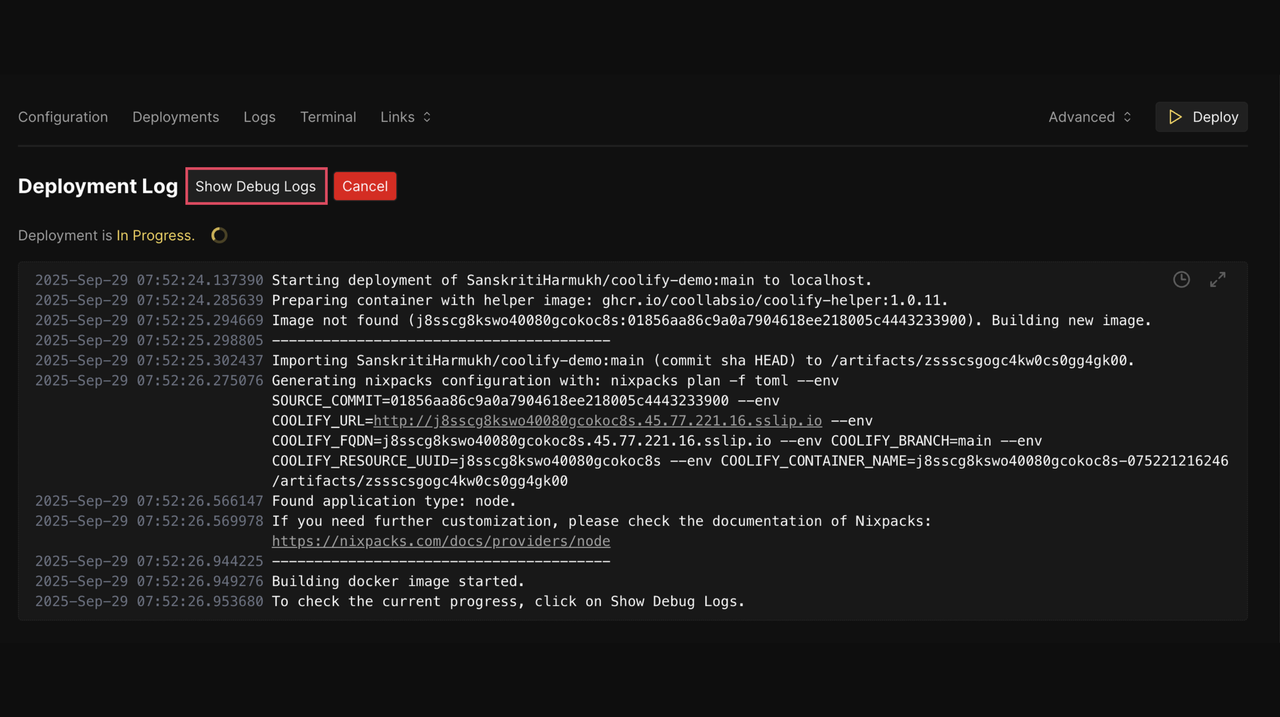
Review these logs to identify configuration errors, missing dependencies, or build failures before they affect production.
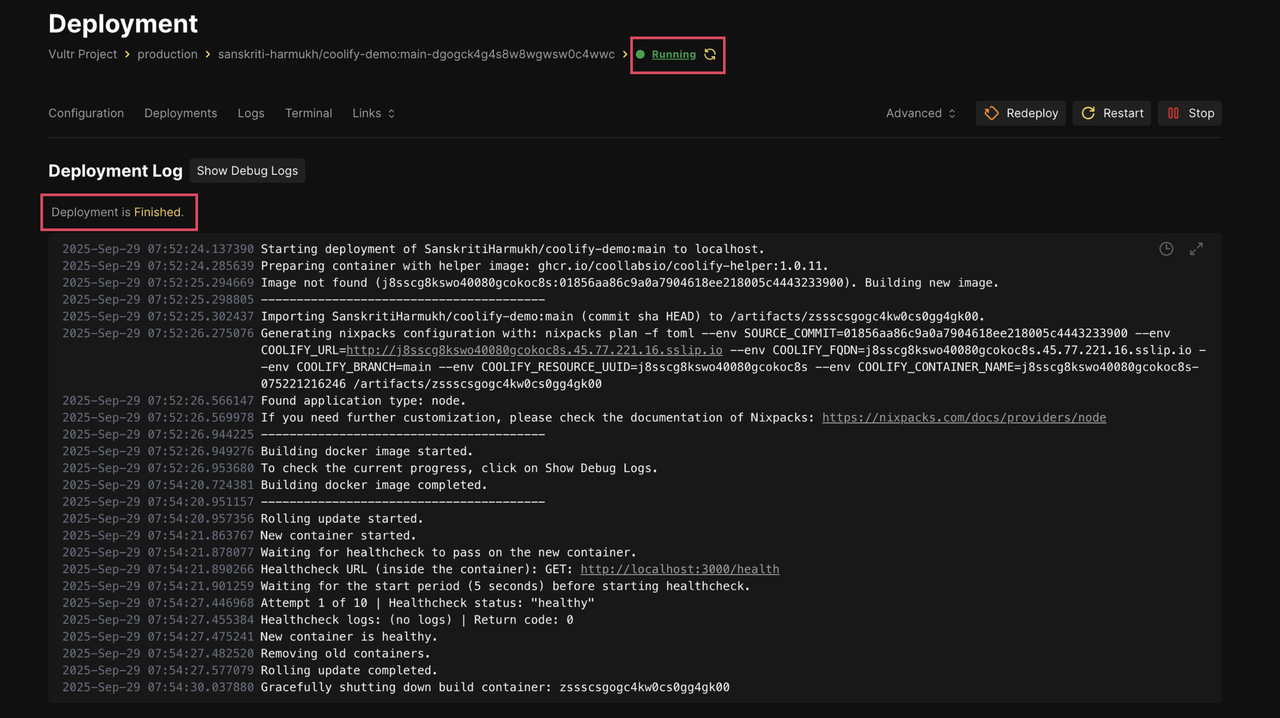
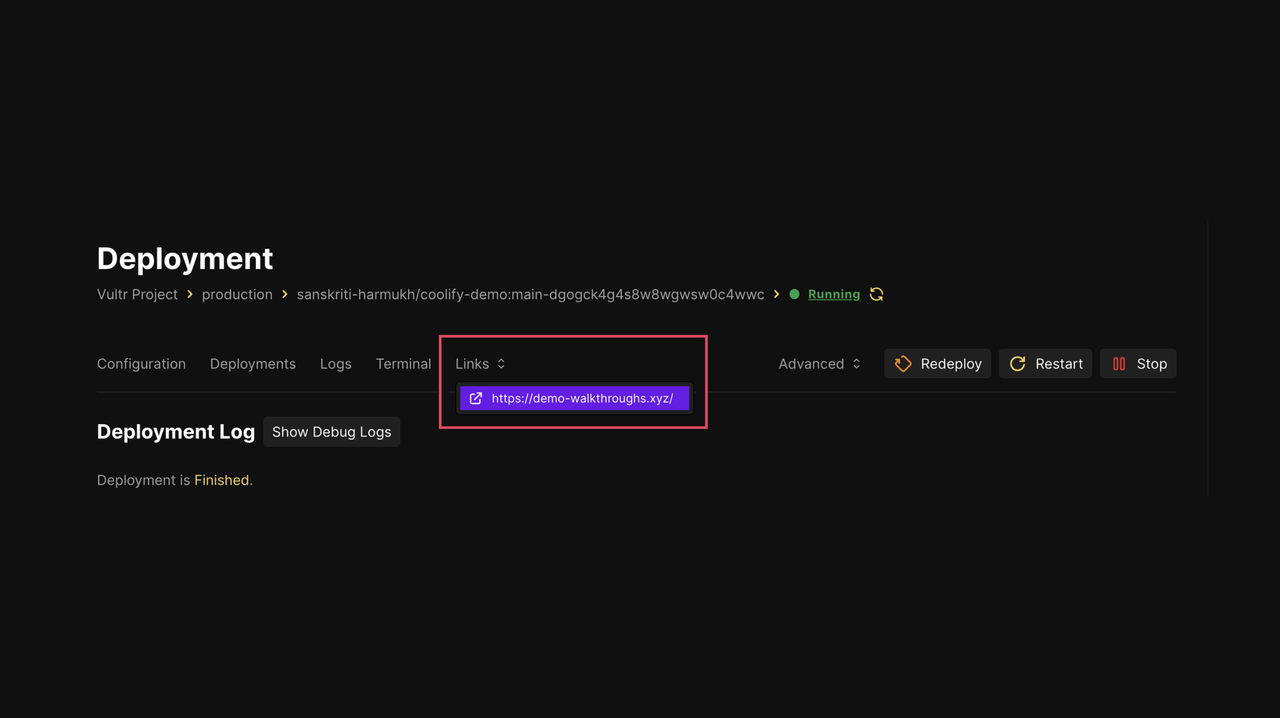
When the deployment completes successfully, the message Deployment is Finished appears, and the application status changes from Exited to Running.
Click Links to view the application's accessible URLs, then click the Coolify-generated domain link to open your application in a new browser tab.
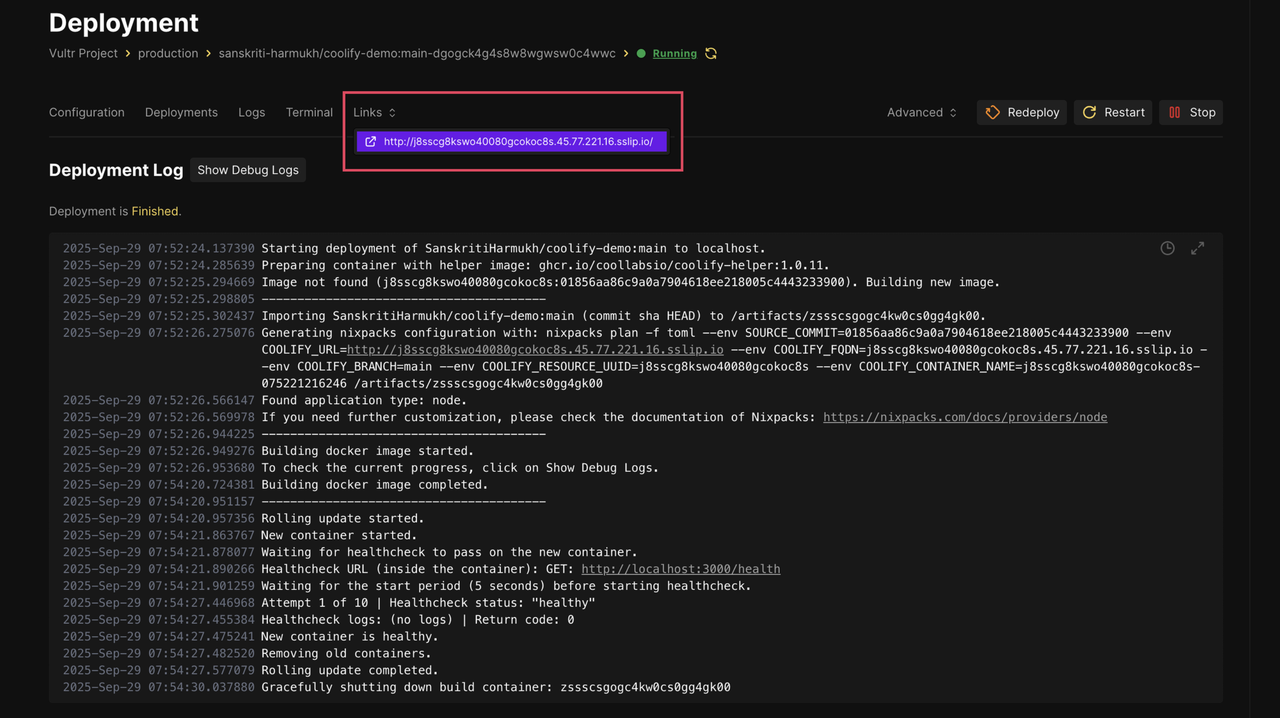
Your application is now accessible at
http://<random-id>.<server-ip>.sslip.io. Test it to ensure that it loads correctly and that all features function as expected.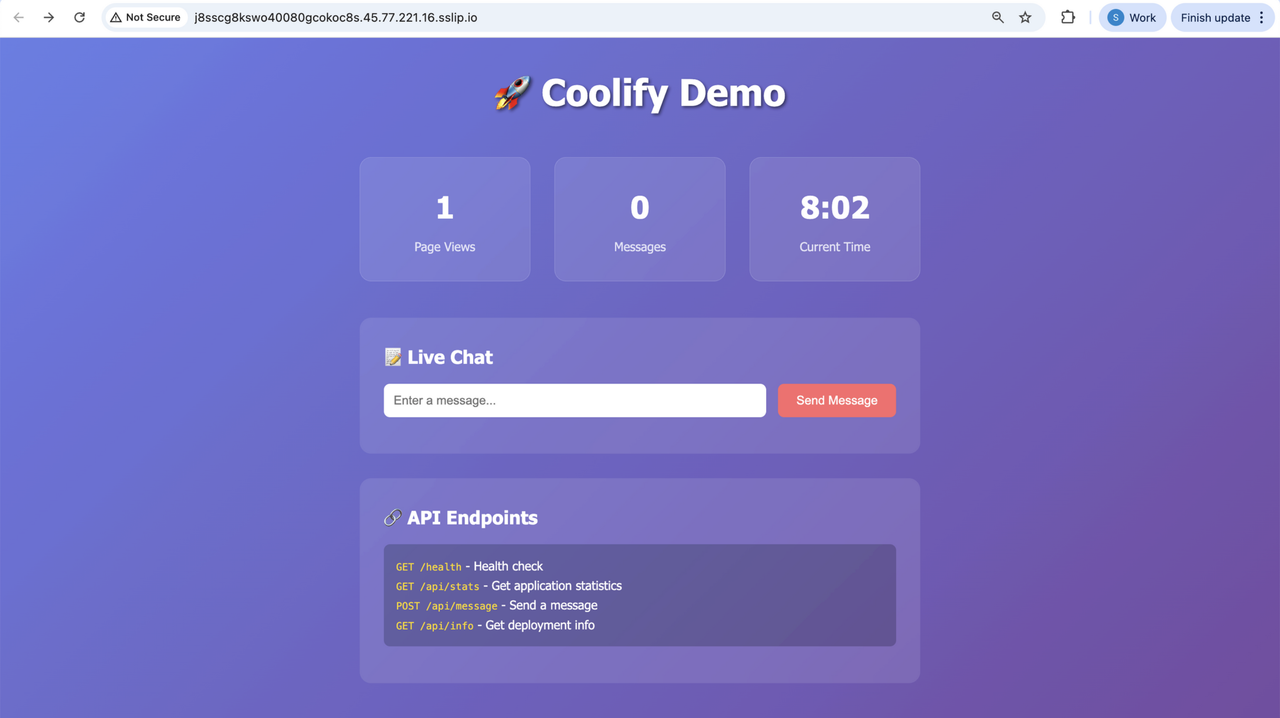
Optional: Add a Custom Domain and Enable HTTPS
The Coolify-generated sslip.io domain provides immediate access to your application, but using a custom domain offer better branding, easier recall, and production-grade presentation. This section explains how to configure DNS records and integrate your custom domain with automatic SSL certificate provisioning via Coolify’s built-in Traefik reverse proxy.
Configure DNS Records
Before configuring your domain in Coolify, establish DNS records that point to your Vultr Cloud Compute instance.
Purchase or use an existing domain name from any domain registrar (e.g., Namecheap, GoDaddy, or Cloudflare).
In your domain registrar’s DNS management console or by using Vultr DNS, create
Arecords that point to the public IP address of your Vultr instance.Root domain (@):
Record Type: A
Name/Host: @
Value: YOUR_VULTR_INSTANCE_IP_ADDRESS
TTL: 300
Subdomain (www):
Record Type: A
Name/Host: www
Value: YOUR_VULTR_INSTANCE_IP_ADDRESS
TTL: 300
This ensures both
yourdomain.comandwww.yourdomain.compoint to your instance.Save the DNS configuration and allow 5-60 minutes for global DNS propagation.
Verify DNS propagation by testing domain resolution:
console# nslookup yourdomain.comThe above command should return your Vultr instance's IP address, confirming successful DNS configuration.
Update Application Domain Configuration
Coolify uses Traefik as a reverse proxy to route traffic and manage SSL certificates. When you configure a custom domain, Traefik automatically requests and provisions a Let's Encrypt SSL certificate for your domain.
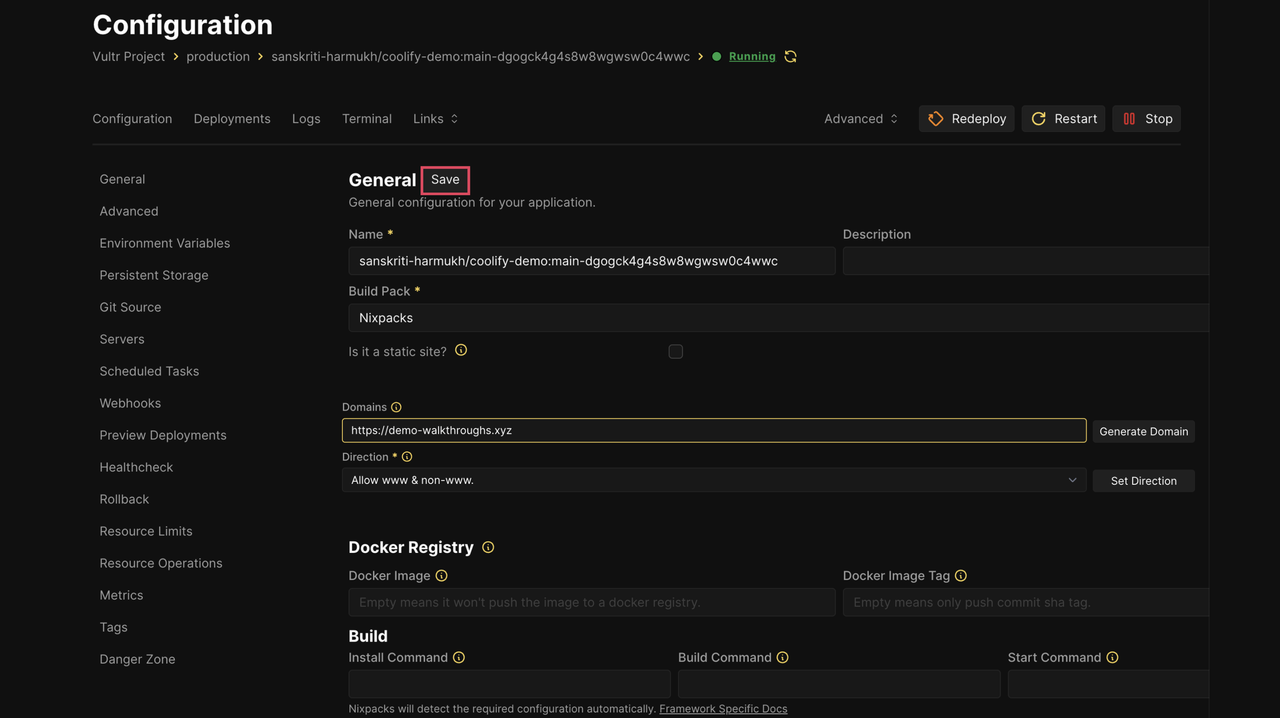
Navigate to the General section under your application's Configuration.
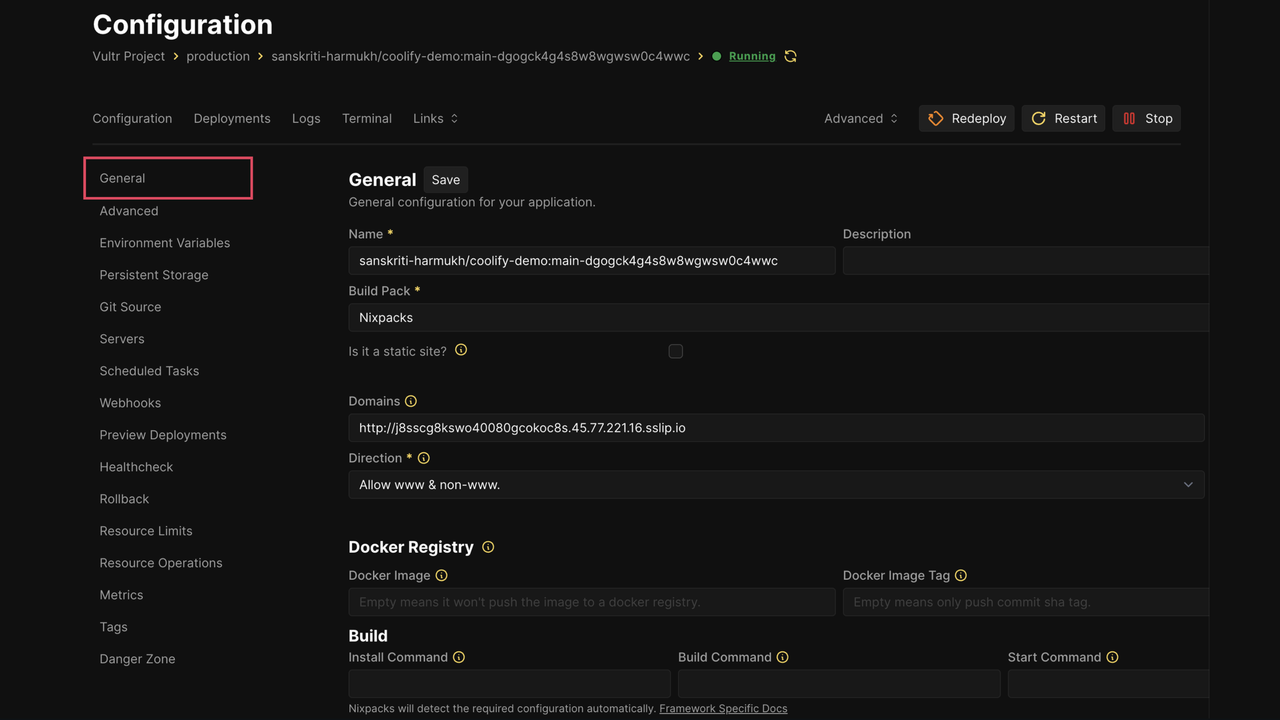
Locate the Domains field and replace the Coolify-generated domain with your custom domain using the HTTPS protocol (for example,
https://yourdomain.com).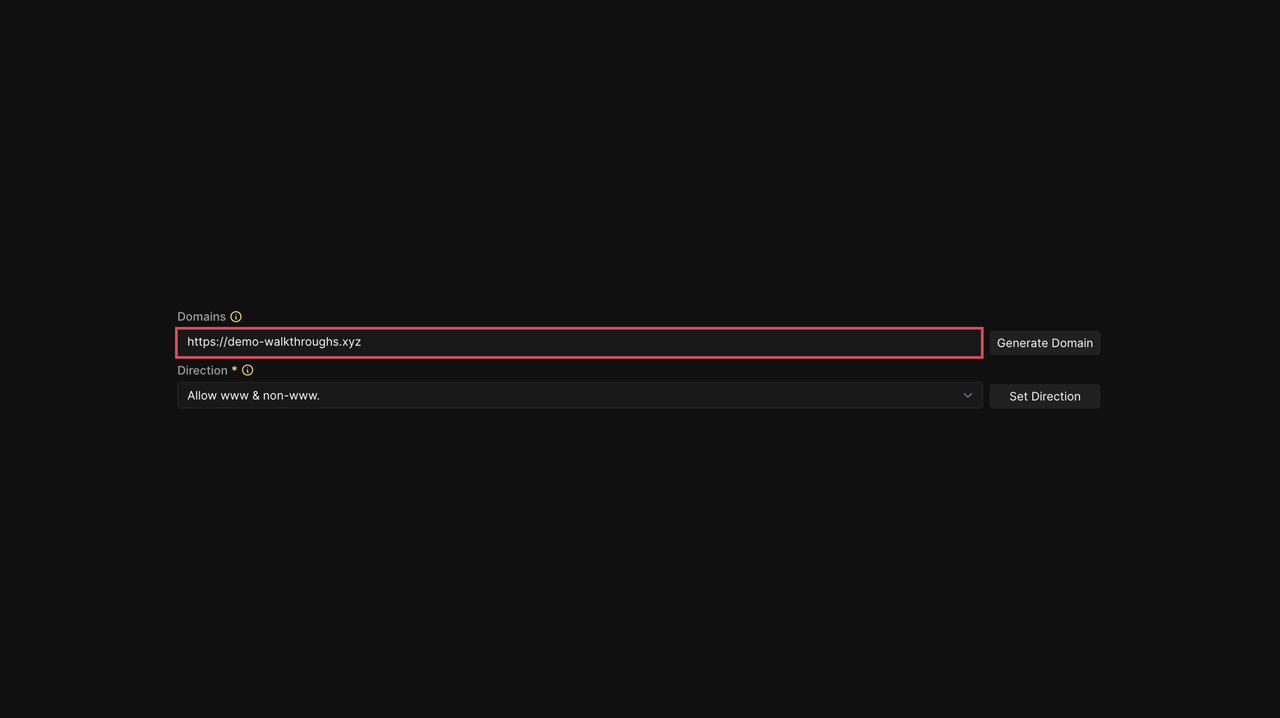
Set Redirection to Allow www & non-www. This enables Traefik to serve your application on both the root domain and
wwwsubdomain, with automatic redirection handling.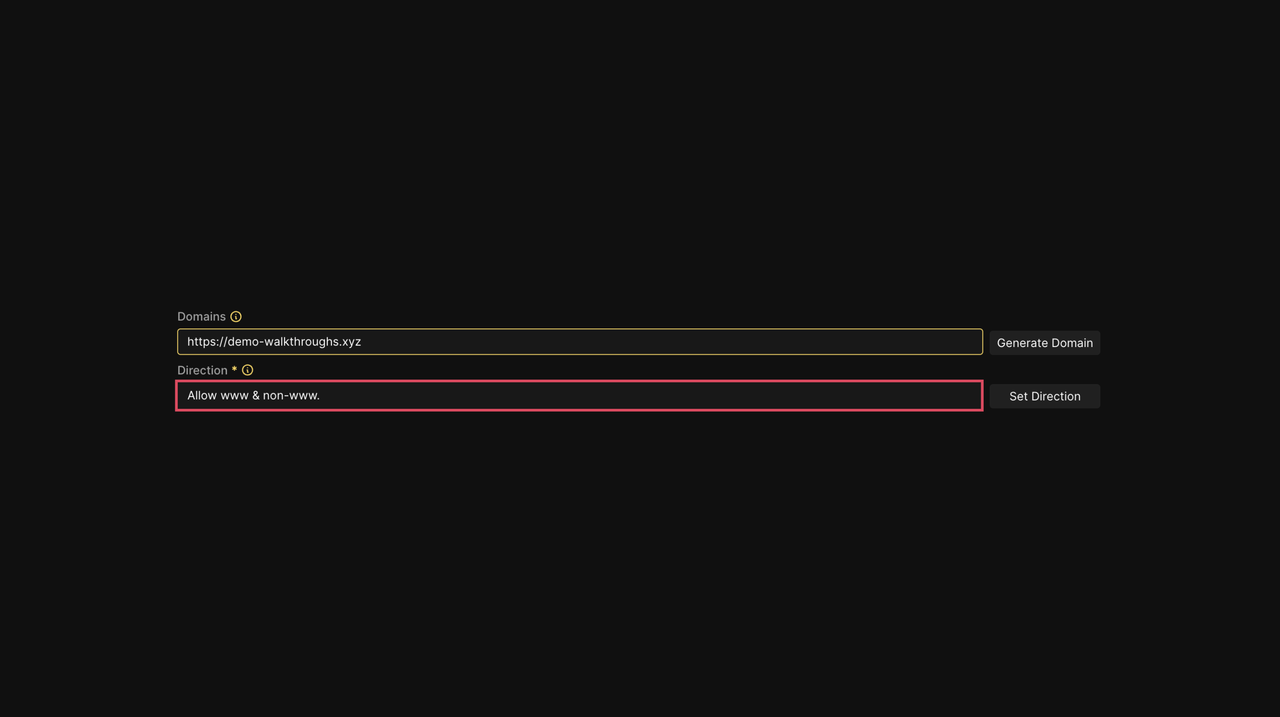
Click Save next to General to persist the domain configuration.
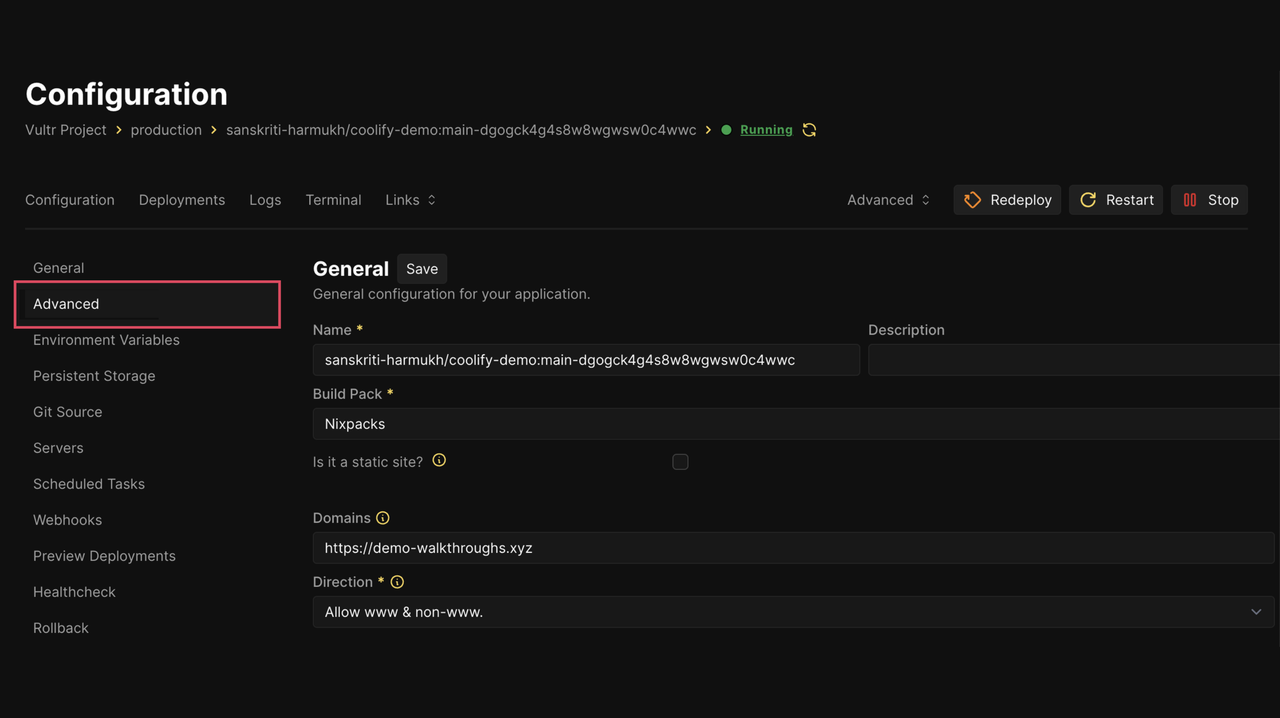
Navigate to Advanced in the left sidebar.
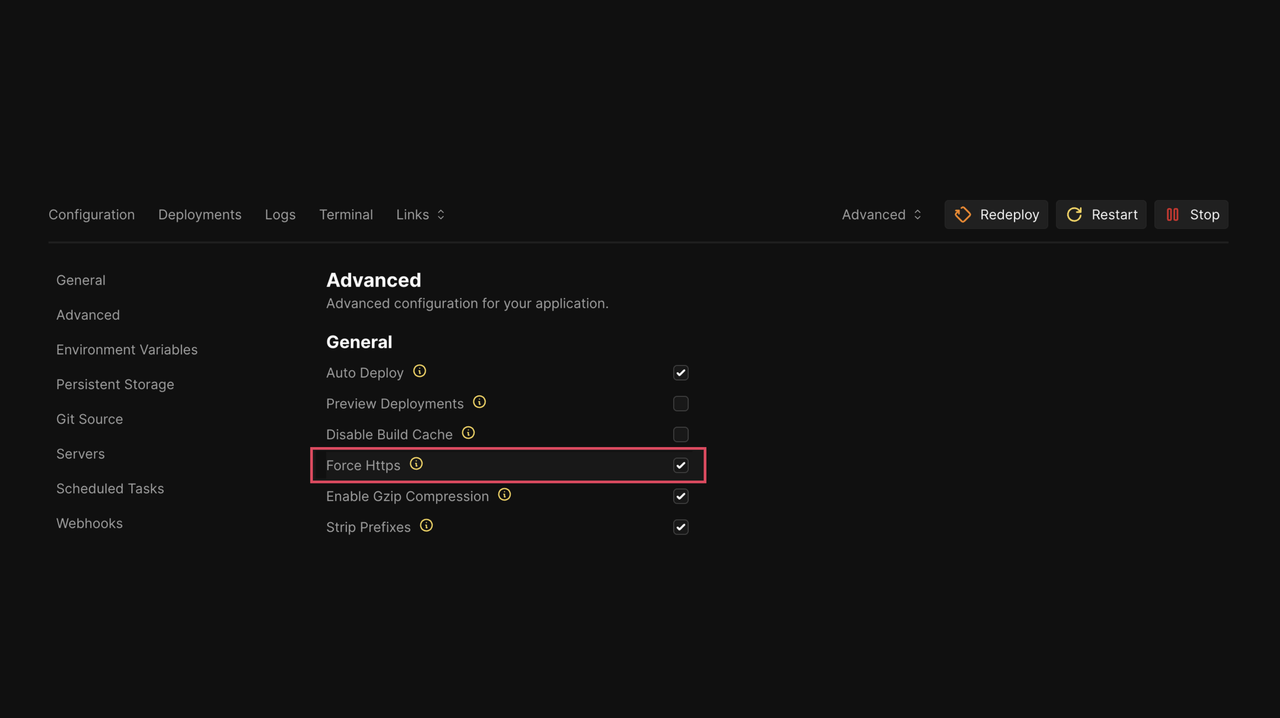
Verify that Force Https is enabled. This setting redirects all HTTP traffic to HTTPS automatically, ensuring secure connections.
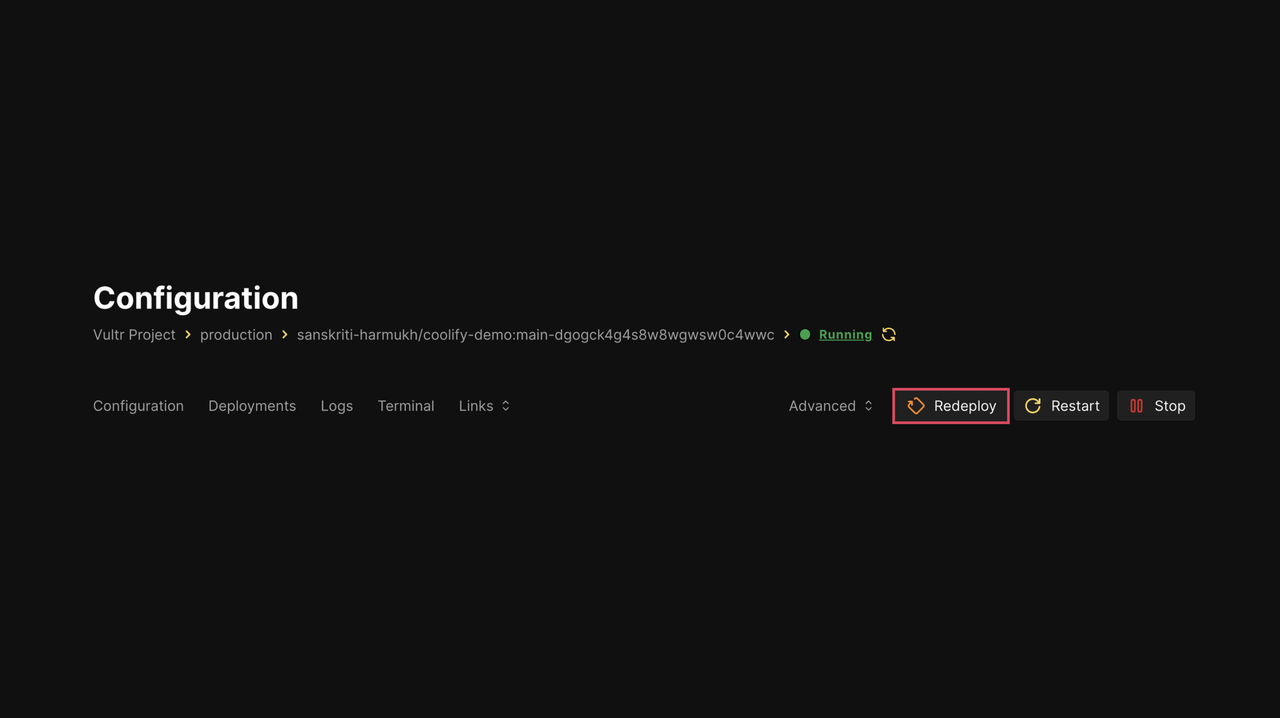
Click Redeploy to deploy the application with the updated domain configuration.
Monitor the Deployment logs for the rebuild process which displays the build configuration with your new domain settings
When the deployment finishes and the application status changes to Running, click Links to access your application via the custom domain.
Open the custom domain URL (
https://yourdomain.com) in your browser. Your application now loads with HTTPS enabled, indicated by the padlock or information icon in the browser's address bar.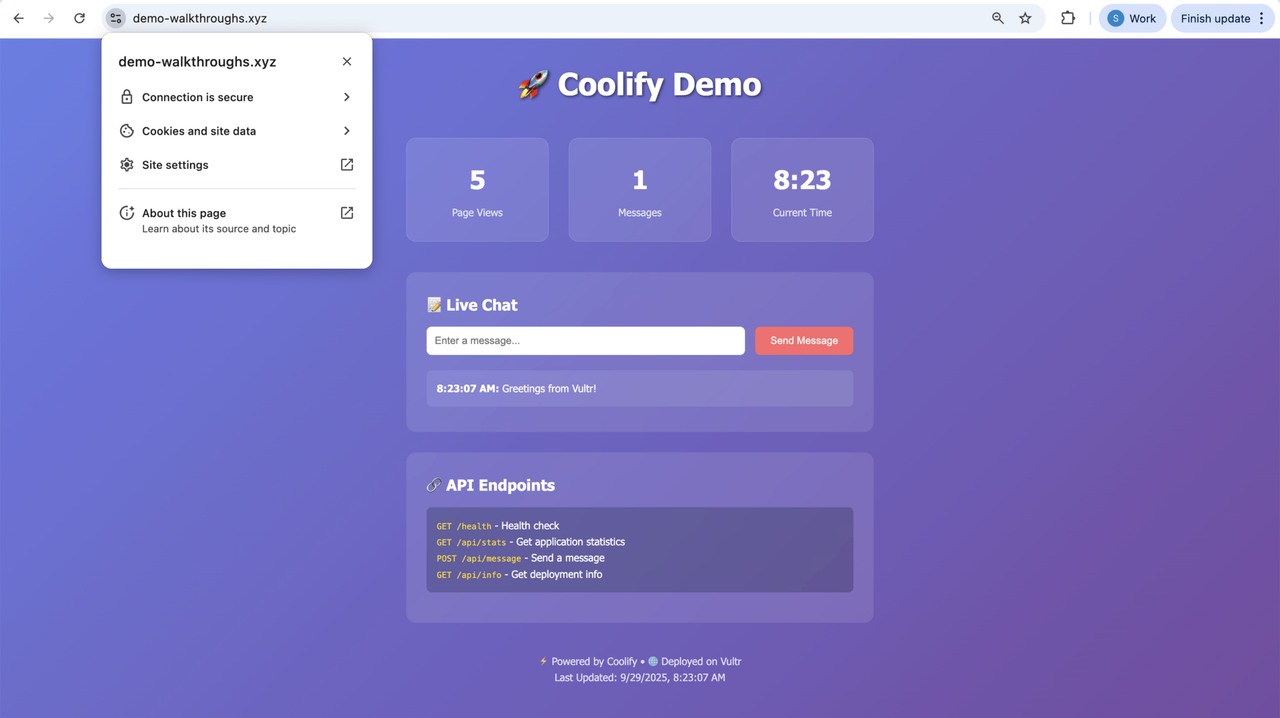
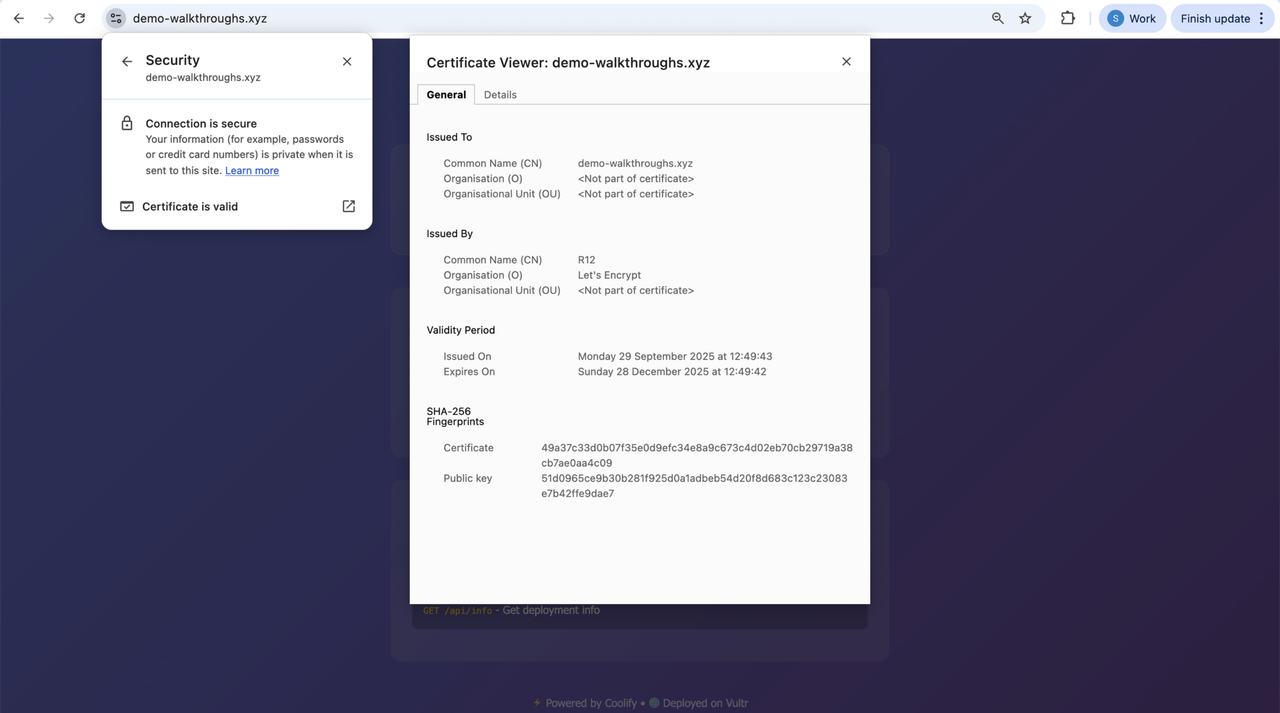
Verify the SSL certificate by clicking the padlock (or "View Site Information") icon in your browser's address bar, and confirm that the certificate details display the issuer (Let's Encrypt), expiration date, and covered domain.
Conclusion
You have successfully deployed an application using Vultr's Coolify Marketplace Application, configured environment variables and health checks, and secured the deployment with a custom domain and SSL certificate. With Vultr and Coolify managing server operations and deployments, you can now focus on running multiple applications, databases, and services together from a single dashboard.