
How to Install Apache Webserver on Rocky Linux 9
Introduction
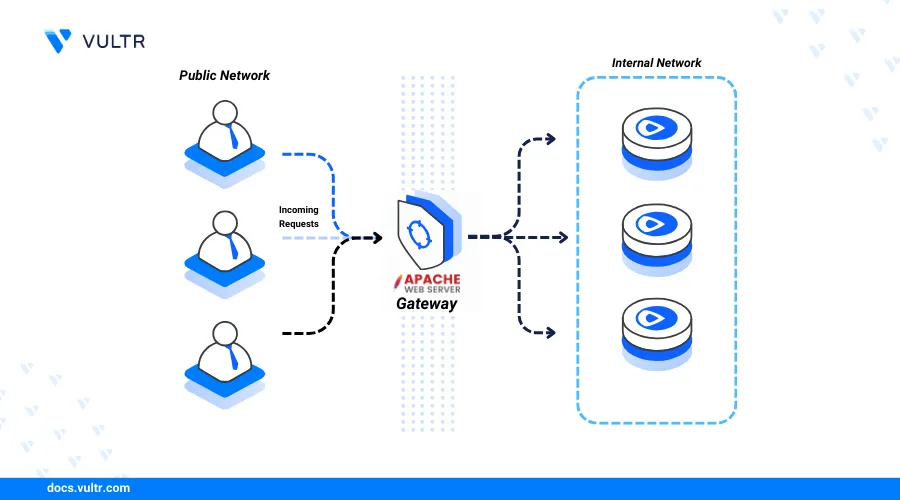
Apache is an open-source, high-performance web server for delivering web content. It integrates well with server-side scripting languages like PHP and databases like MySQL or PostgreSQL to serve dynamic web content.
In this article, you'll learn how to install apache on rocky linux 9, set up virtual hosts, and secure the webserver by configuring a firewall and generating an SSL certificate. For those migrating from an older version, you may also find our article on How to Upgrade from Rocky Linux 8 to Rocky Linux 9 helpful.
Prerequisites
Before you begin:
- Deploy a Rocky Linux instance on Vultr.
- Create a new domain A record pointing to the instance's IP address. For example,
app.example.com. - Access the instance using SSH as a non-root user with sudo privileges.
- Update the instance.
Install Apache on Rocky Linux 9
Apache is available in the default repositories on Rocky Linux 9. Follow the steps below to install Apache using the DNF package manager.
Update the server's package information index.
console$ sudo dnf update
Install
httpdon Rocky Linux 9, the Apache webserver package.console$ sudo dnf install httpd -y
Allow connections on the HTTP port
80through the default firewall.console$ sudo firewall-cmd --zone=public --permanent --add-service=http
Reload the firewall configuration to apply the changes.
console$ sudo firewall-cmd --reload
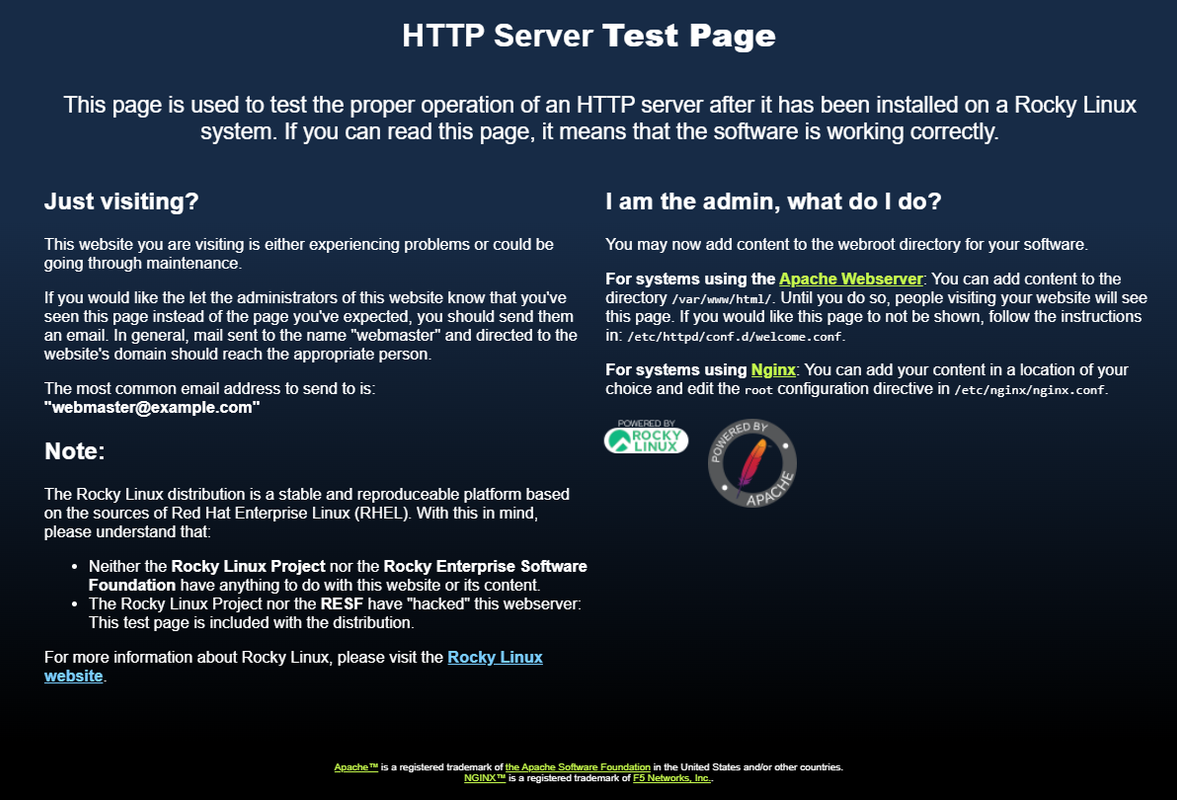
Access your server's public IP address (For example,
192.0.2.1) on a web browser such as Chrome.http://192.0.2.1Verify that Apache serves the default web application.
Manage the Apache System Service
Apache runs under the httpd system service on Rockly Linux 9. Follow the steps below to manage and monitor the service using systemctl.
Enable Apache to start at system boot automatically.
console$ sudo systemctl enable httpd
Start the Apache webserver.
console$ sudo systemctl start httpd
Check the Apache webserver status and verify it's running.
console$ sudo systemctl status httpd
Stop the Apache webserver.
console$ sudo systemctl stop httpd
Restart the Apache webserver.
console$ sudo systemctl restart httpd
Create a New Apache Virtual Host
Apache webserver uses virtual host configurations to host web applications using separate domains and directories. Follow the steps below to create a new Apache virtual host configuration to deliver a sample web application for the app.example.com domain.
Navigate to the Apache configuration files directory.
console$ cd /etc/httpd/conf.d
Create a new
app.example.com.confconfiguration file using a text editor likenano.console$ sudo nano app.example.com.conf
Add the following contents to the file. Replace
app.example.comwith your actual domain.apacheconf<VirtualHost *:80> ServerAdmin admin@example.com ServerName app.example.com DocumentRoot /var/www/app.example.com ErrorLog /var/log/httpd/app.example.com_error.log CustomLog /var/log/httpd/app.example.com_access.log combined </VirtualHost>
Save and close the file.
The above Apache configuration creates a new virtual host that serves web application files from the
/var/www/app.example.comdirectory for theapp.example.comdomain. Within the configuration:<VirtualHost>: Creates a new Apache virtual host.*:80: Enables Apache to listen for incoming connections on the HTTP port80.ServerAdmin: Specifies the server administrator's email address.ServerName: Sets the virtual host's domain or IP address.DocumentRoot: Sets the web root directory containing the virtual host's files.ErrorLog: Sets a custom log file location to store the virtual host's error logs.CustomLog: Sets a custom access log location to store the virtual host's error logs.
Create a new web root directory to store your web application files.
console$ sudo mkdir /var/www/app.example.com
Create a new
index.htmlweb application file.console$ sudo nano /var/www/app.example.com/index.html
Add the following contents to the
index.htmlfile.html<!DOCTYPE html> <html lang="en"> <head> <title>Document</title> </head> <body> <h2>Greetings from Vultr!</h2> </body> </html>
Save and close the file.
The above HTML application displays a
Greetings from Vultr!message when you access it using the virtual host's domain.Test the Apache configuration for errors.
console$ sudo apachectl configtest
Output:
Syntax OKRestart the Apache service to apply the new changes.
console$ sudo systemctl restart httpd
Open your domain on a new web browser window to test access to the web application.
http://app.example.com
Set Up Firewall Rules
Firewalld is available and active by default on Vultr Rocky Linux 9 instances. Follow the steps below to set up new firewall rules using the firewall-cmd utility to allow network connections to the Apache webserver.
Allow HTTP connections through the firewall.
console$ sudo firewall-cmd --zone=public --permanent --add-service=https
Allow HTTPS connections through the firewall.
console$ sudo systemctl reload firewalld
Reload the firewall rules to apply the changes.
console$ sudo firewall-cmd --reload
Secure Apache with Let's Encrypt SSL Certificate
By default, Apache runs on the insecure HTTP port 80. To secure Apache with HTTPS, generate an SSL certificate using a trusted Certificate Authority (CA) like Let's Encrypt by following the steps below.
Install the Certbot Let's Encrypt client tool and plugin for Apache.
console$ sudo dnf install certbot python3-certbot-apache -y
Restart the Apache service.
console$ sudo systemctl restart httpd
Generate a new SSL certificate for your virtual host domain. Replace
app.example.comwith your domain name andhello@examplewith your email address.console$ sudo certbot --apache -d app.example.com -m hello@example.com --agree-tos
Test the Certbot automatic SSL certificate renewal process.
console$ sudo certbot renew --dry-run
Access your domain on a web browser via HTTPS and verify that your web application displays.
https://app.example.com
Conclusion
You have installed the Apache webserver on Rocky Linux 9, created a virtual host, and secured the webserver with a firewall and an SSL certificate. You can configure multiple Apache virtual hosts to run different applications on the same server. You can also integrate Apache with server-side scripting languages like PHP and database systems like MySQL and PostgreSQL to run dynamic web applications. For more information, visit the Apache documentation.